Skip to content
Instagram
Facebook
Pinterest
YouTube
Search
-
The Spaces
Expand
The Living Areas
The Kitchen & Bath
The Bedrooms
The Outdoor
The Furniture
The Look
Expand
The Styles
The Palette
The Accents
The Season
The How-To
Expand
The Basics
The Projects
The Hacks
Kesaa Interiors
The Kesaa Edit
The Finds
About
Expand
Contact
Privacy Policy
Kesaa Interiors
Toggle Menu
Living Room
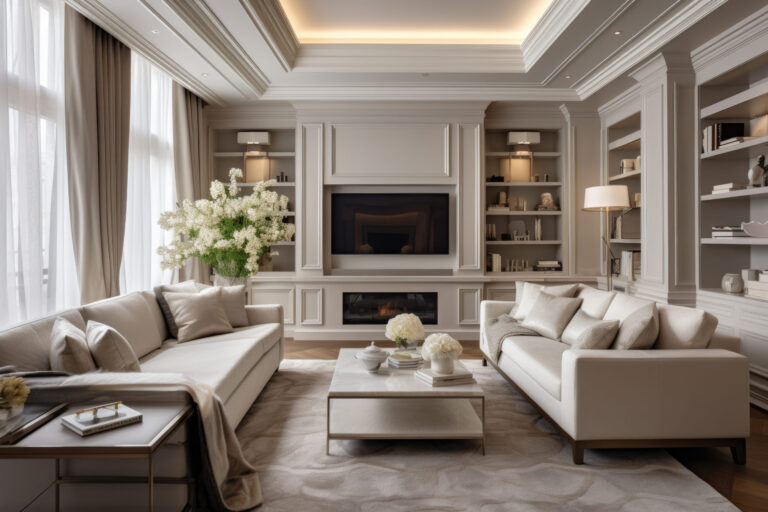
How to Arrange Living Room Furniture With TV and Fireplace: 7 Best Layouts
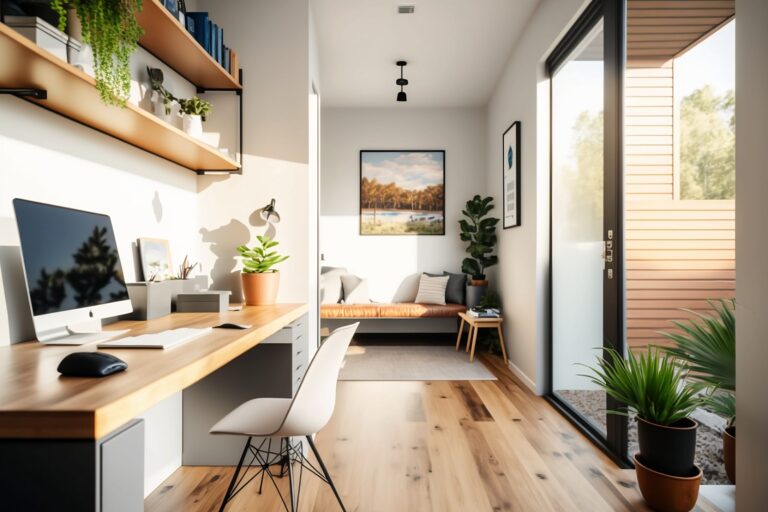
15 Small Home Office TV Room Ideas to Maximise Space and Style
How to Decorate a Living Room Step by Step (Beginner’s Guide)
Fresh Living Room Color Schemes That Never Fail
Transform Your Small Living Room Layout with These Pro Tips
Scroll to top
Scroll to top
The Spaces
Toggle child menu
Expand
The Living Areas
The Kitchen & Bath
The Bedrooms
The Outdoor
The Furniture
The Look
Toggle child menu
Expand
The Styles
The Palette
The Accents
The Season
The How-To
Toggle child menu
Expand
The Basics
The Projects
The Hacks
The Finds
Instagram
Facebook
Pinterest
YouTube
The Shop
Toggle Menu Close
What are you looking for?
Search for:
Search