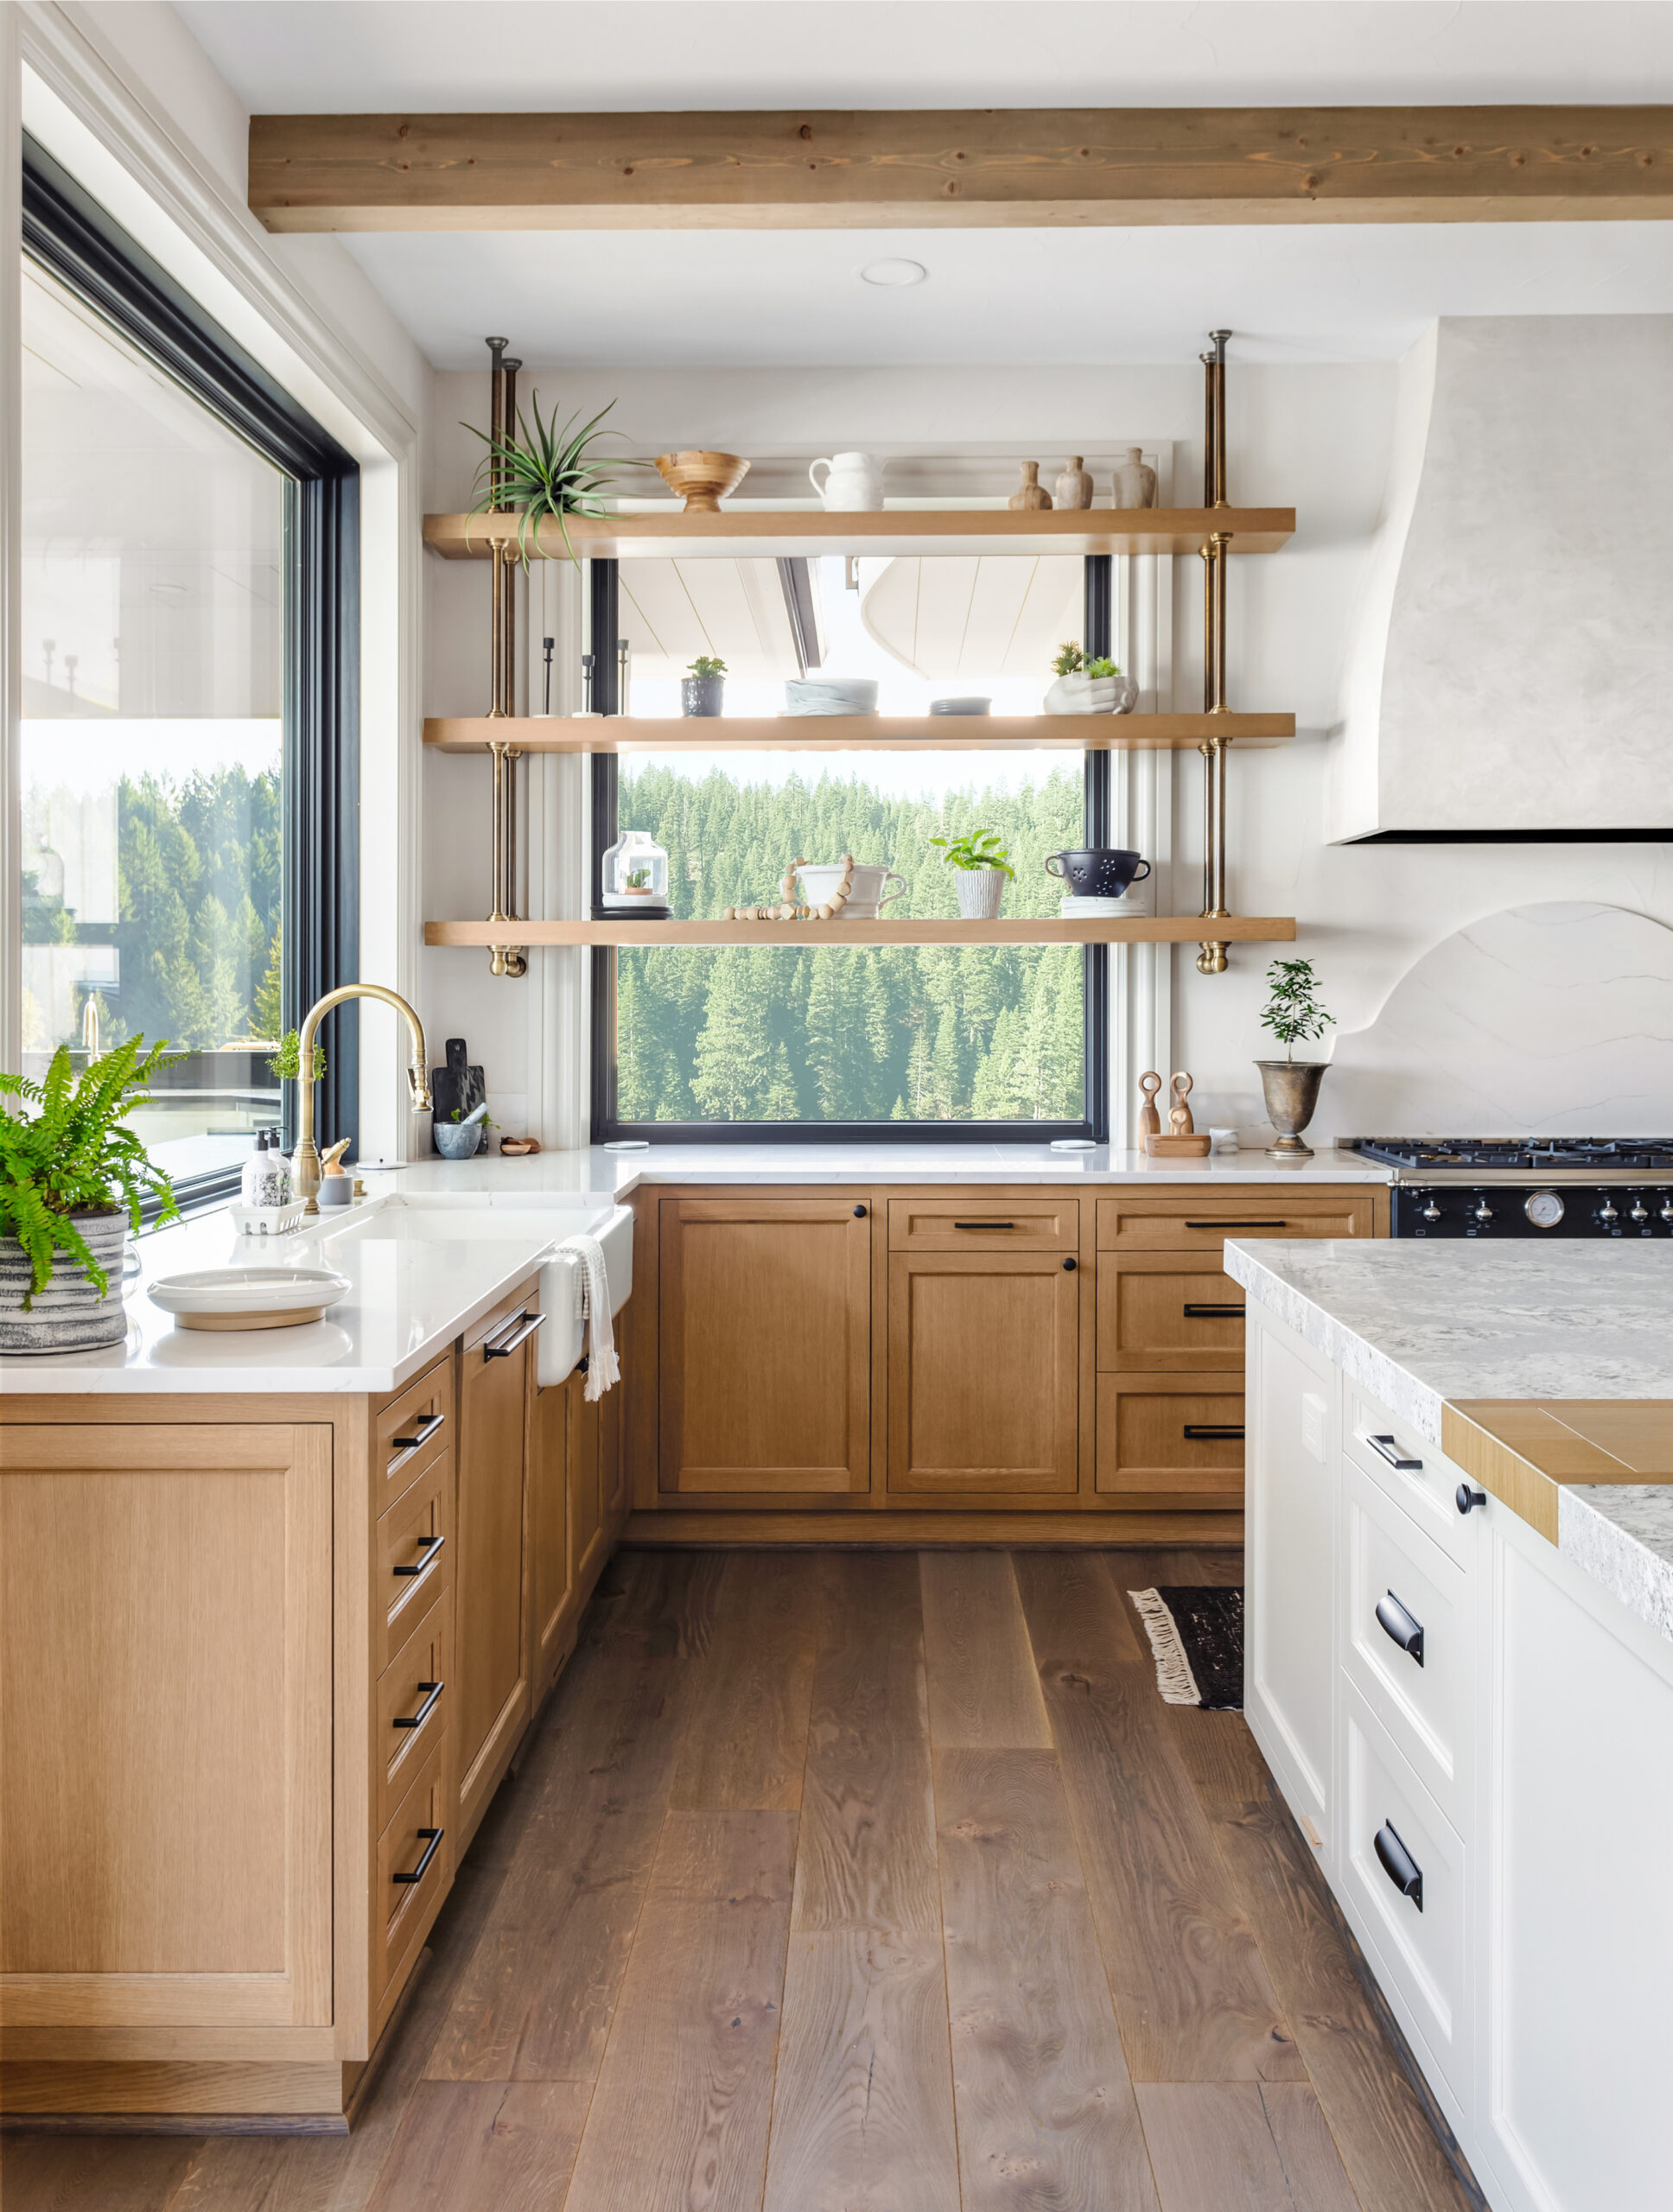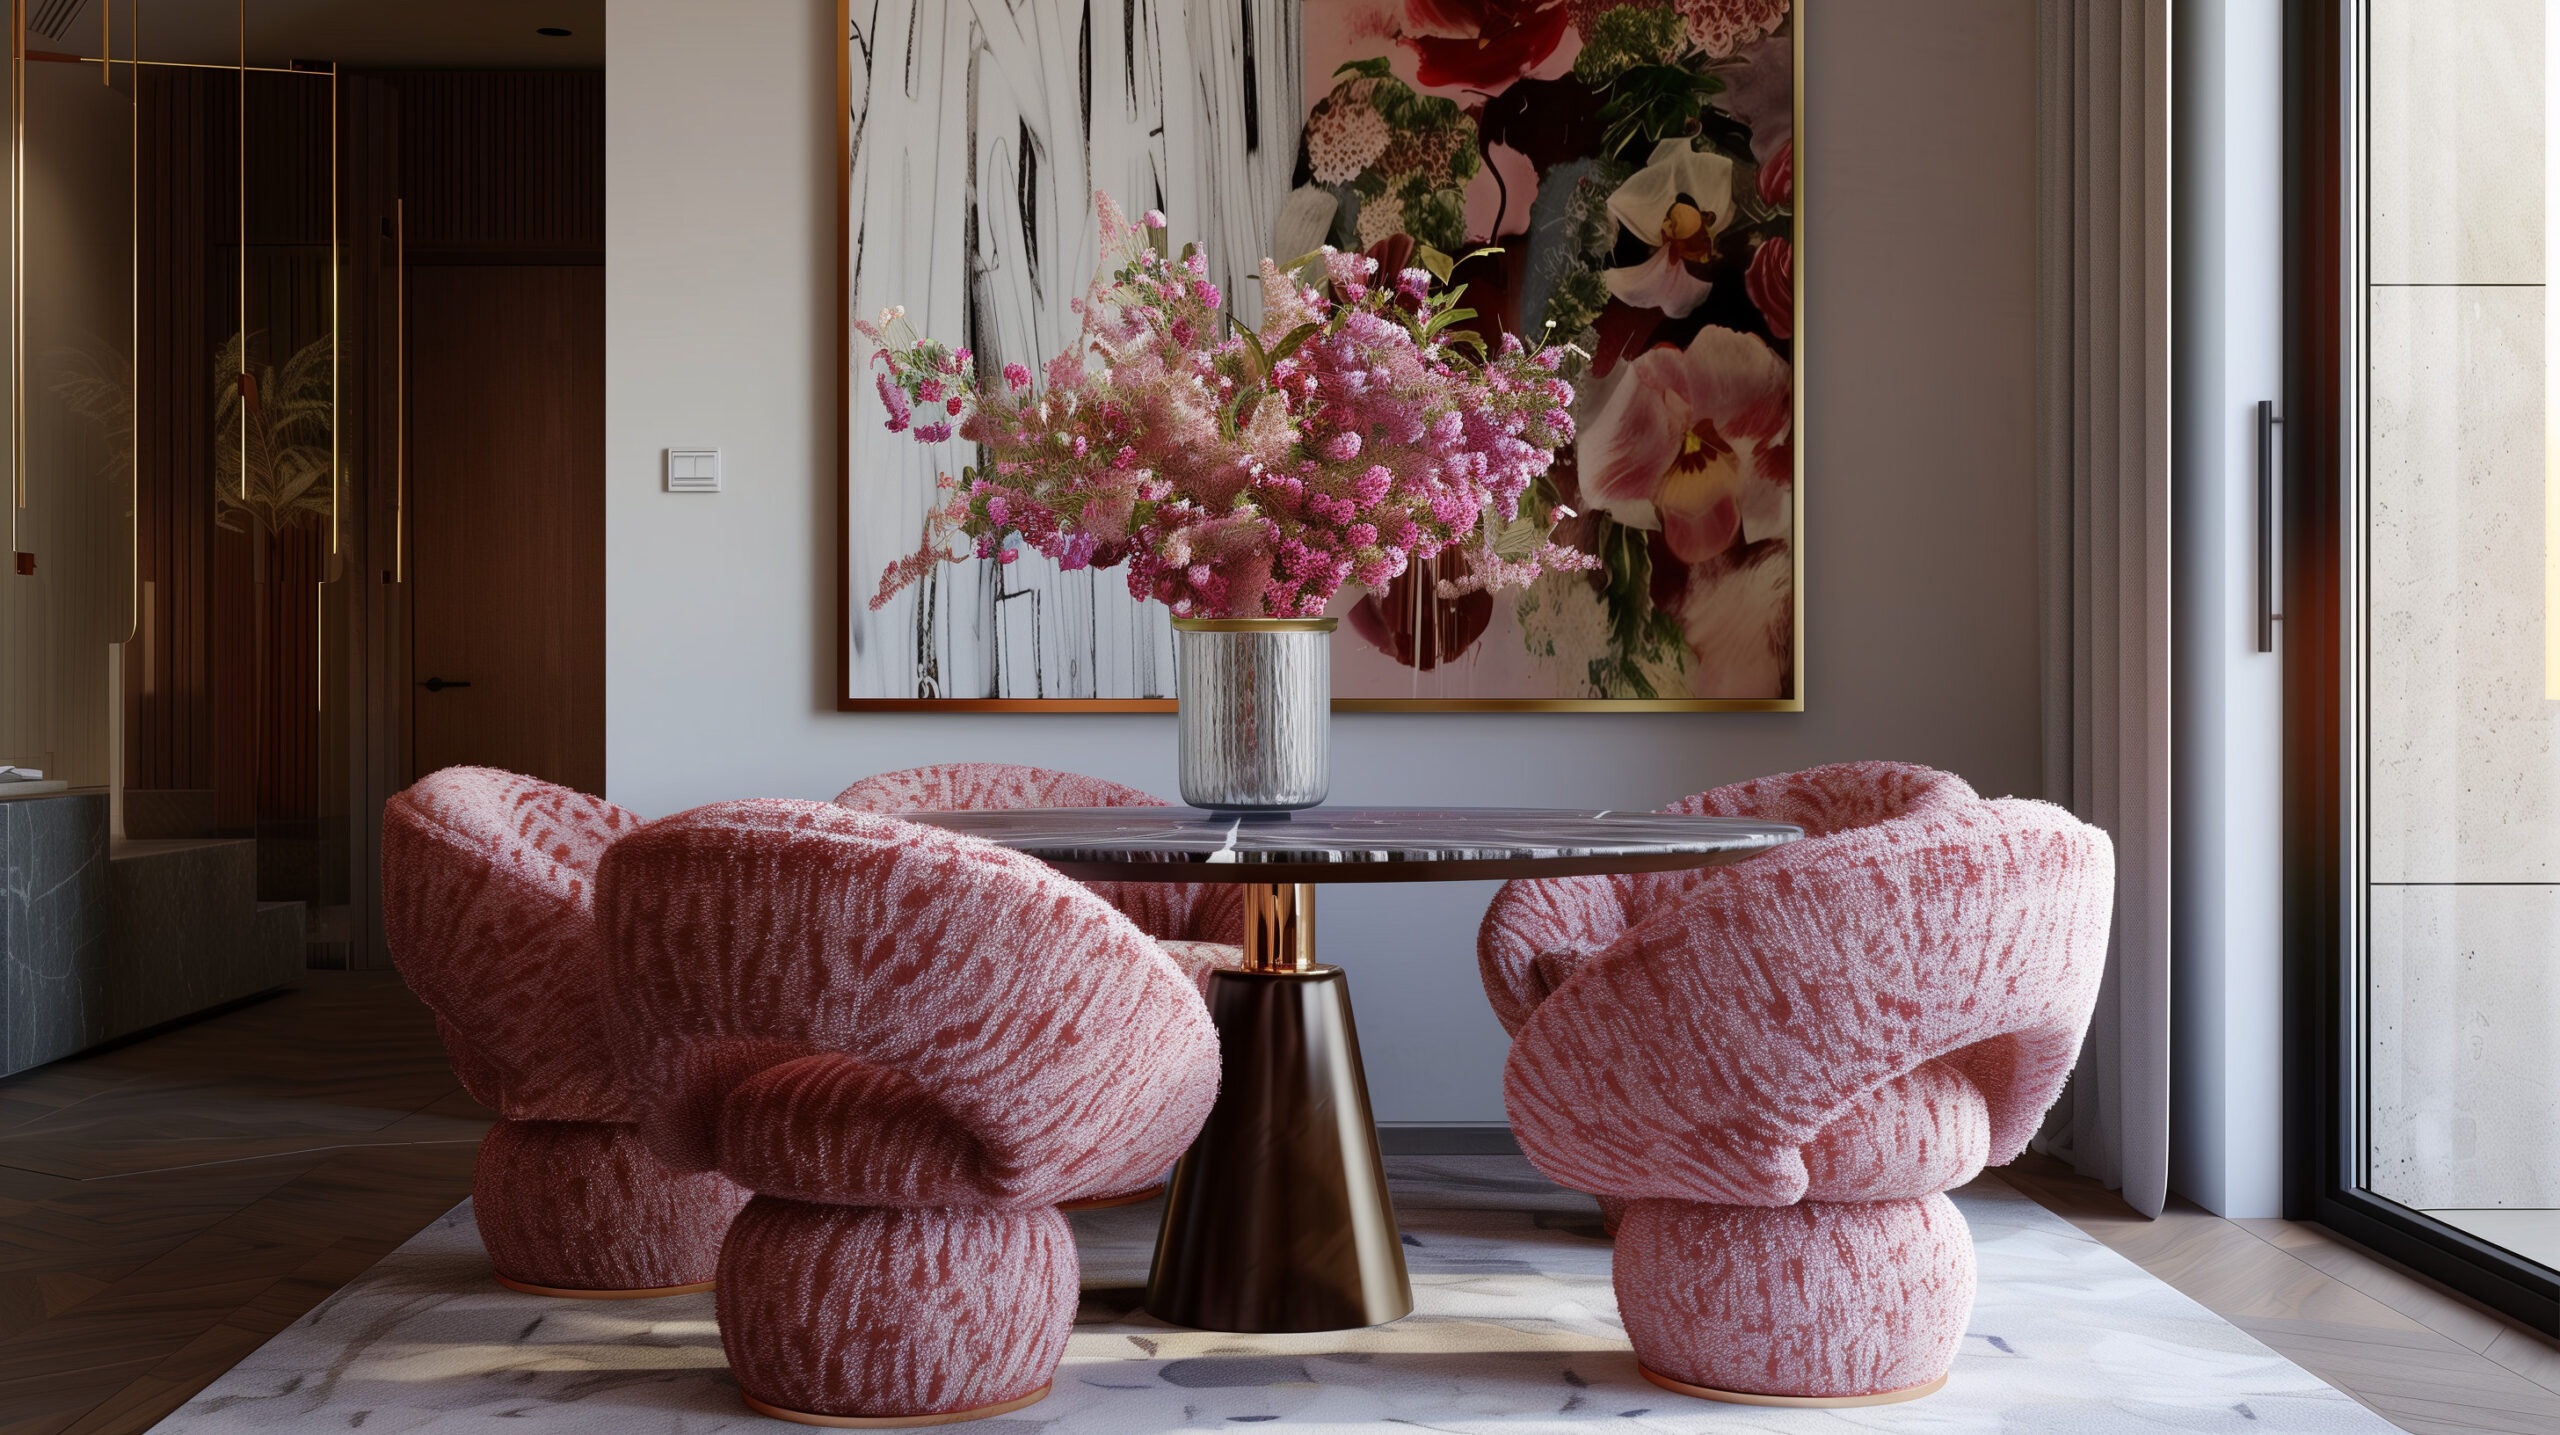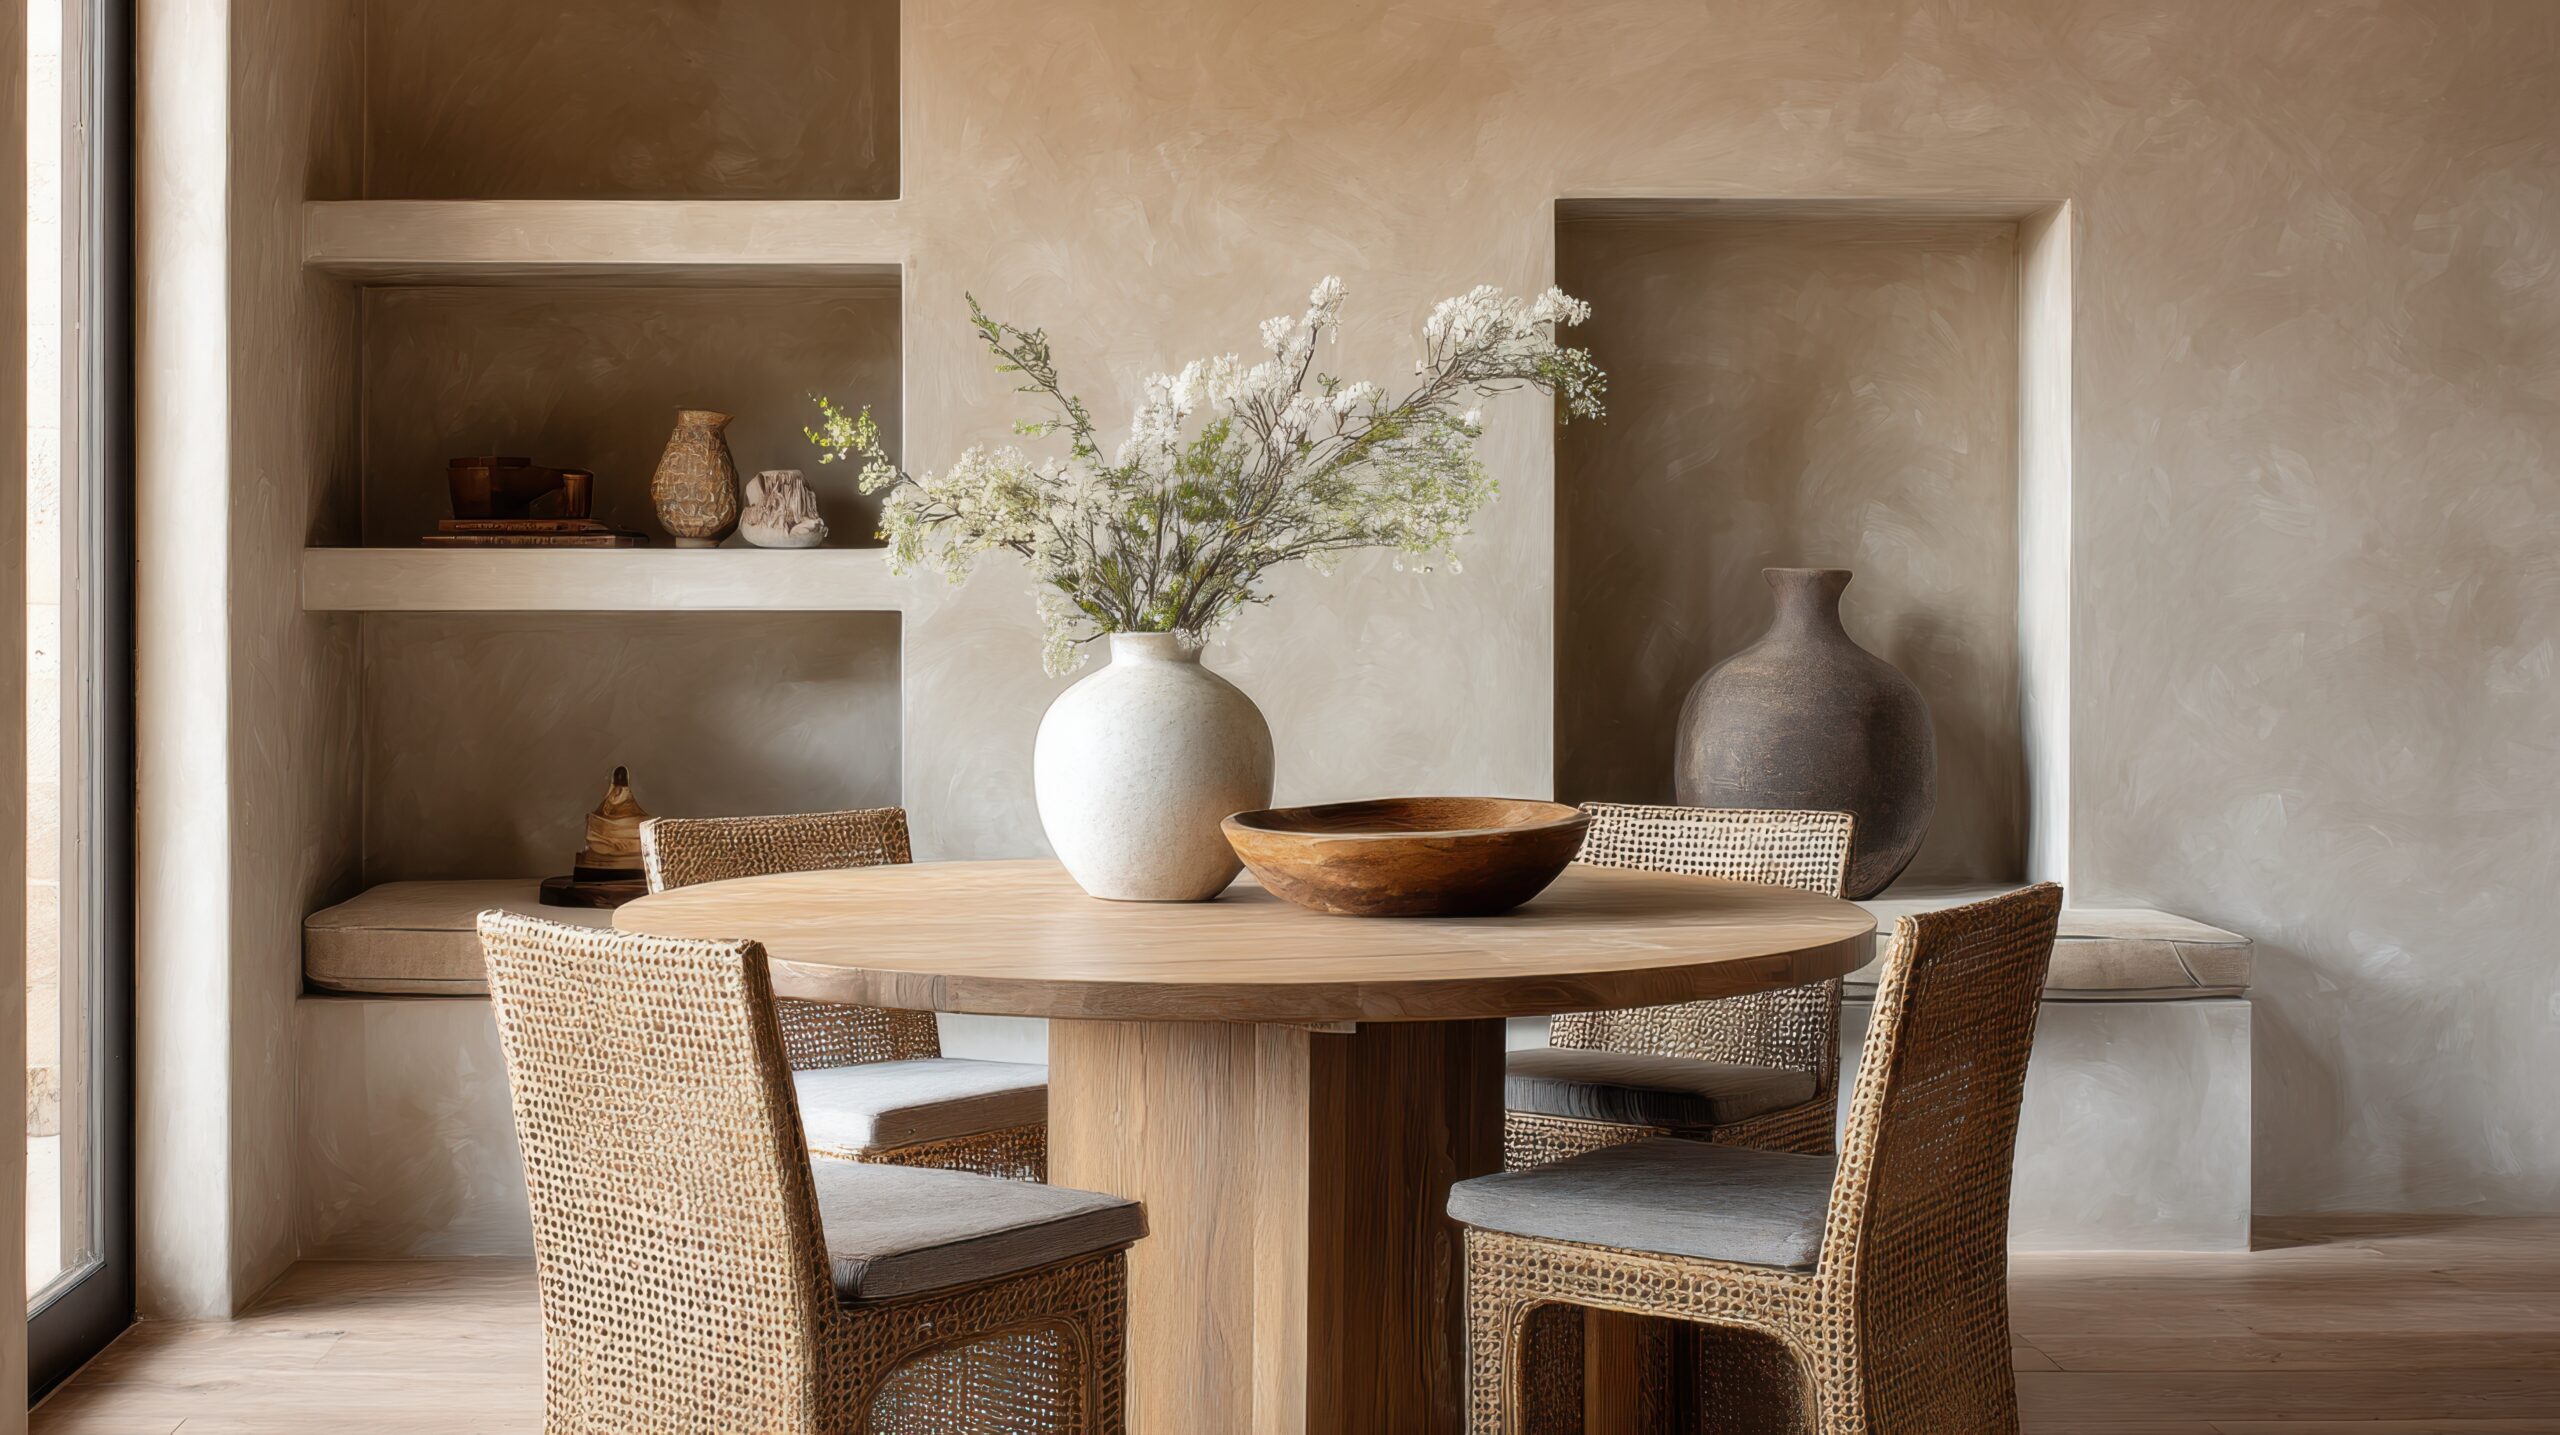
by Kesaa Interiors | DESIGN GUIDES, How-To Guides
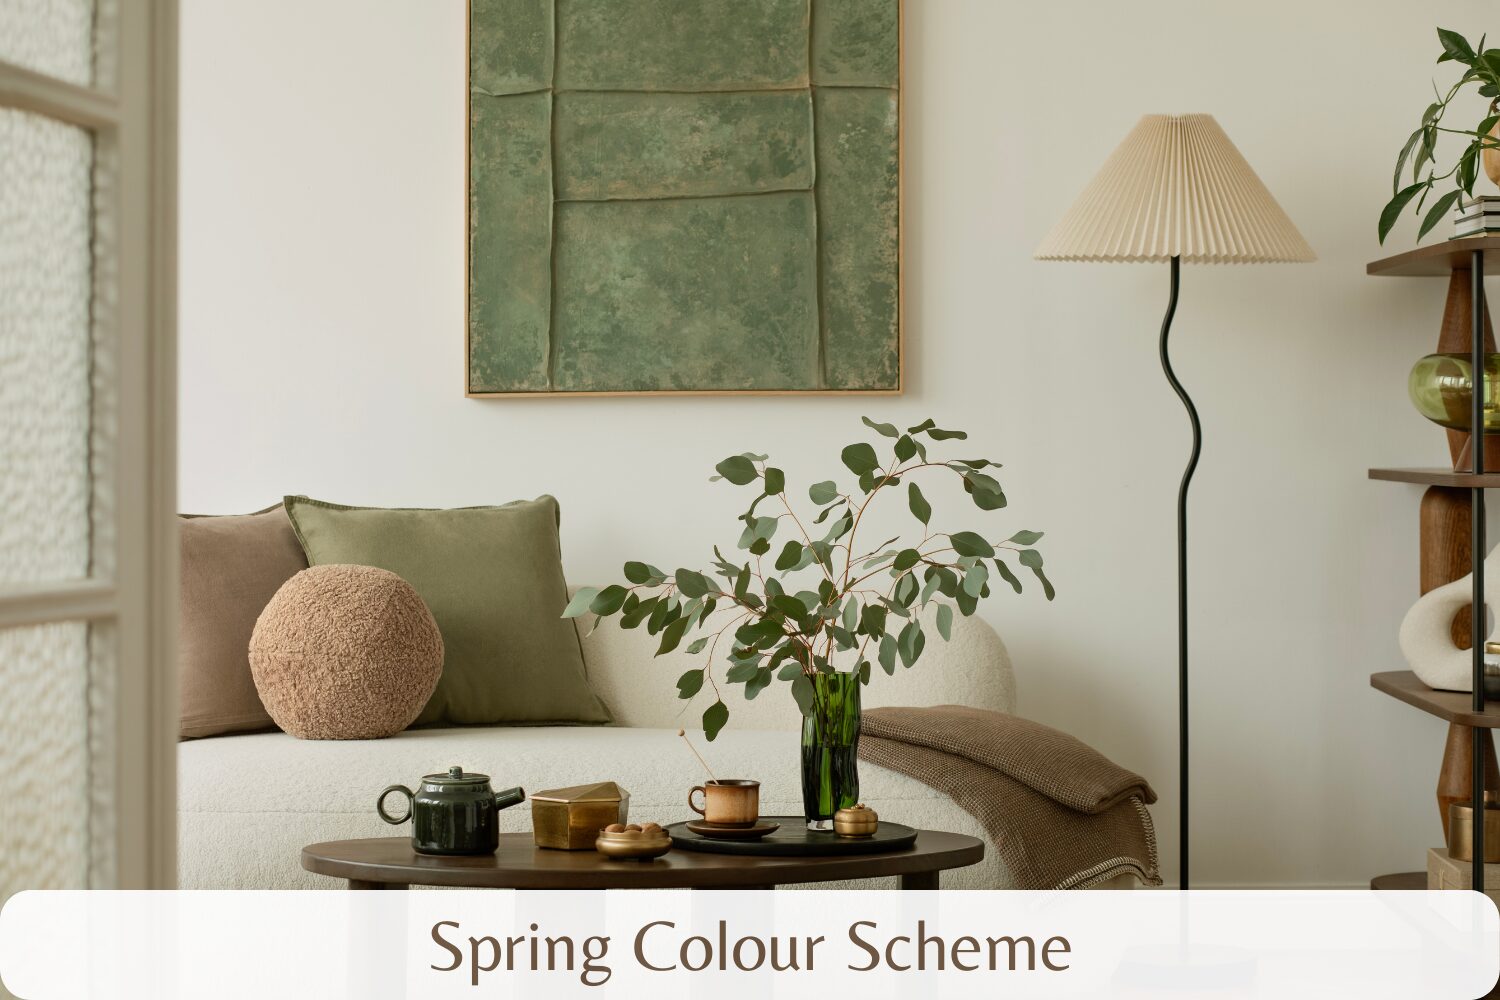
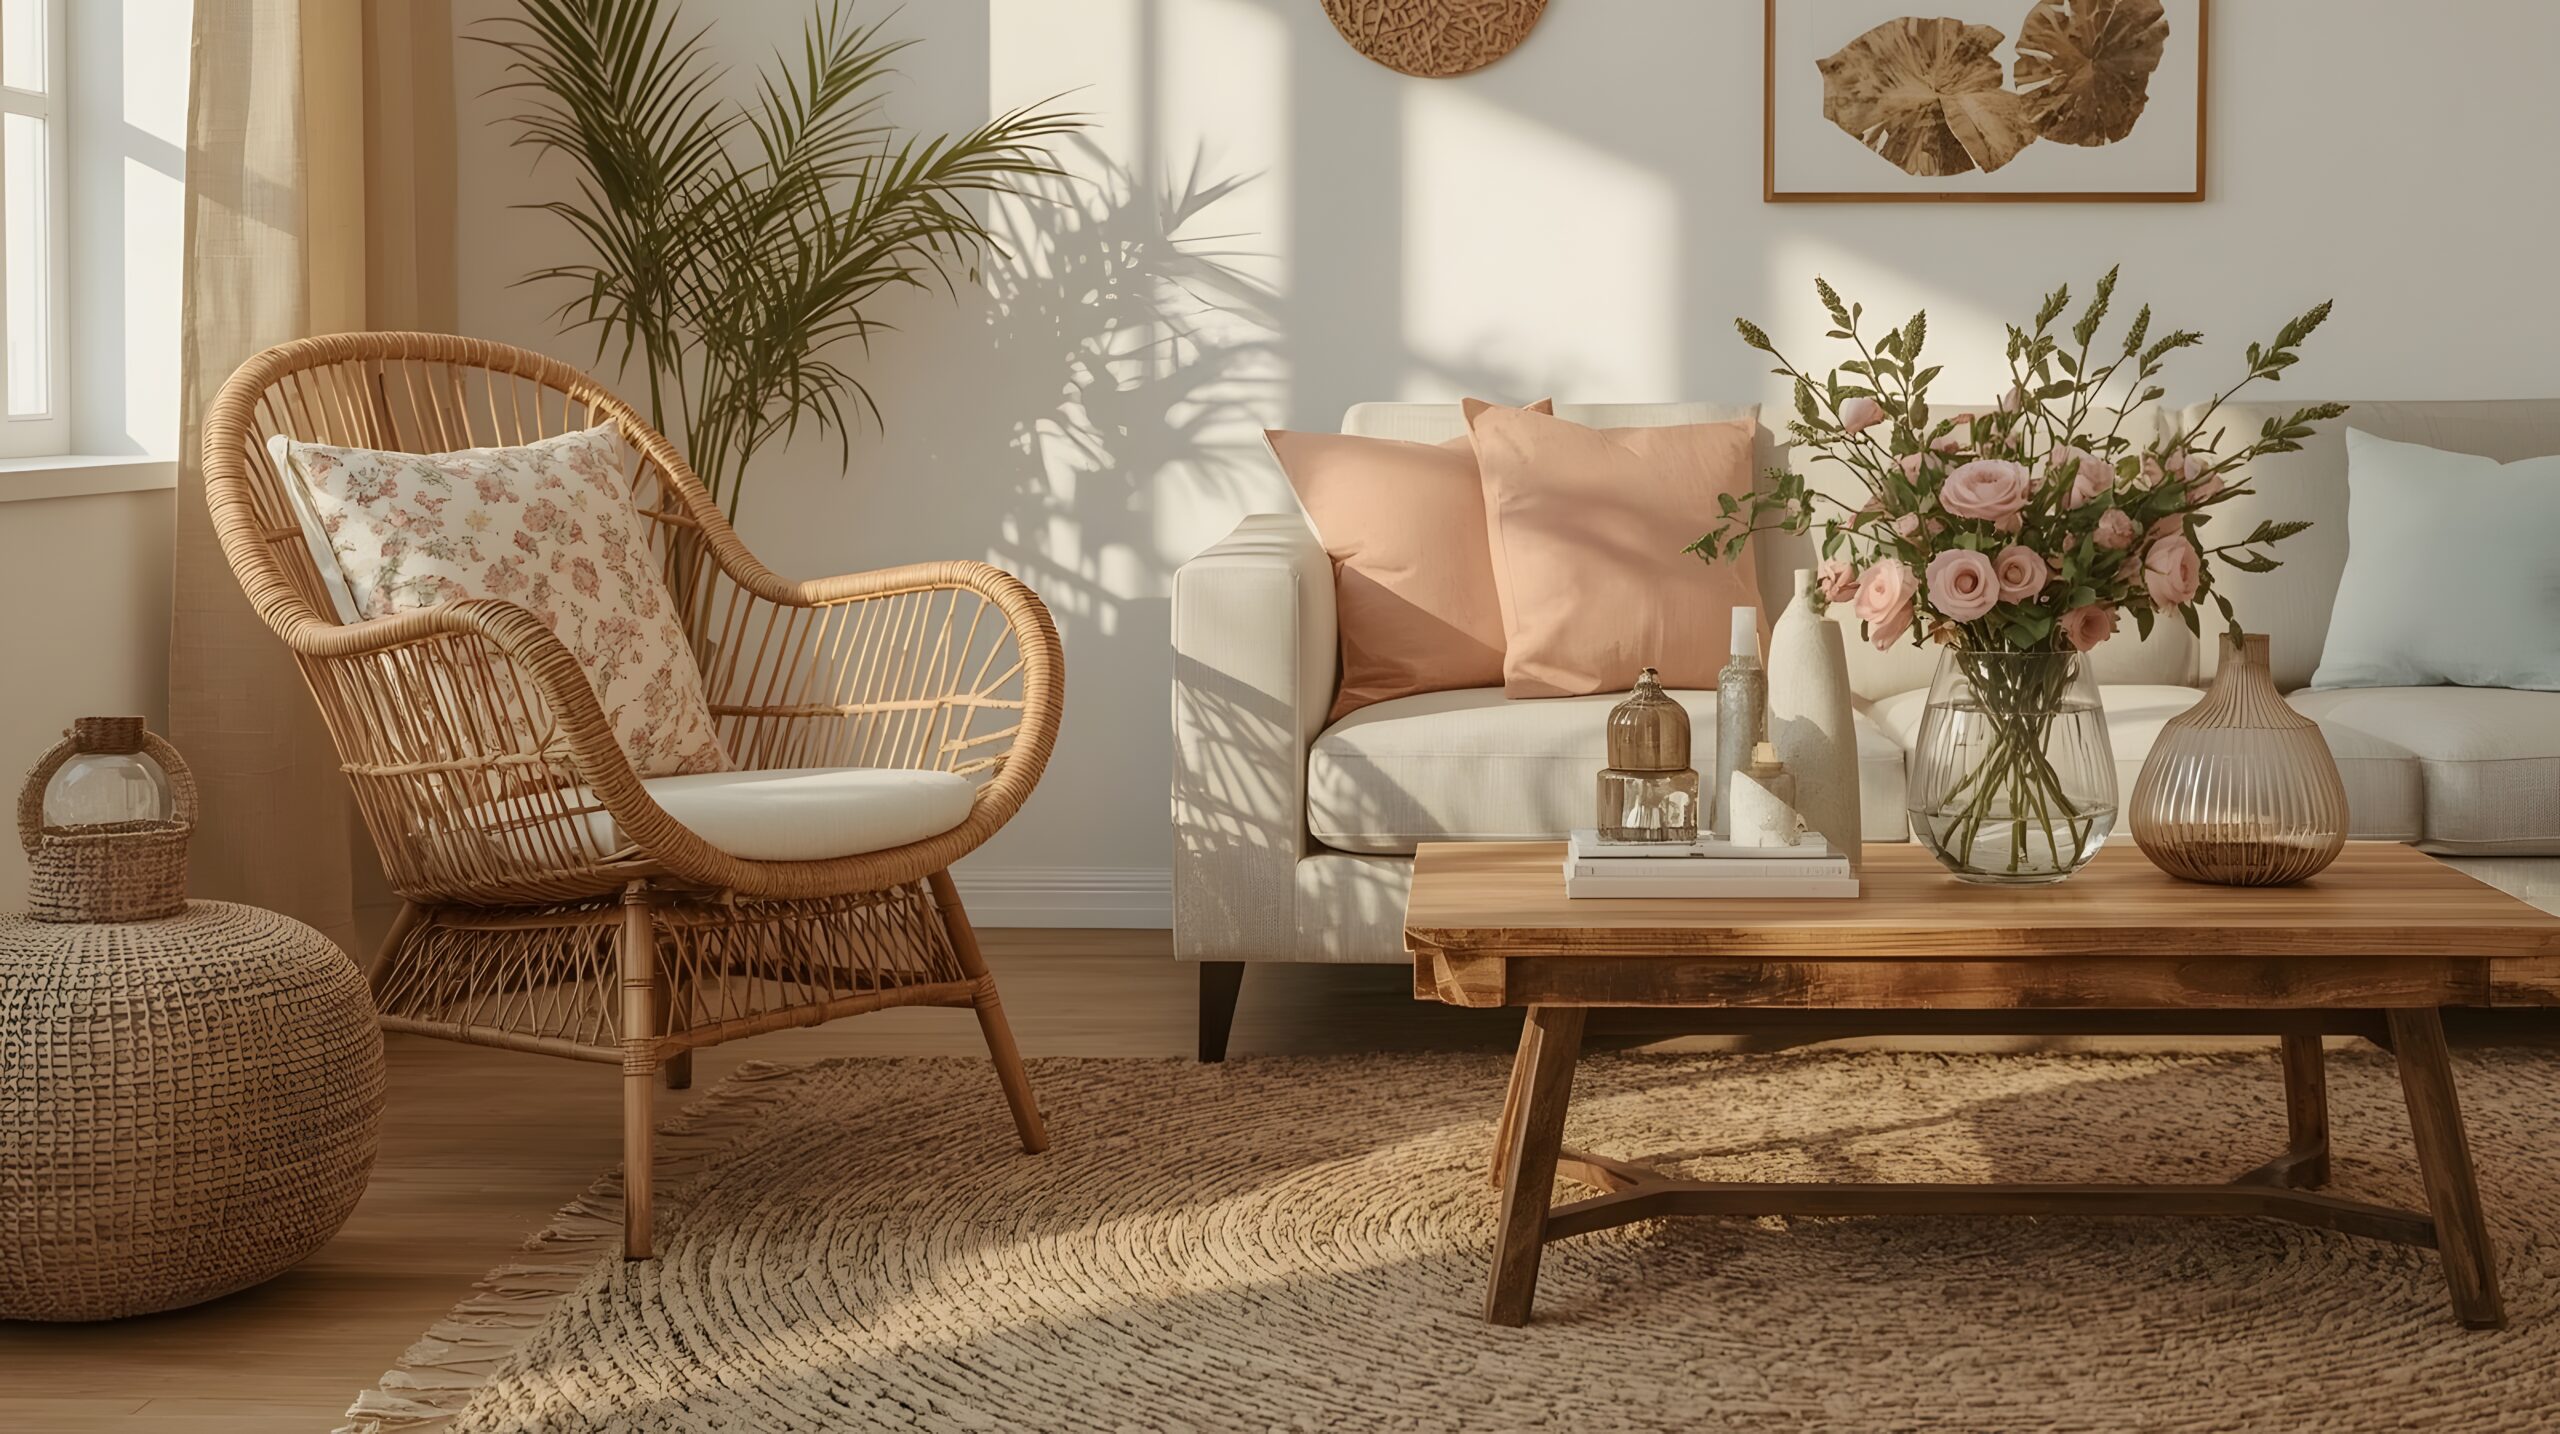
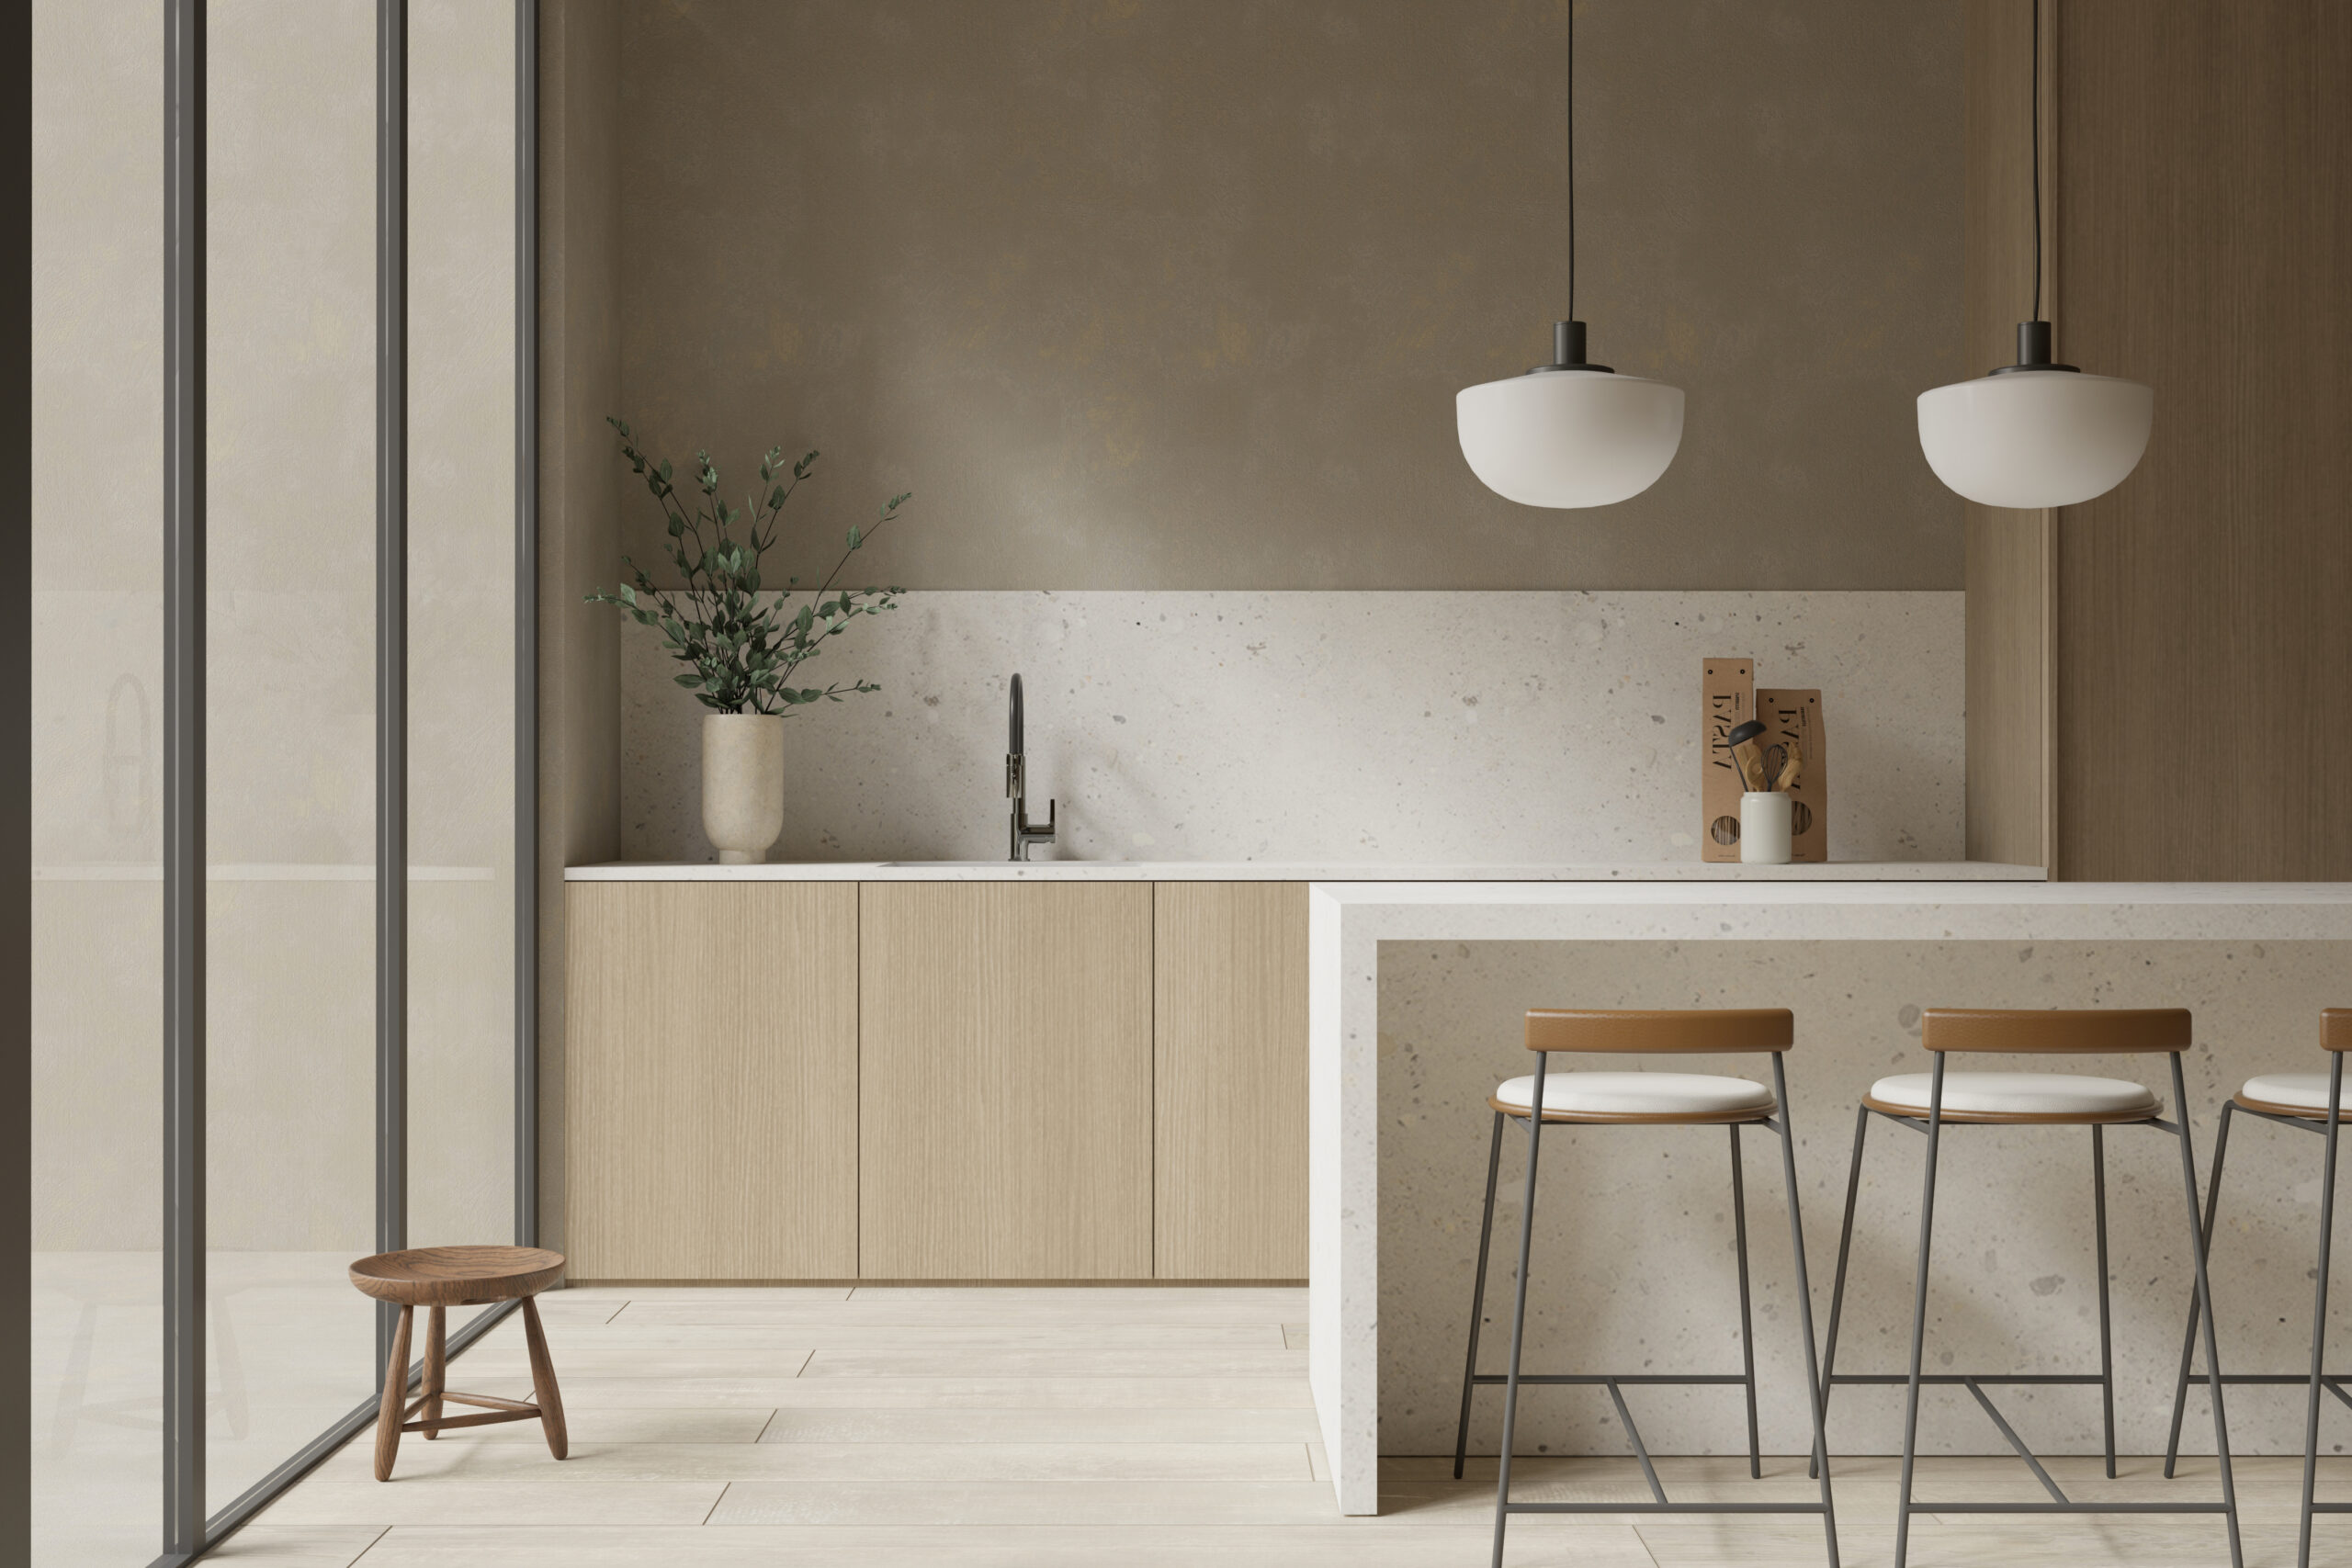
This post is all about the perfect spring colour scheme.
Freshening up your home with a new spring colour scheme is one of the most effective ways to capture the season’s lightness and warmth. Spring is a time for renewal, and your interiors can reflect that energy through colour, bringing softness, brightness, and vibrancy into your everyday spaces.
As the seasons change, updating your home’s palette can completely shift its atmosphere. In this post, we’ll explore how to choose colours that not only feel right but also complement your space and lighting. You’ll learn how to mix tones confidently, draw inspiration from nature, and find the right balance between trend and timelessness. Whether you’re repainting, redecorating, or simply refreshing a few details, this guide will help you create a cohesive look that feels joyful and natural this season.
This Post Is All About The Perfect Spring Colour Scheme.
Step 1: Understand the Mood You Want to Create
Before diving into paint charts or fabric swatches, it’s important to think about the mood you want your home to evoke. Every colour affects how a space feels. Soft greens bring calm, muted yellows and blush tones add warmth, while light blues and whites create a sense of openness. Choosing a spring colour scheme starts with understanding the feeling you want to live with every day.
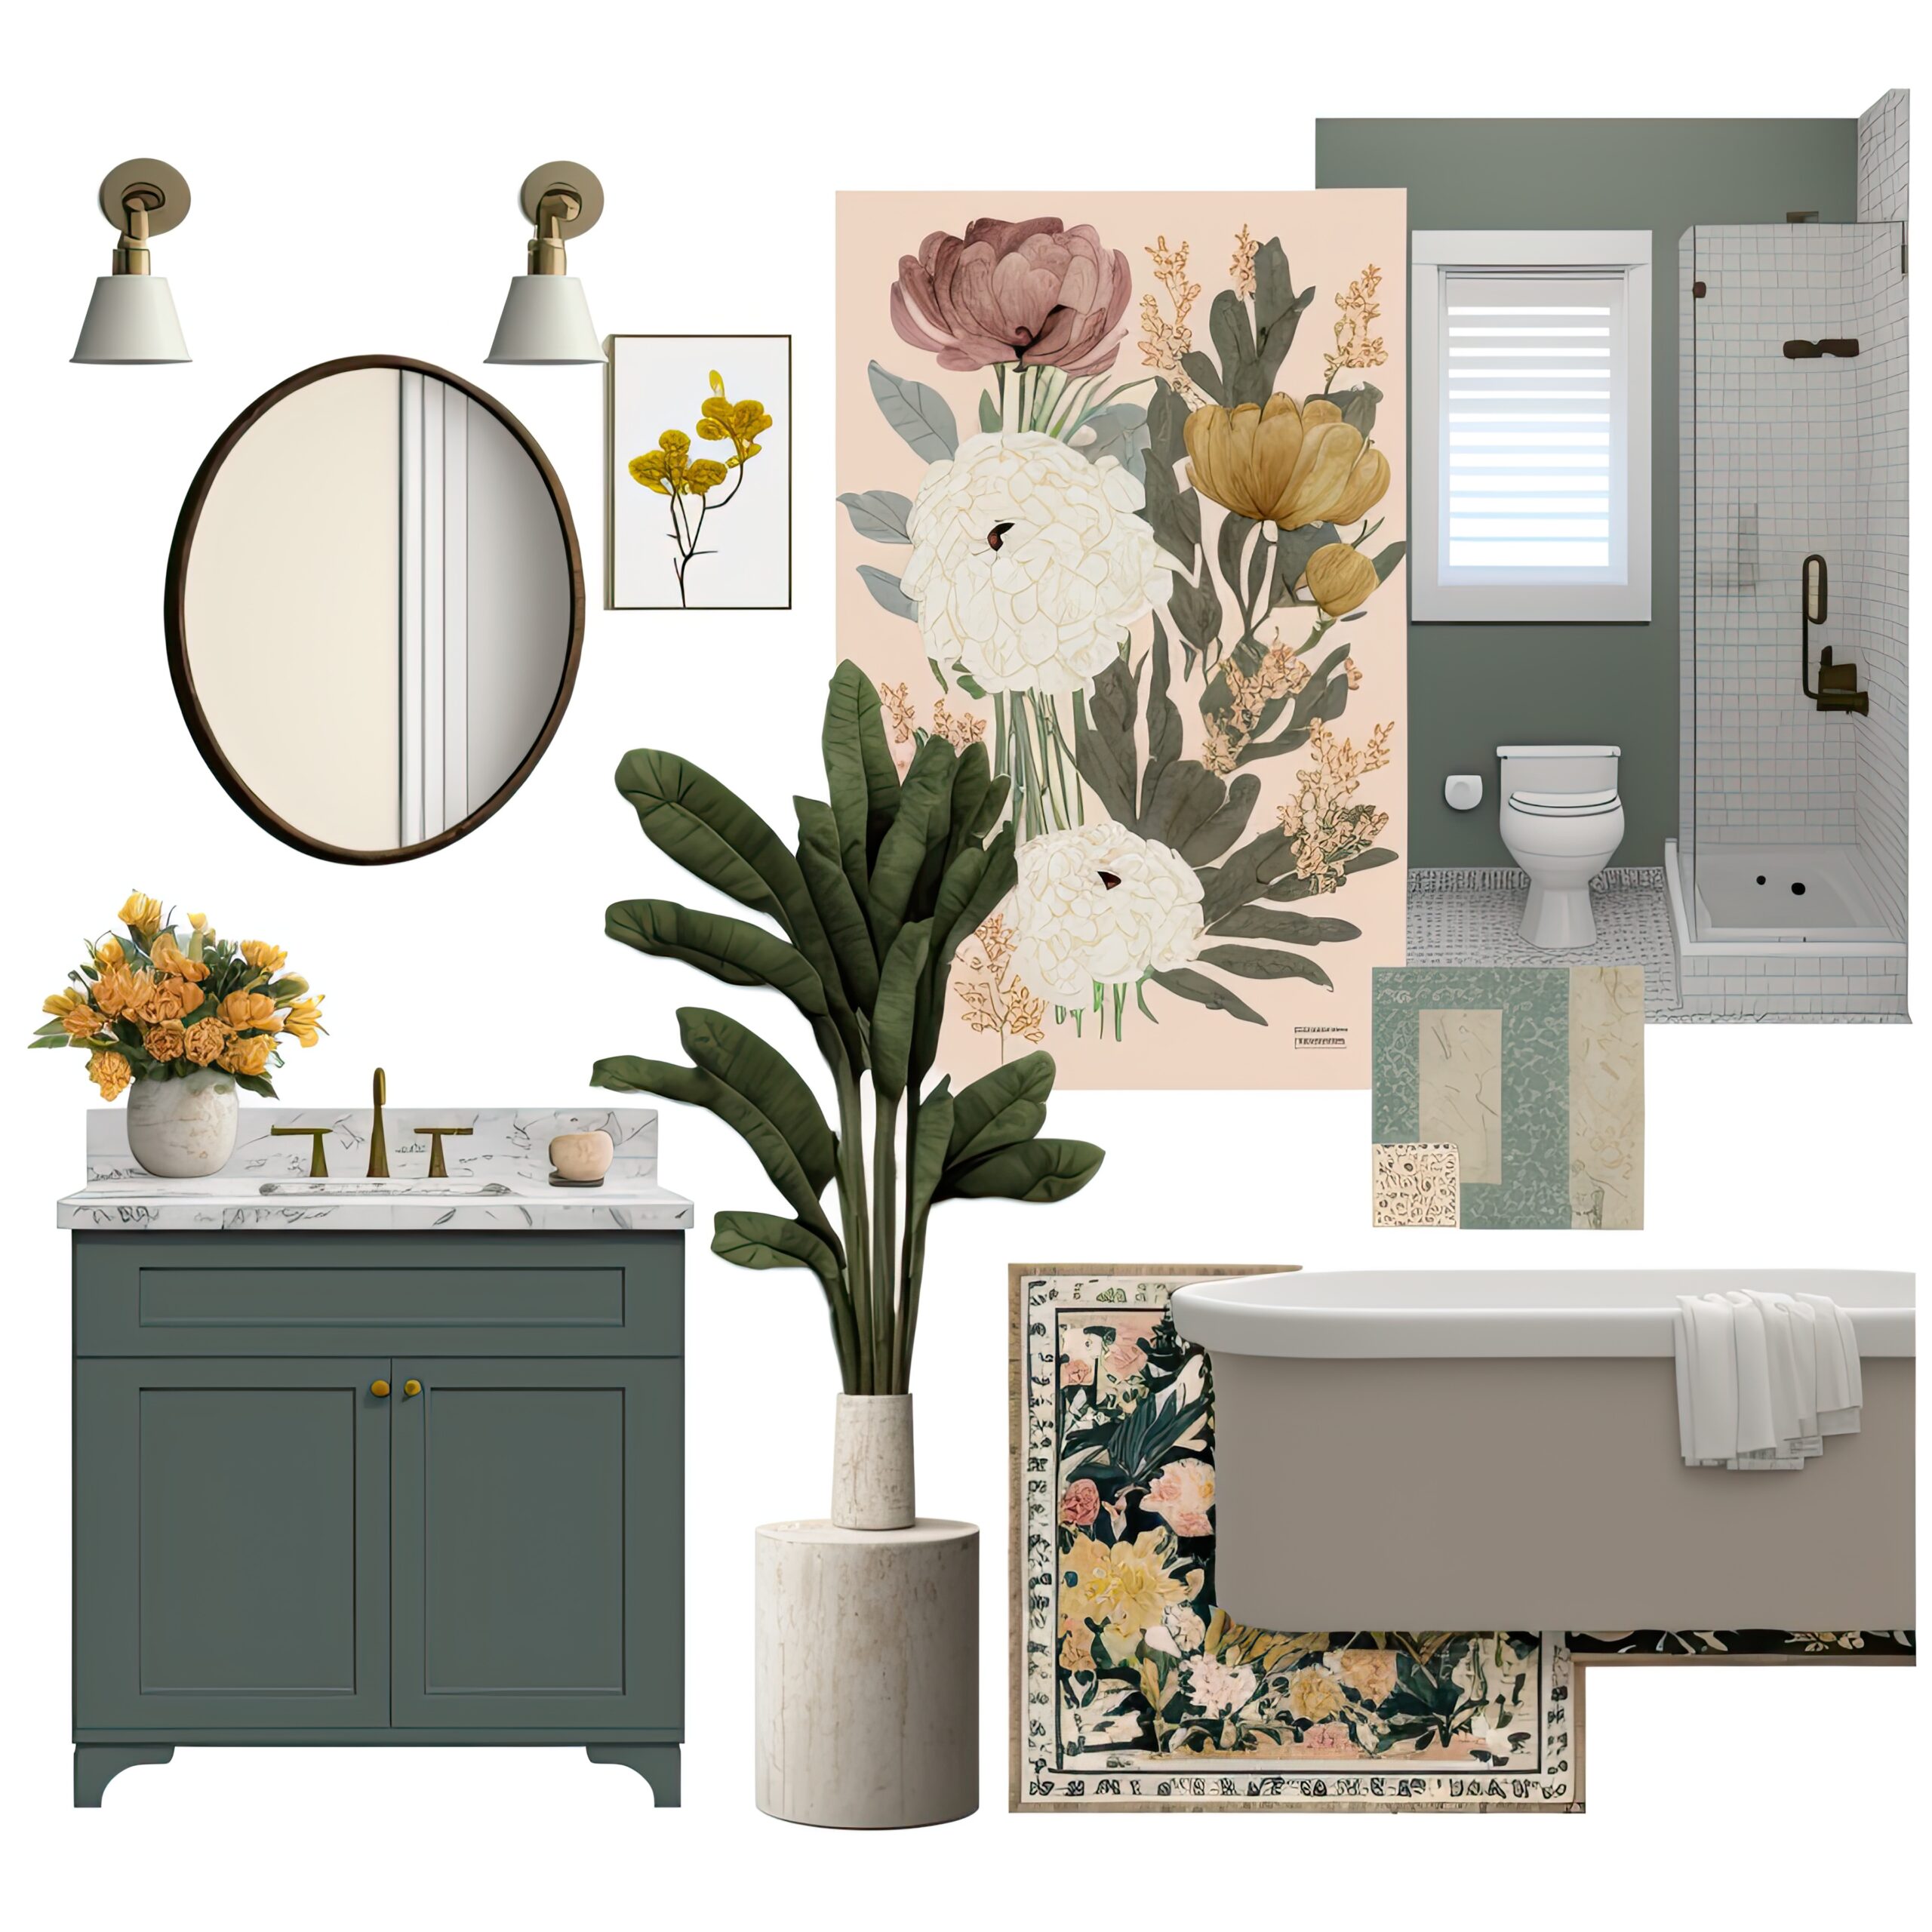
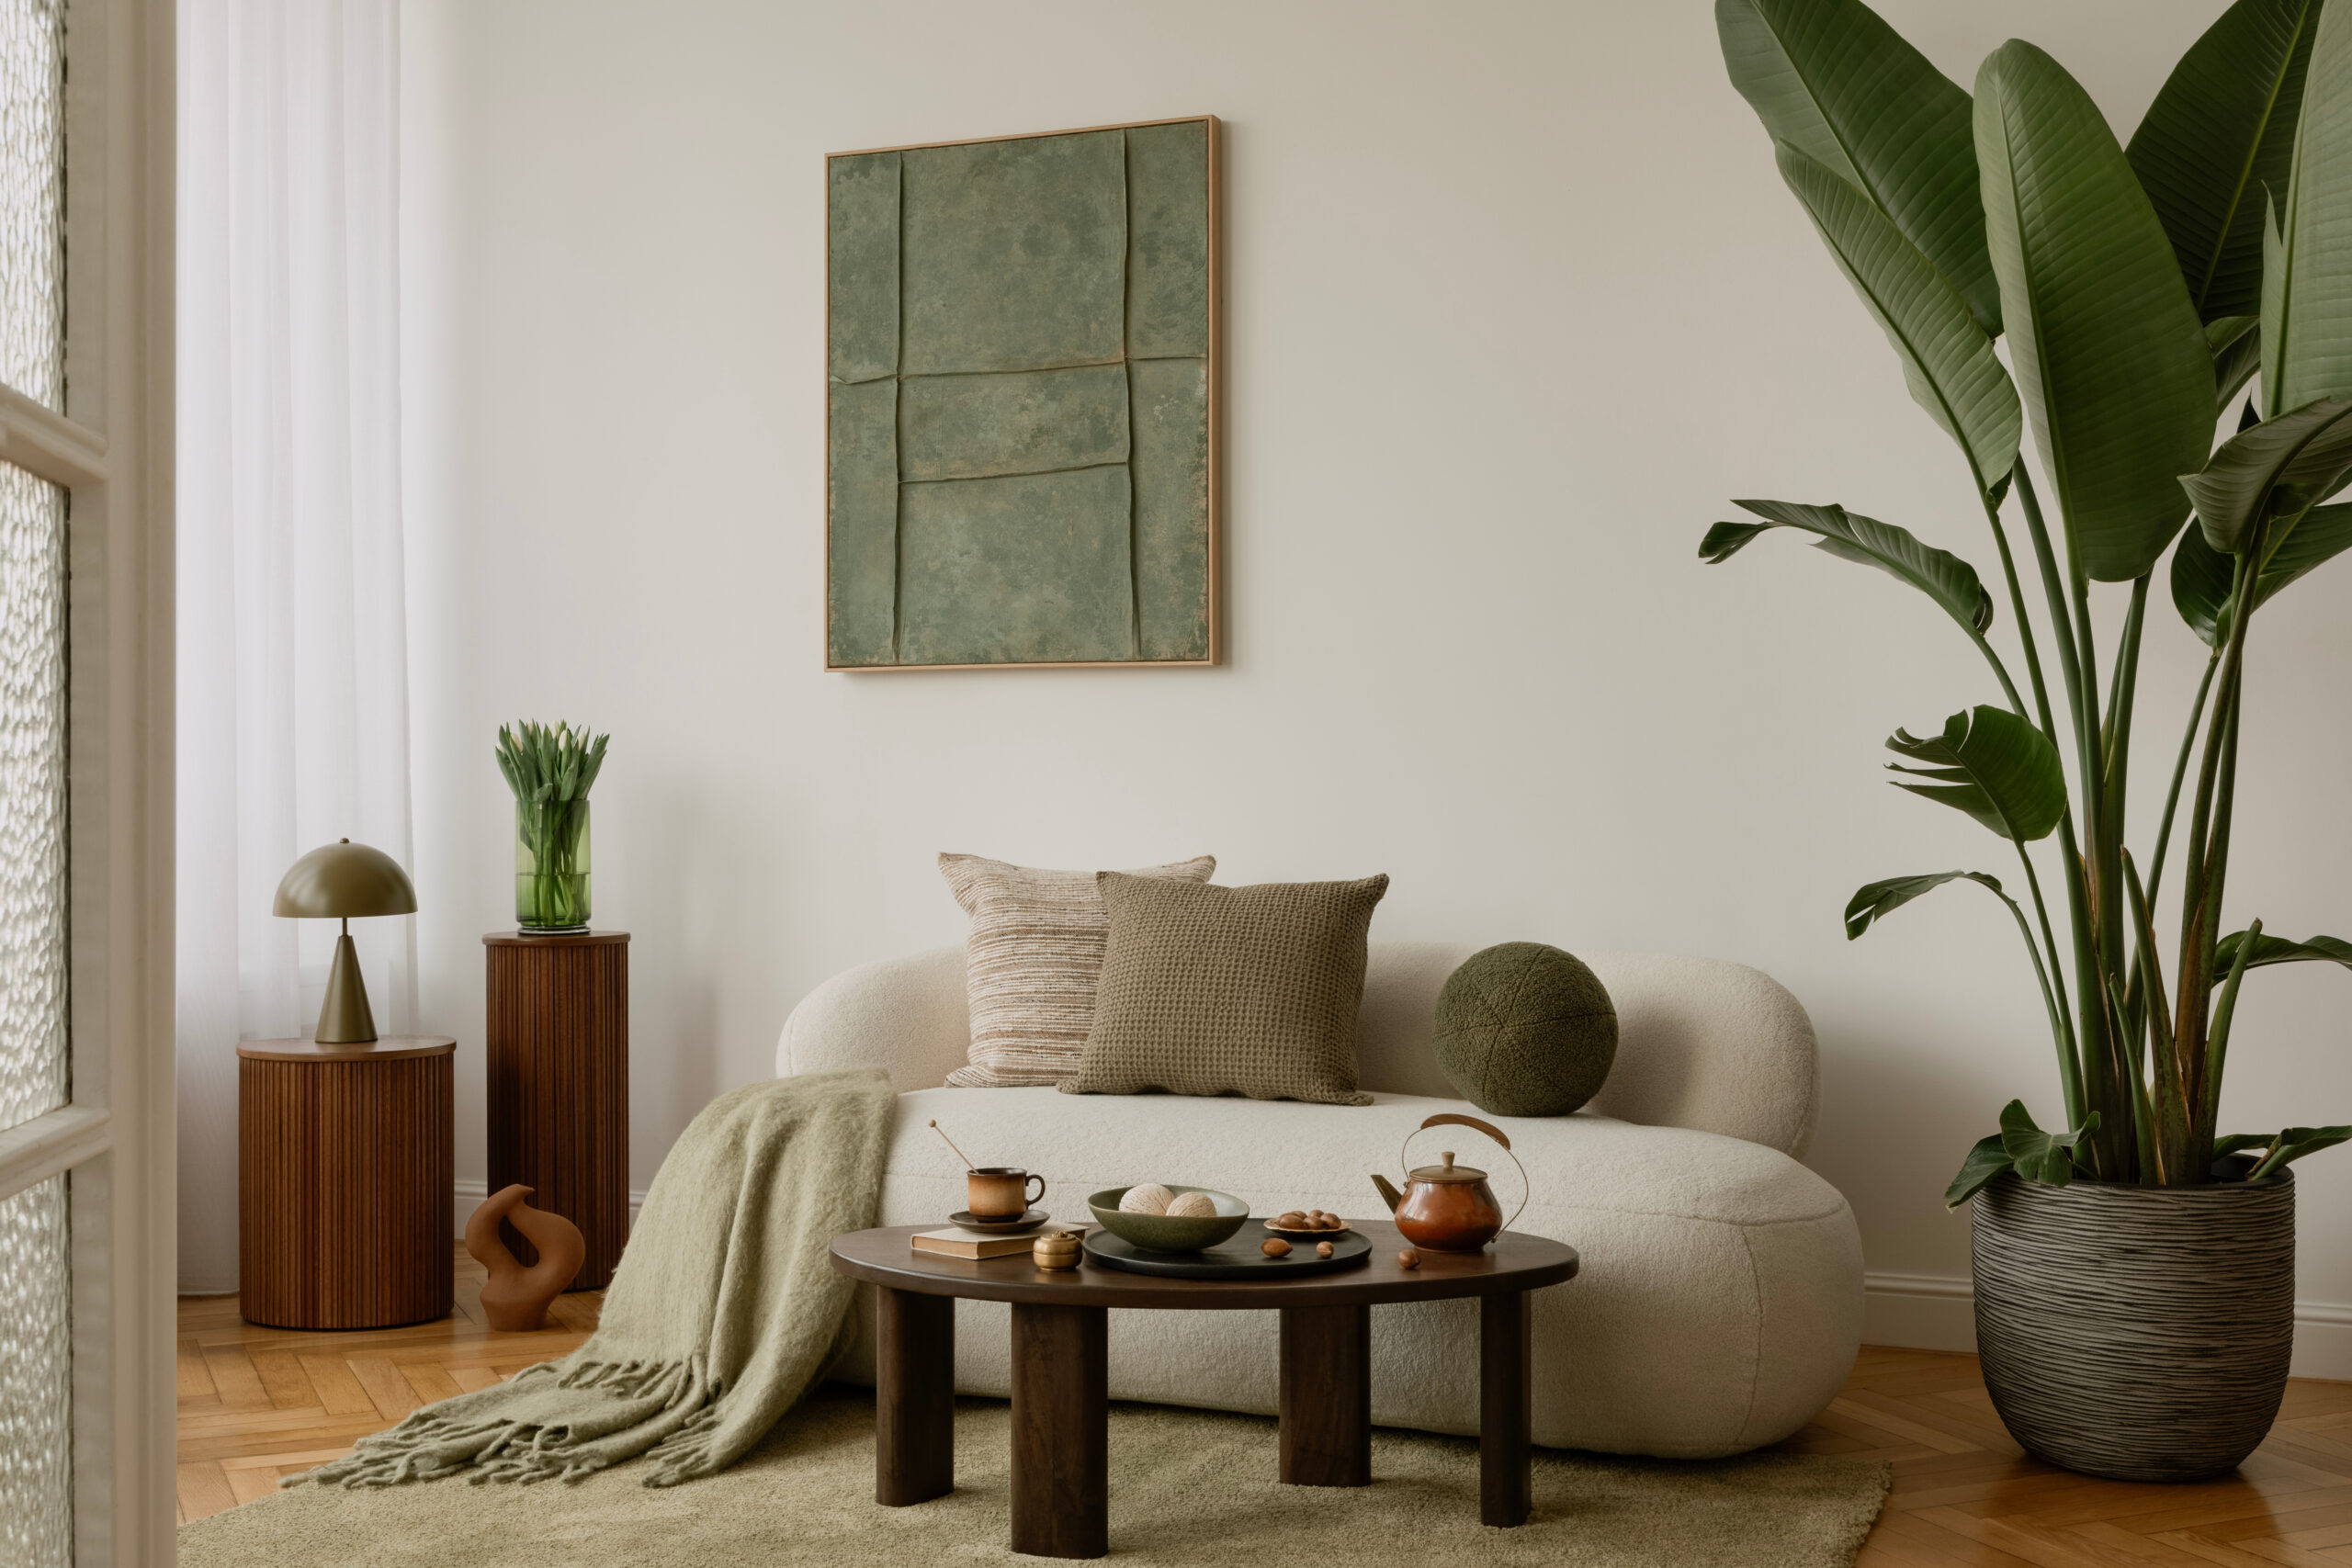
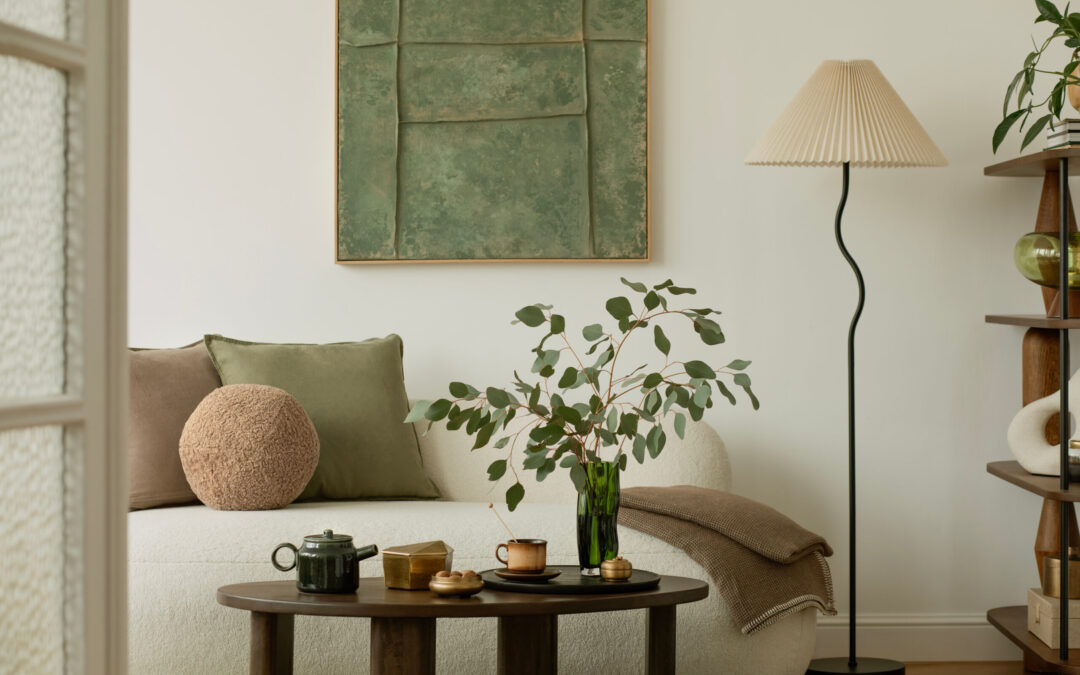
When building a palette, start with an anchor colour, something that feels right for your personality and the natural light in your home. From there, layer in complementary shades to enhance depth and flow. For instance, a palette of sage, cream, and soft terracotta can create a grounded yet refreshing atmosphere.
Think about how you use each room as well. A living space might benefit from energy and lightness, while a bedroom often calls for soothing, understated tones. Let your spring colour scheme support the emotion of each space rather than distract from it. This approach ensures that your home feels balanced and welcoming through every season.
Step 2: Draw Inspiration from Nature and Trends
Spring offers an incredible palette if you take cues directly from nature. Think about the soft greens of new leaves, delicate blush petals, and the gentle blues of a clear morning sky. These natural tones are not only timeless but also form the foundation of a well-balanced spring colour scheme that feels effortless and organic.
Using nature as a reference point helps keep your colours grounded. For example, you might draw inspiration from the layered hues of a garden; a combination of pale lilac, warm cream, and earthy beige can evoke the feeling of early spring blooms. When these tones are brought indoors, they create a calm and inviting setting that mirrors the season’s beauty without feeling overstyled.
Design trends can also be a great way to refresh your approach. Each year brings new interpretations of spring colours, often with subtle twists that modernise classic palettes. This year, tones like sage green, muted coral, and buttery yellow are all in focus. They pair beautifully with neutrals and can be introduced through small accents such as cushions, throws, or artwork before fully committing to paint or upholstery.
When building your spring colour scheme, balance is key. Aim for a combination of three to five shades: one dominant colour, two secondary tones, and a few accent colours for contrast. This structure ensures your interiors feel cohesive but never flat. If you find your palette leaning too heavily toward one shade family, pull in a subtle complementary tone to harmonise it.
By blending inspiration from both nature and current design directions, you’ll create a spring colour scheme that feels fresh yet enduring. It’s about capturing the essence of the season in a way that reflects your own taste and home, rather than chasing temporary trends.
Step 3: Consider Your Home’s Lighting and Space
Even the most beautiful colour can look completely different once it’s on your walls. Light plays a huge role in how your chosen spring colour scheme appears throughout the day, so it’s important to understand how natural and artificial lighting influences your palette.
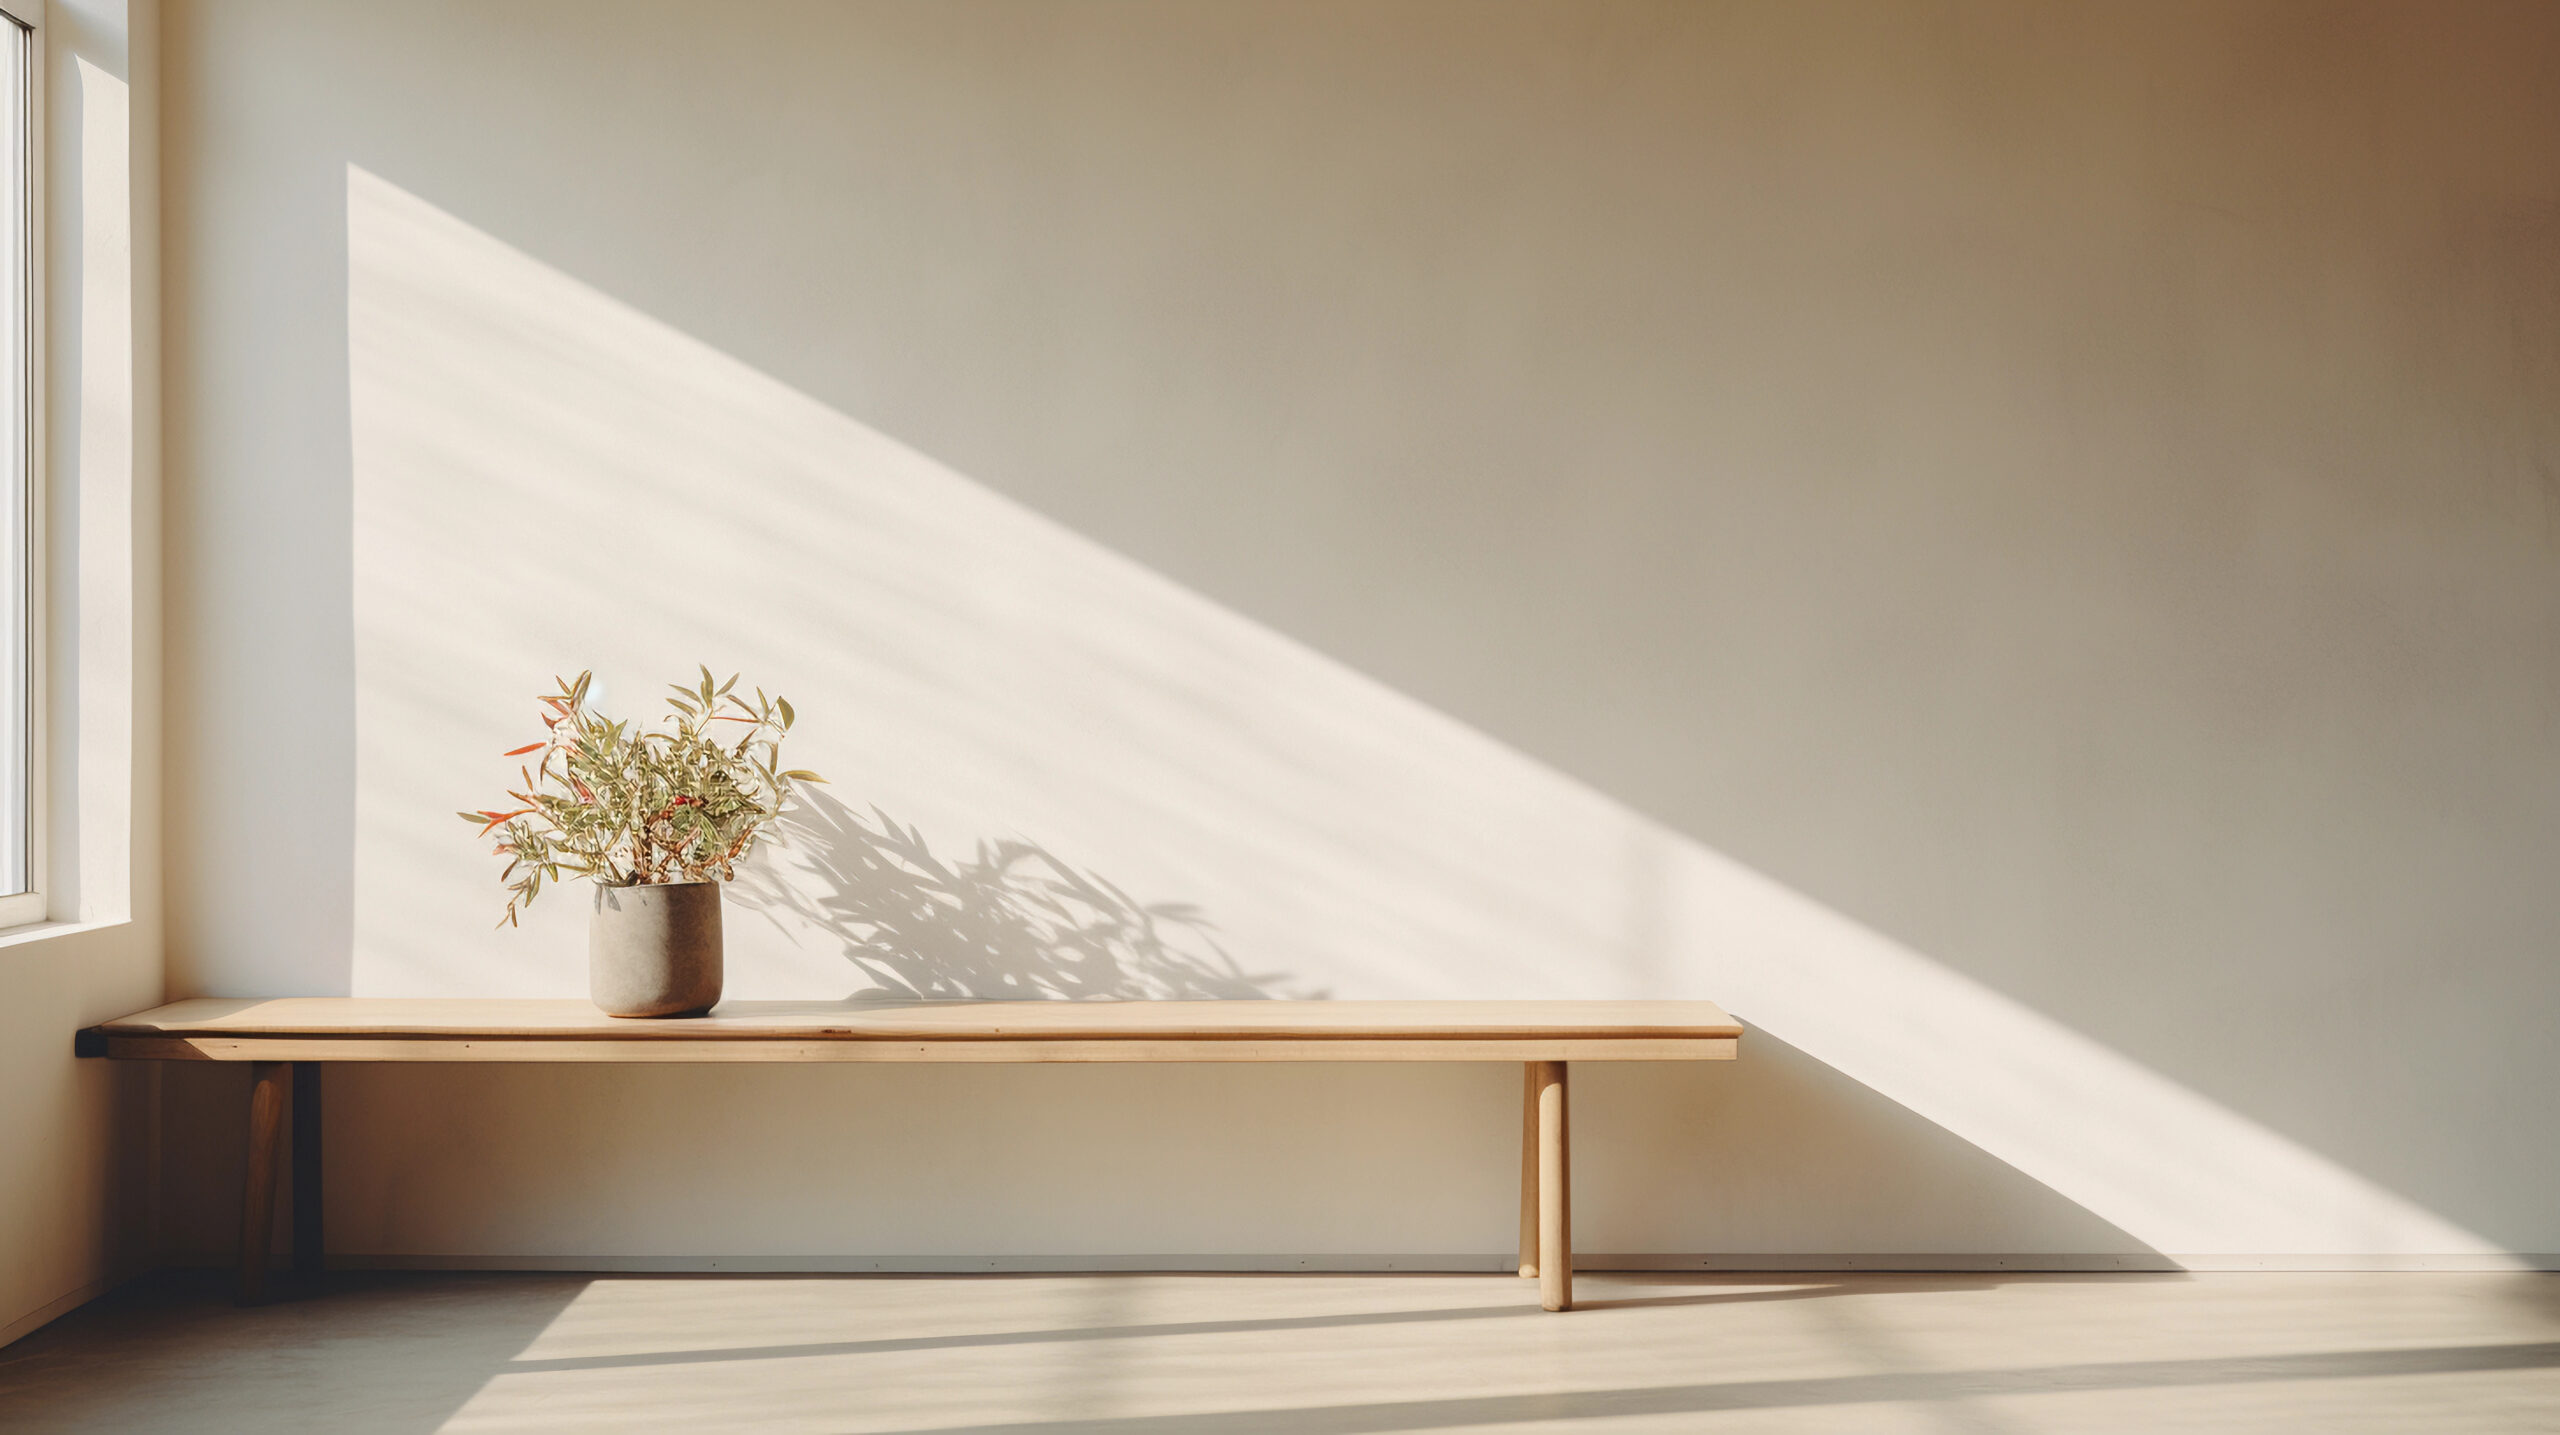
North-facing rooms, especially in Australia, often receive softer, cooler light. These spaces benefit from warmer undertones like dusty peach, buttery cream, or muted coral to balance the coolness. South-facing rooms, on the other hand, can handle cooler hues such as pale blue, sage, or soft grey-green that stay serene and fresh. If you’re unsure, paint a few test patches on your walls and observe them at different times of day: morning, midday, and evening, to see how they shift under changing light.
Smaller rooms tend to feel more open when lighter shades are used, while larger, sun-filled areas can handle deeper or more saturated tones without feeling heavy. When finalising your spring colour scheme, think about the direction of your windows and how much natural light your rooms receive. Even the colour temperature of your light bulbs, whether warm or cool, can subtly change how your palette reads.
This step is all about observation and testing. Don’t rush the process. Seeing how colours react in your own environment ensures you’ll love them in every type of light. A thoughtfully chosen spring colour scheme should feel vibrant in daylight yet comfortable and cosy once the evening sets in.
Step 4: Coordinate with Existing Furniture and Décor
Once you’ve narrowed down your palette, the next step is ensuring that your new spring colour scheme works in harmony with your existing furniture and décor. This is where good design really comes together, creating flow between what you already have and the fresh touches you’re adding for the season.
Start by identifying the core tones in your furniture and larger décor pieces. If your sofa is a warm beige or soft grey, it can act as the perfect foundation for almost any set of accent colours. Introduce your spring colour scheme through layers: cushions, rugs, curtains, art, or even floral arrangements. These smaller elements allow you to explore colour freely without major changes.
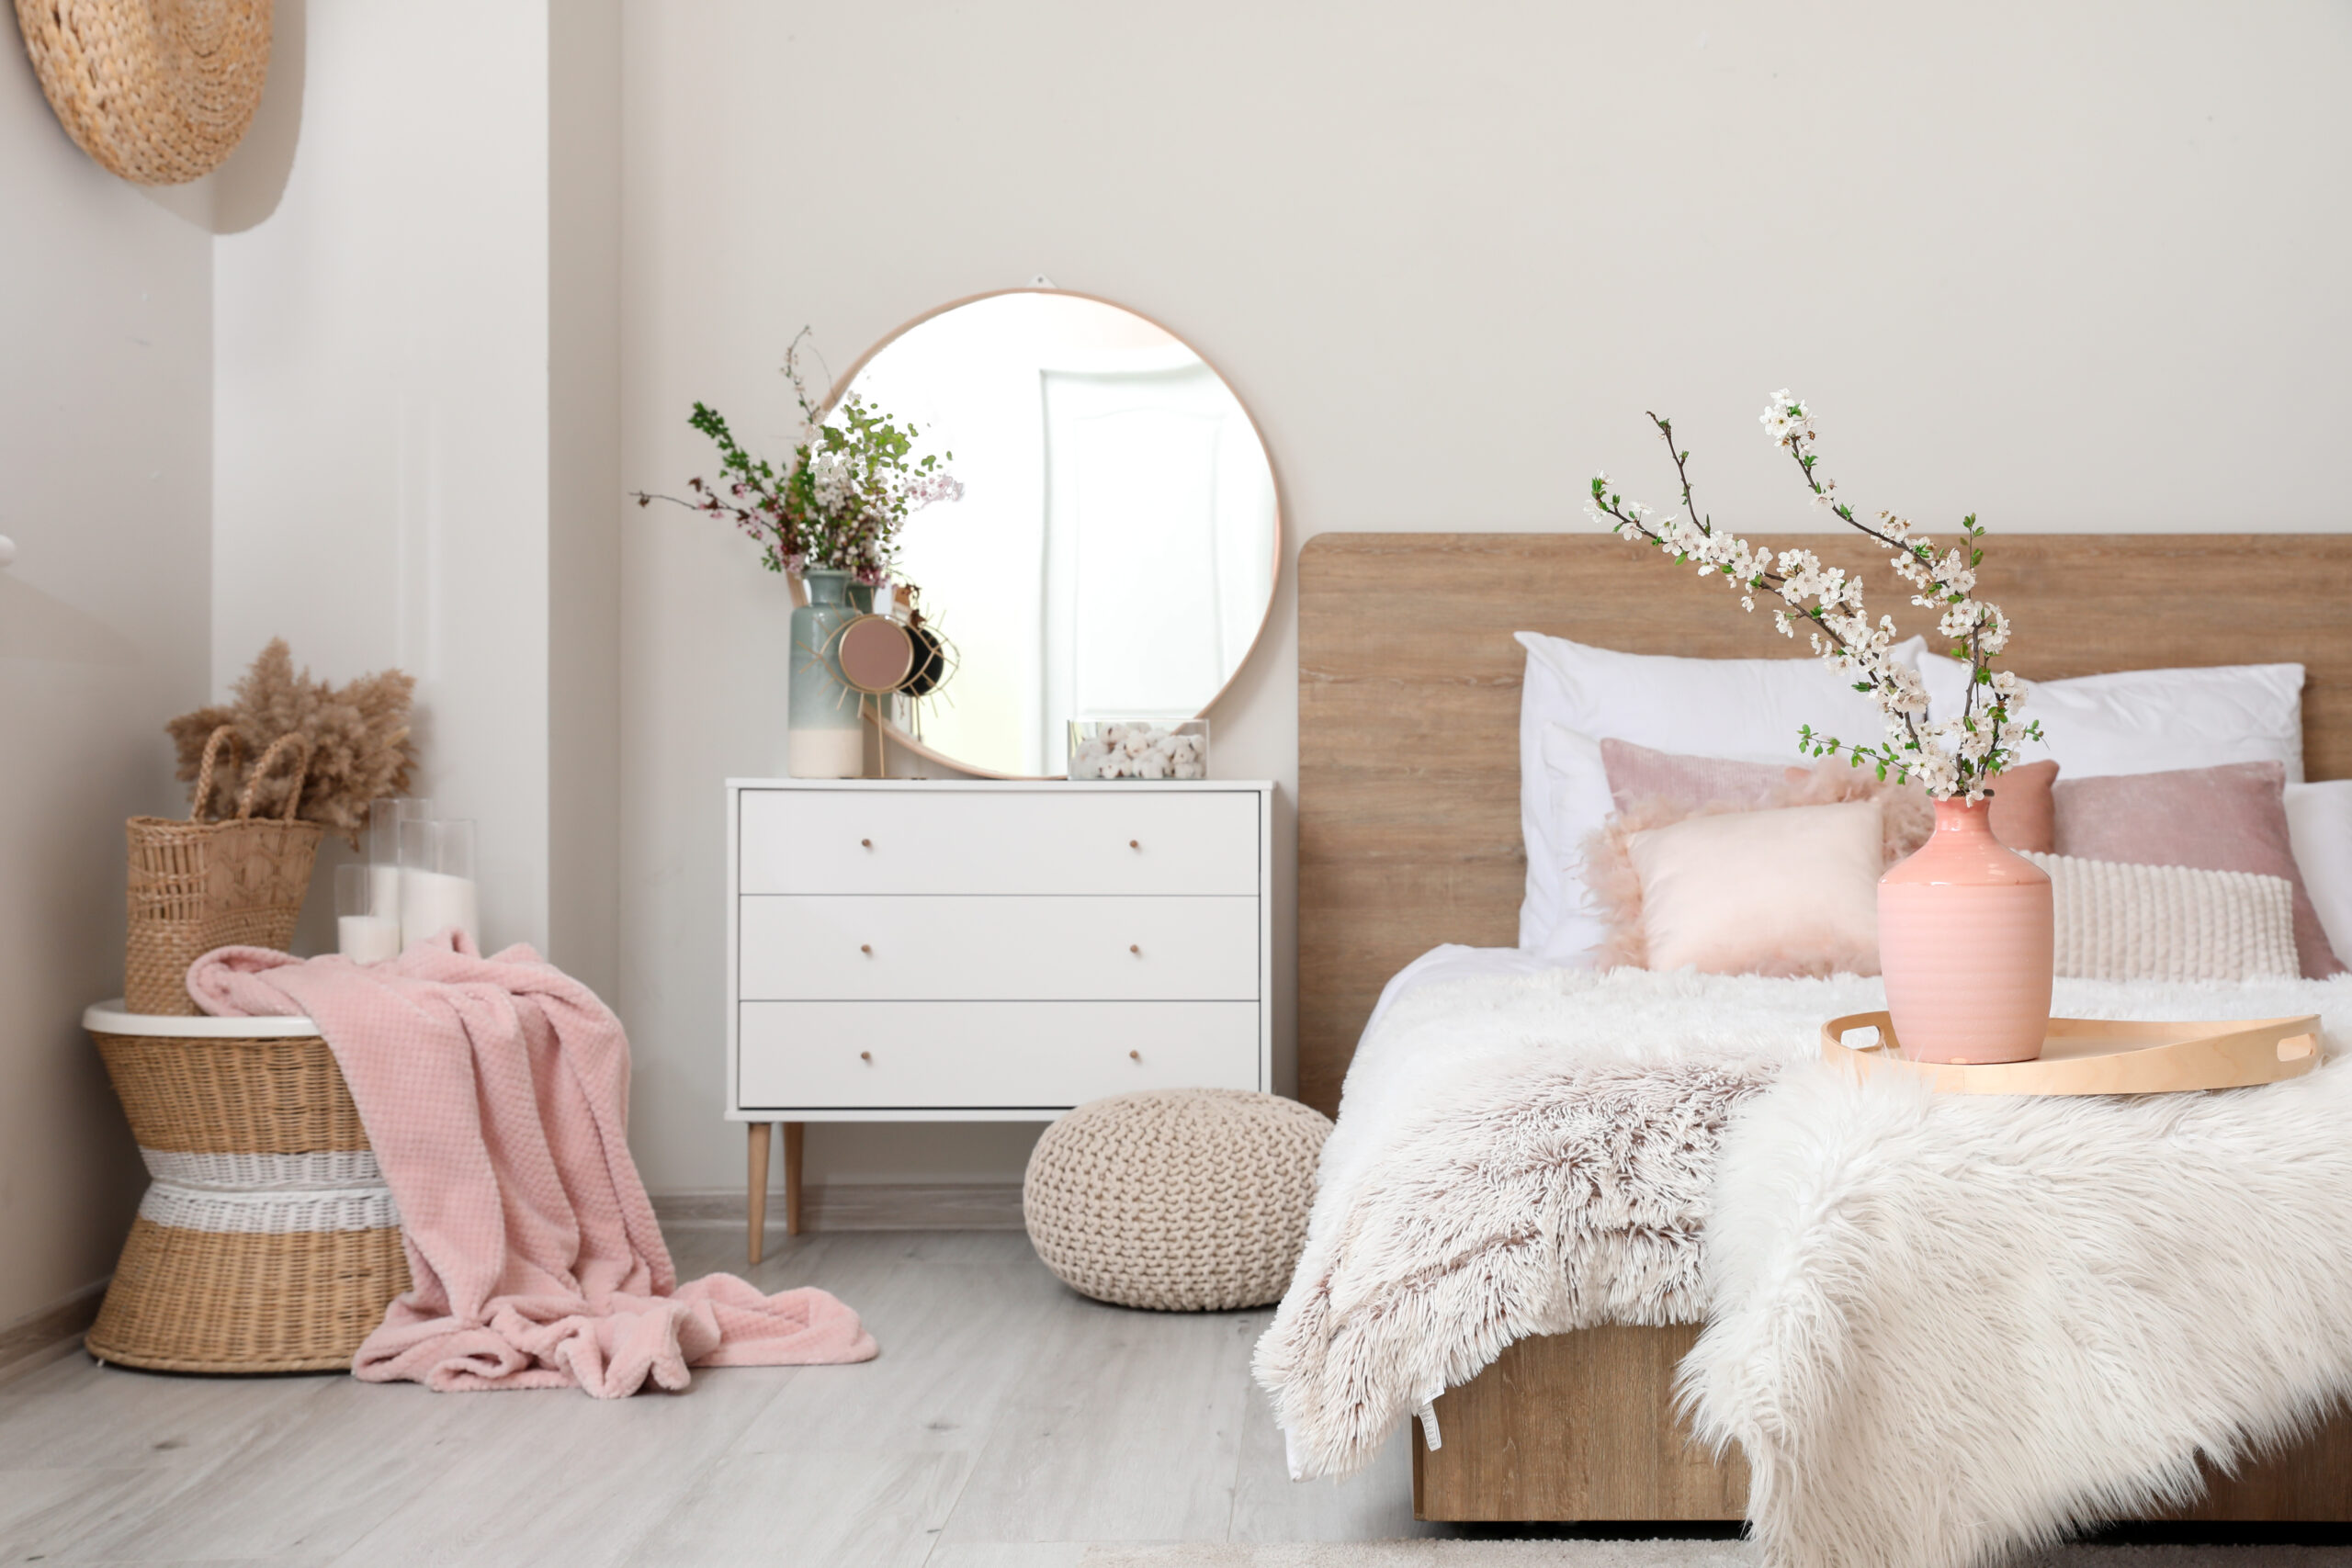
For instance, if you love gentle greens and blush tones, you might pair pale green linen cushions with subtle pink ceramics and natural wood finishes. If your furniture leans more modern or monochromatic, pastel accents in coral, lilac, or butter yellow can instantly uplift the mood without clashing.
Balance is key. Try to distribute colour evenly around the room rather than concentrating it in one area. Repeating a tone, for example, through a patterned rug, a print on the wall, or a throw, helps tie the room together visually. This repetition makes your spring colour scheme feel well-planned and cohesive, rather than randomly added.
Finally, don’t be afraid to mix old and new. Layering pieces you already love with lighter spring accents creates a feeling of familiarity and freshness at the same time. A well-coordinated spring colour scheme doesn’t just update your space, it enhances what’s already there and brings new life to your home.
Step 5: Test, Sample, and Finalise Your Palette
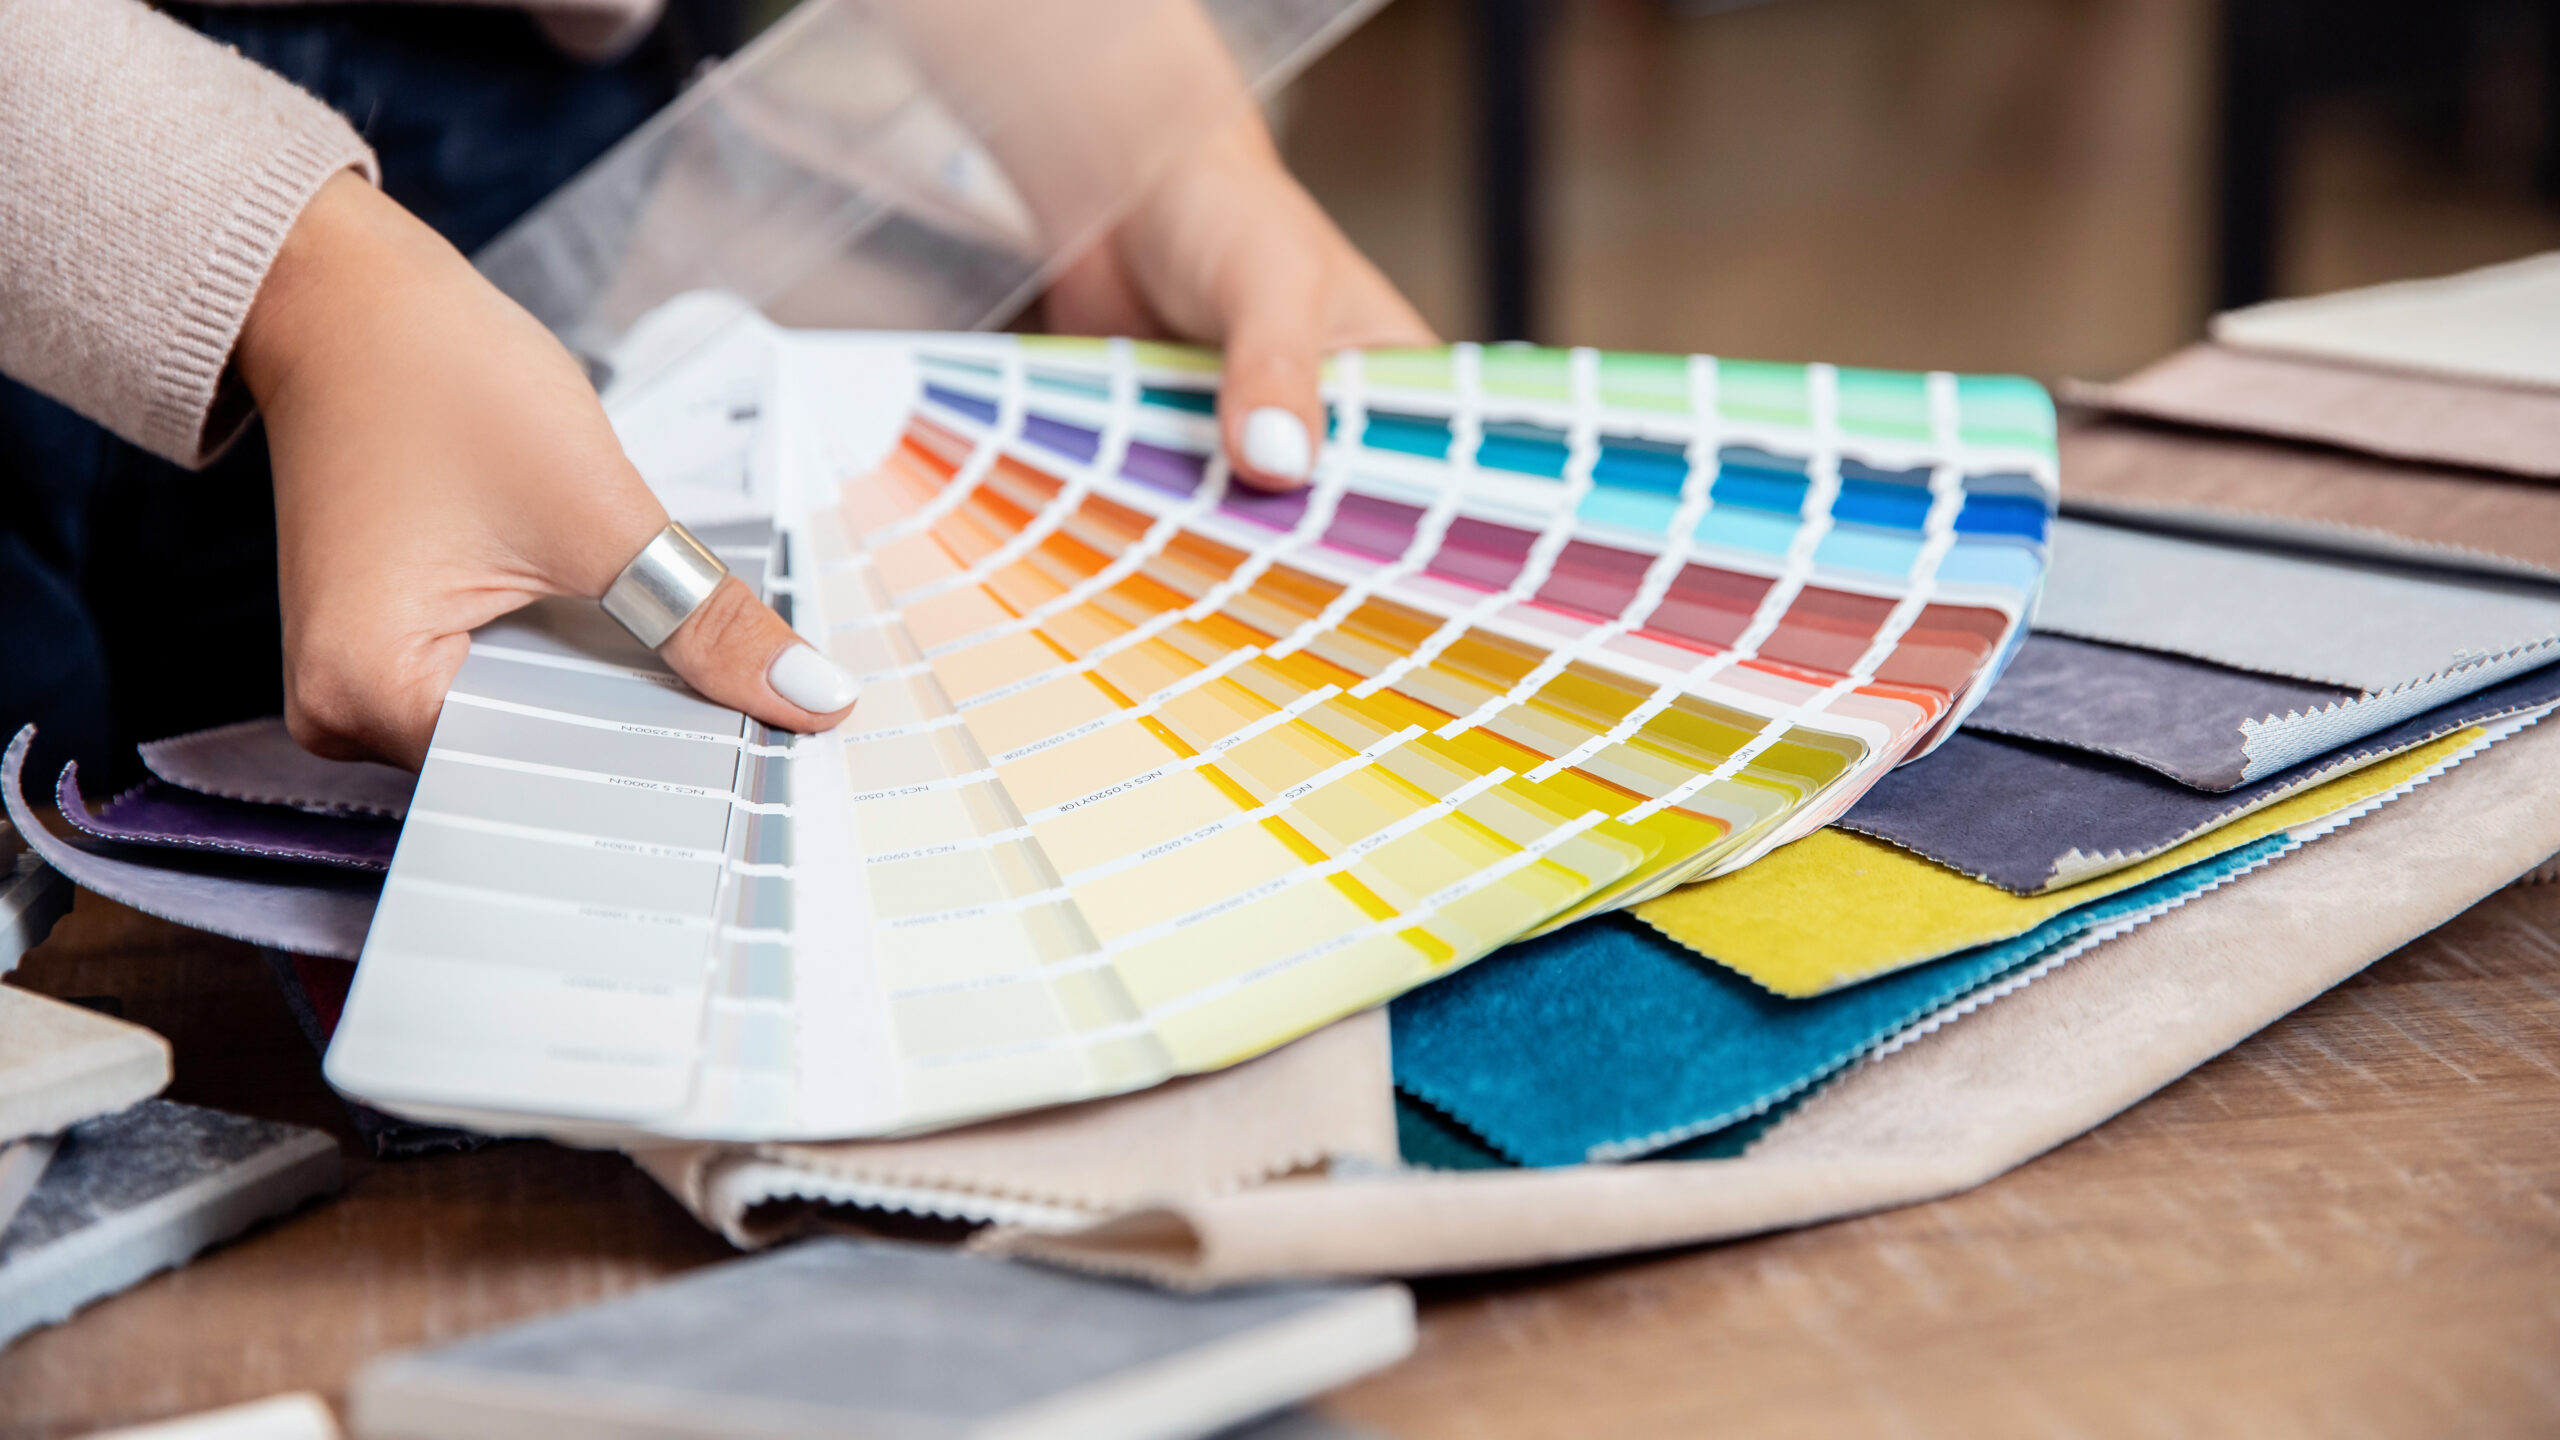
Even when you feel confident about your choices, testing your colours before committing is an essential step in perfecting your spring colour scheme. What looks ideal on a screen or in a paint sample booklet can appear very different when applied to real surfaces under your home’s lighting conditions.
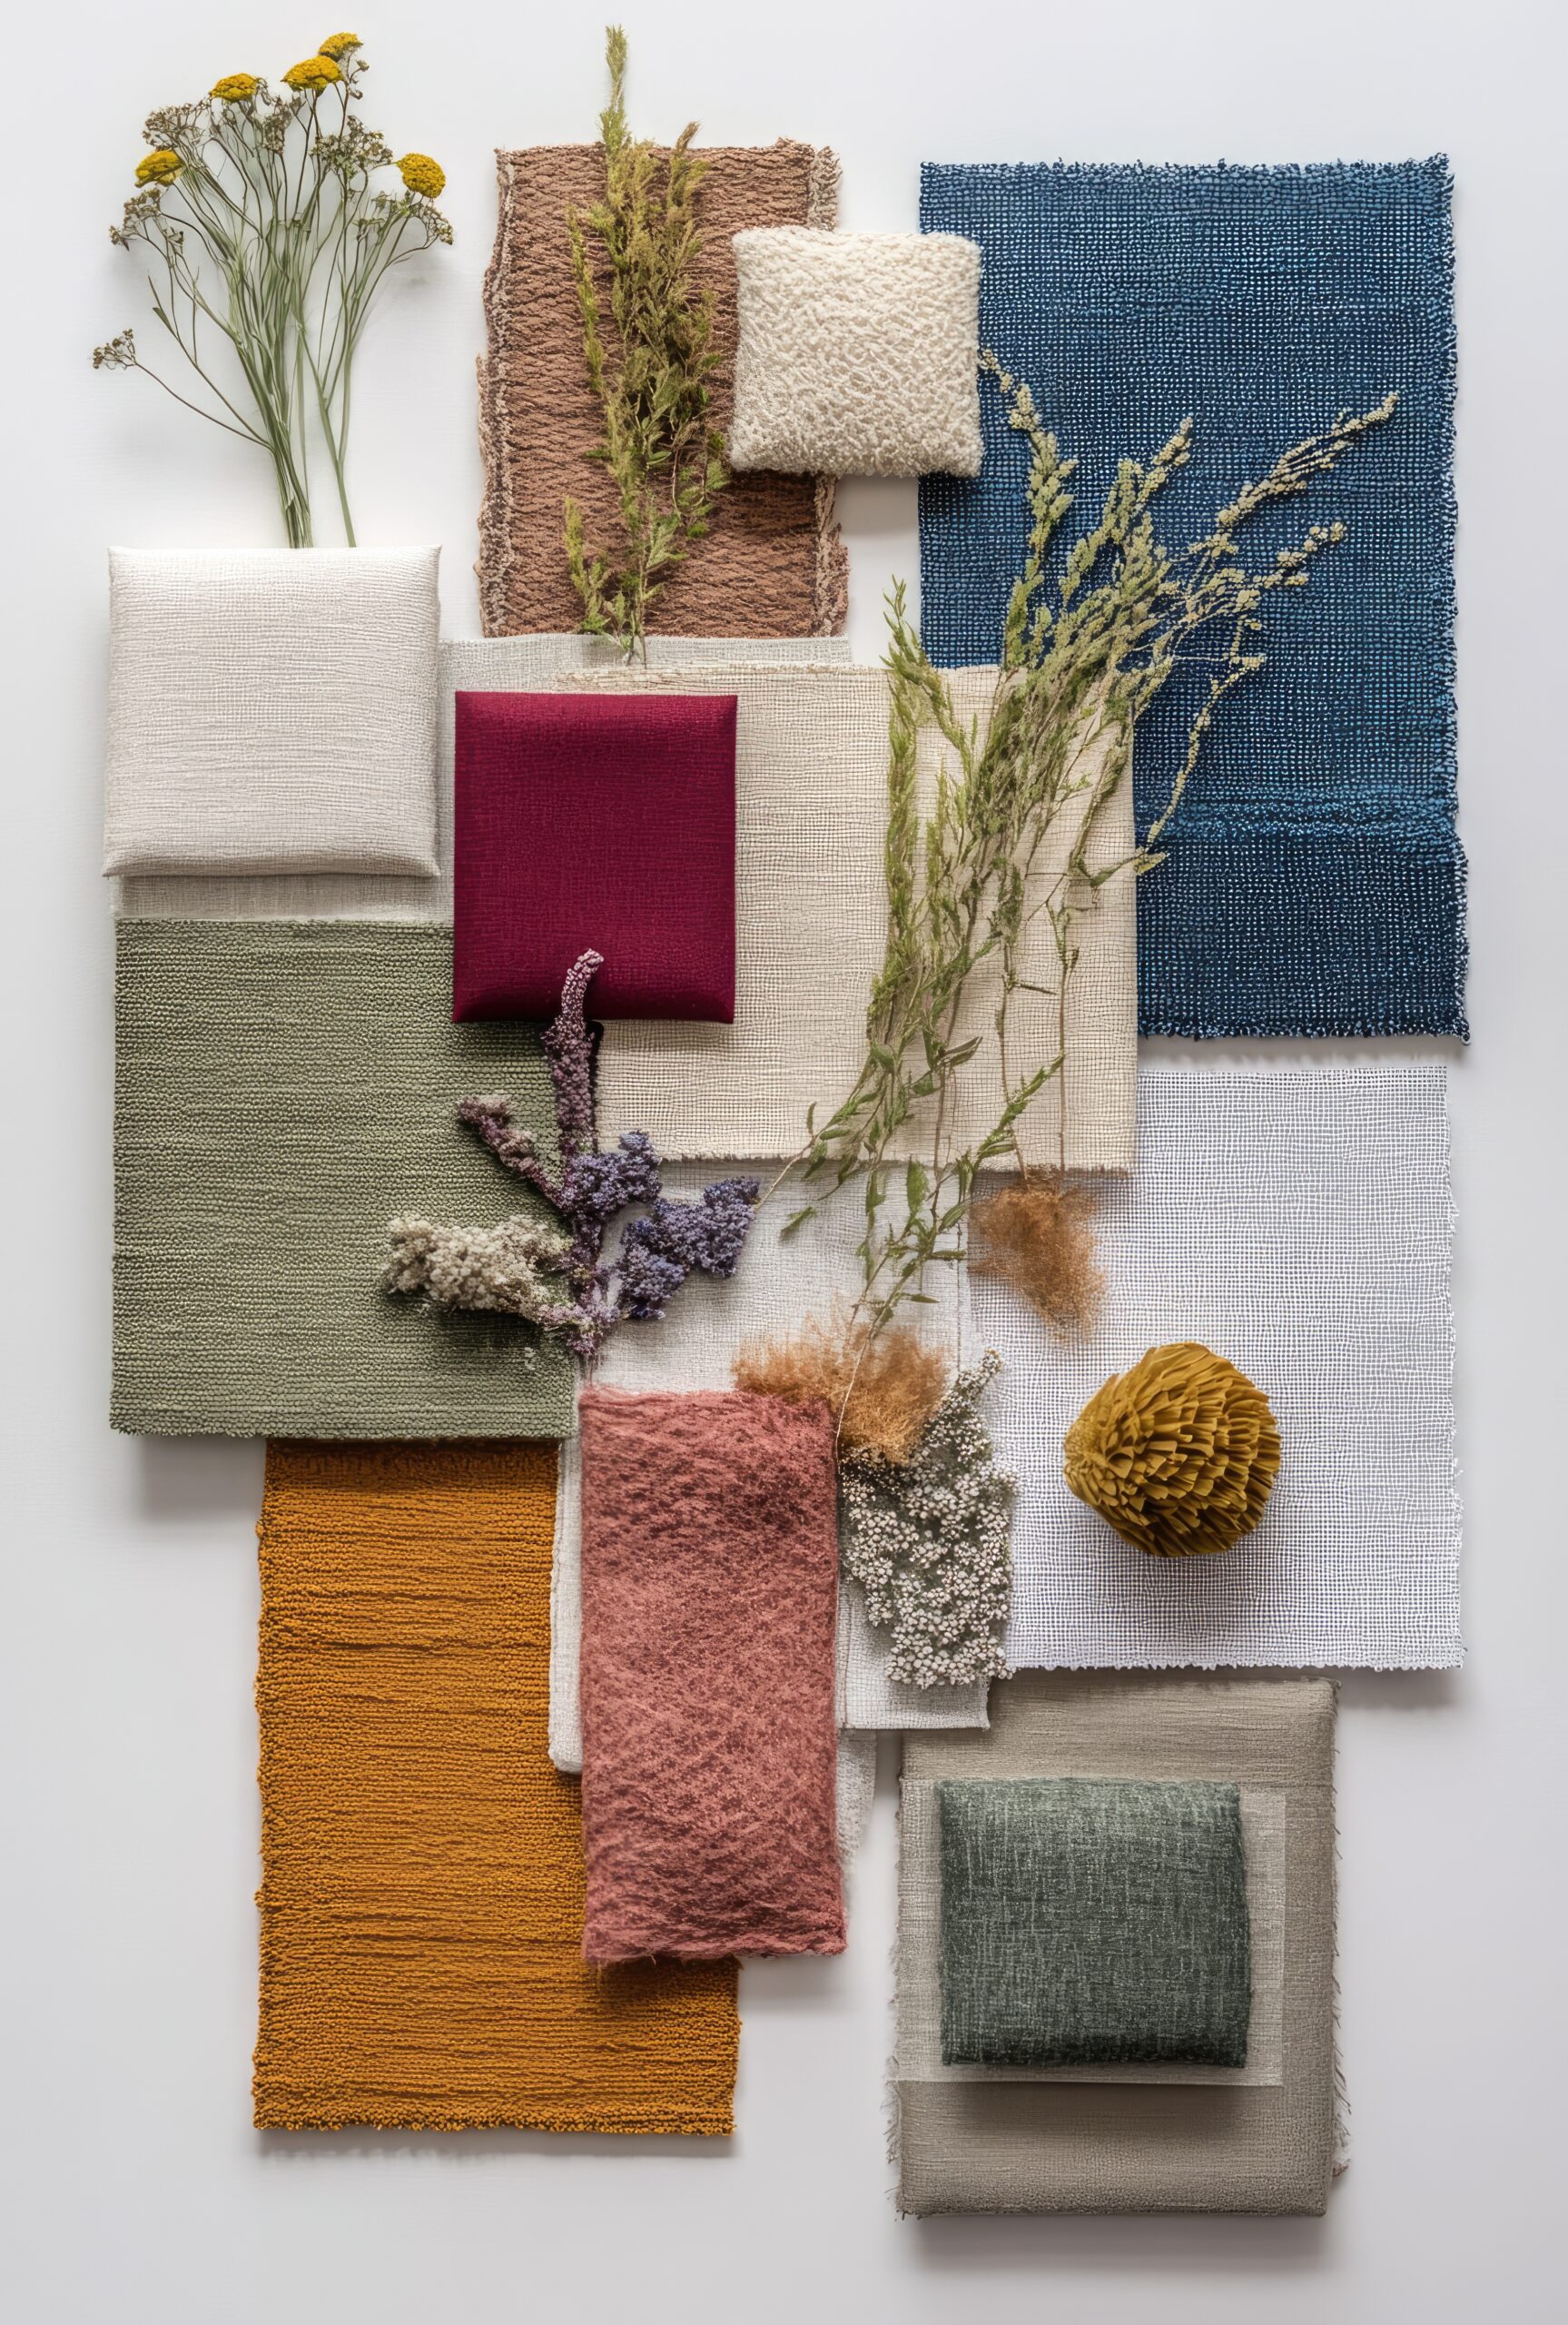
Start by selecting two or three variations of each colour you’re considering, for instance, a few different shades of soft green, pale blue, or blush. Apply generous test patches on several walls so you can see them in full daylight, at dusk, and under artificial light. Observe not only how the colour changes but also how it interacts with your furniture, flooring, and other materials in the room.
If you’re updating textiles, try placing fabric samples next to one another and against existing finishes. This helps you visualise how your spring colour scheme will flow through different textures and surfaces. Digital design tools can also be useful companions. Many paint brands and interior apps let you preview a space with selected colours, giving you a rough sense of how your room might look before you pick up a brush.
Once you’ve spent a few days living with your chosen shades and seeing them under varying conditions, finalise your selections by focusing on what consistently feels right. Trust your instincts, if a tone makes the space feel fresh, inviting, and reflective of the season, it’s likely the perfect fit. A carefully tested spring colour scheme not only looks balanced but also feels personal and harmonious within your home.
Step 6: Final Touches – Bringing Your Spring Colour Scheme to Life
With your colours chosen and tested, it’s time to bring your home together through thoughtful styling and subtle details. This is where your spring colour scheme truly comes to life when shades, textures, and personal touches blend naturally to create a space that feels consistent and uplifting.
Start by introducing your palette through décor that adds personality and comfort. Textiles are an effortless way to do this; use lightweight curtains, textured throws, or new cushions that echo your chosen hues. Incorporating natural textures like linen, rattan, jute, or light timber enhances the airy feel that’s perfect for spring.
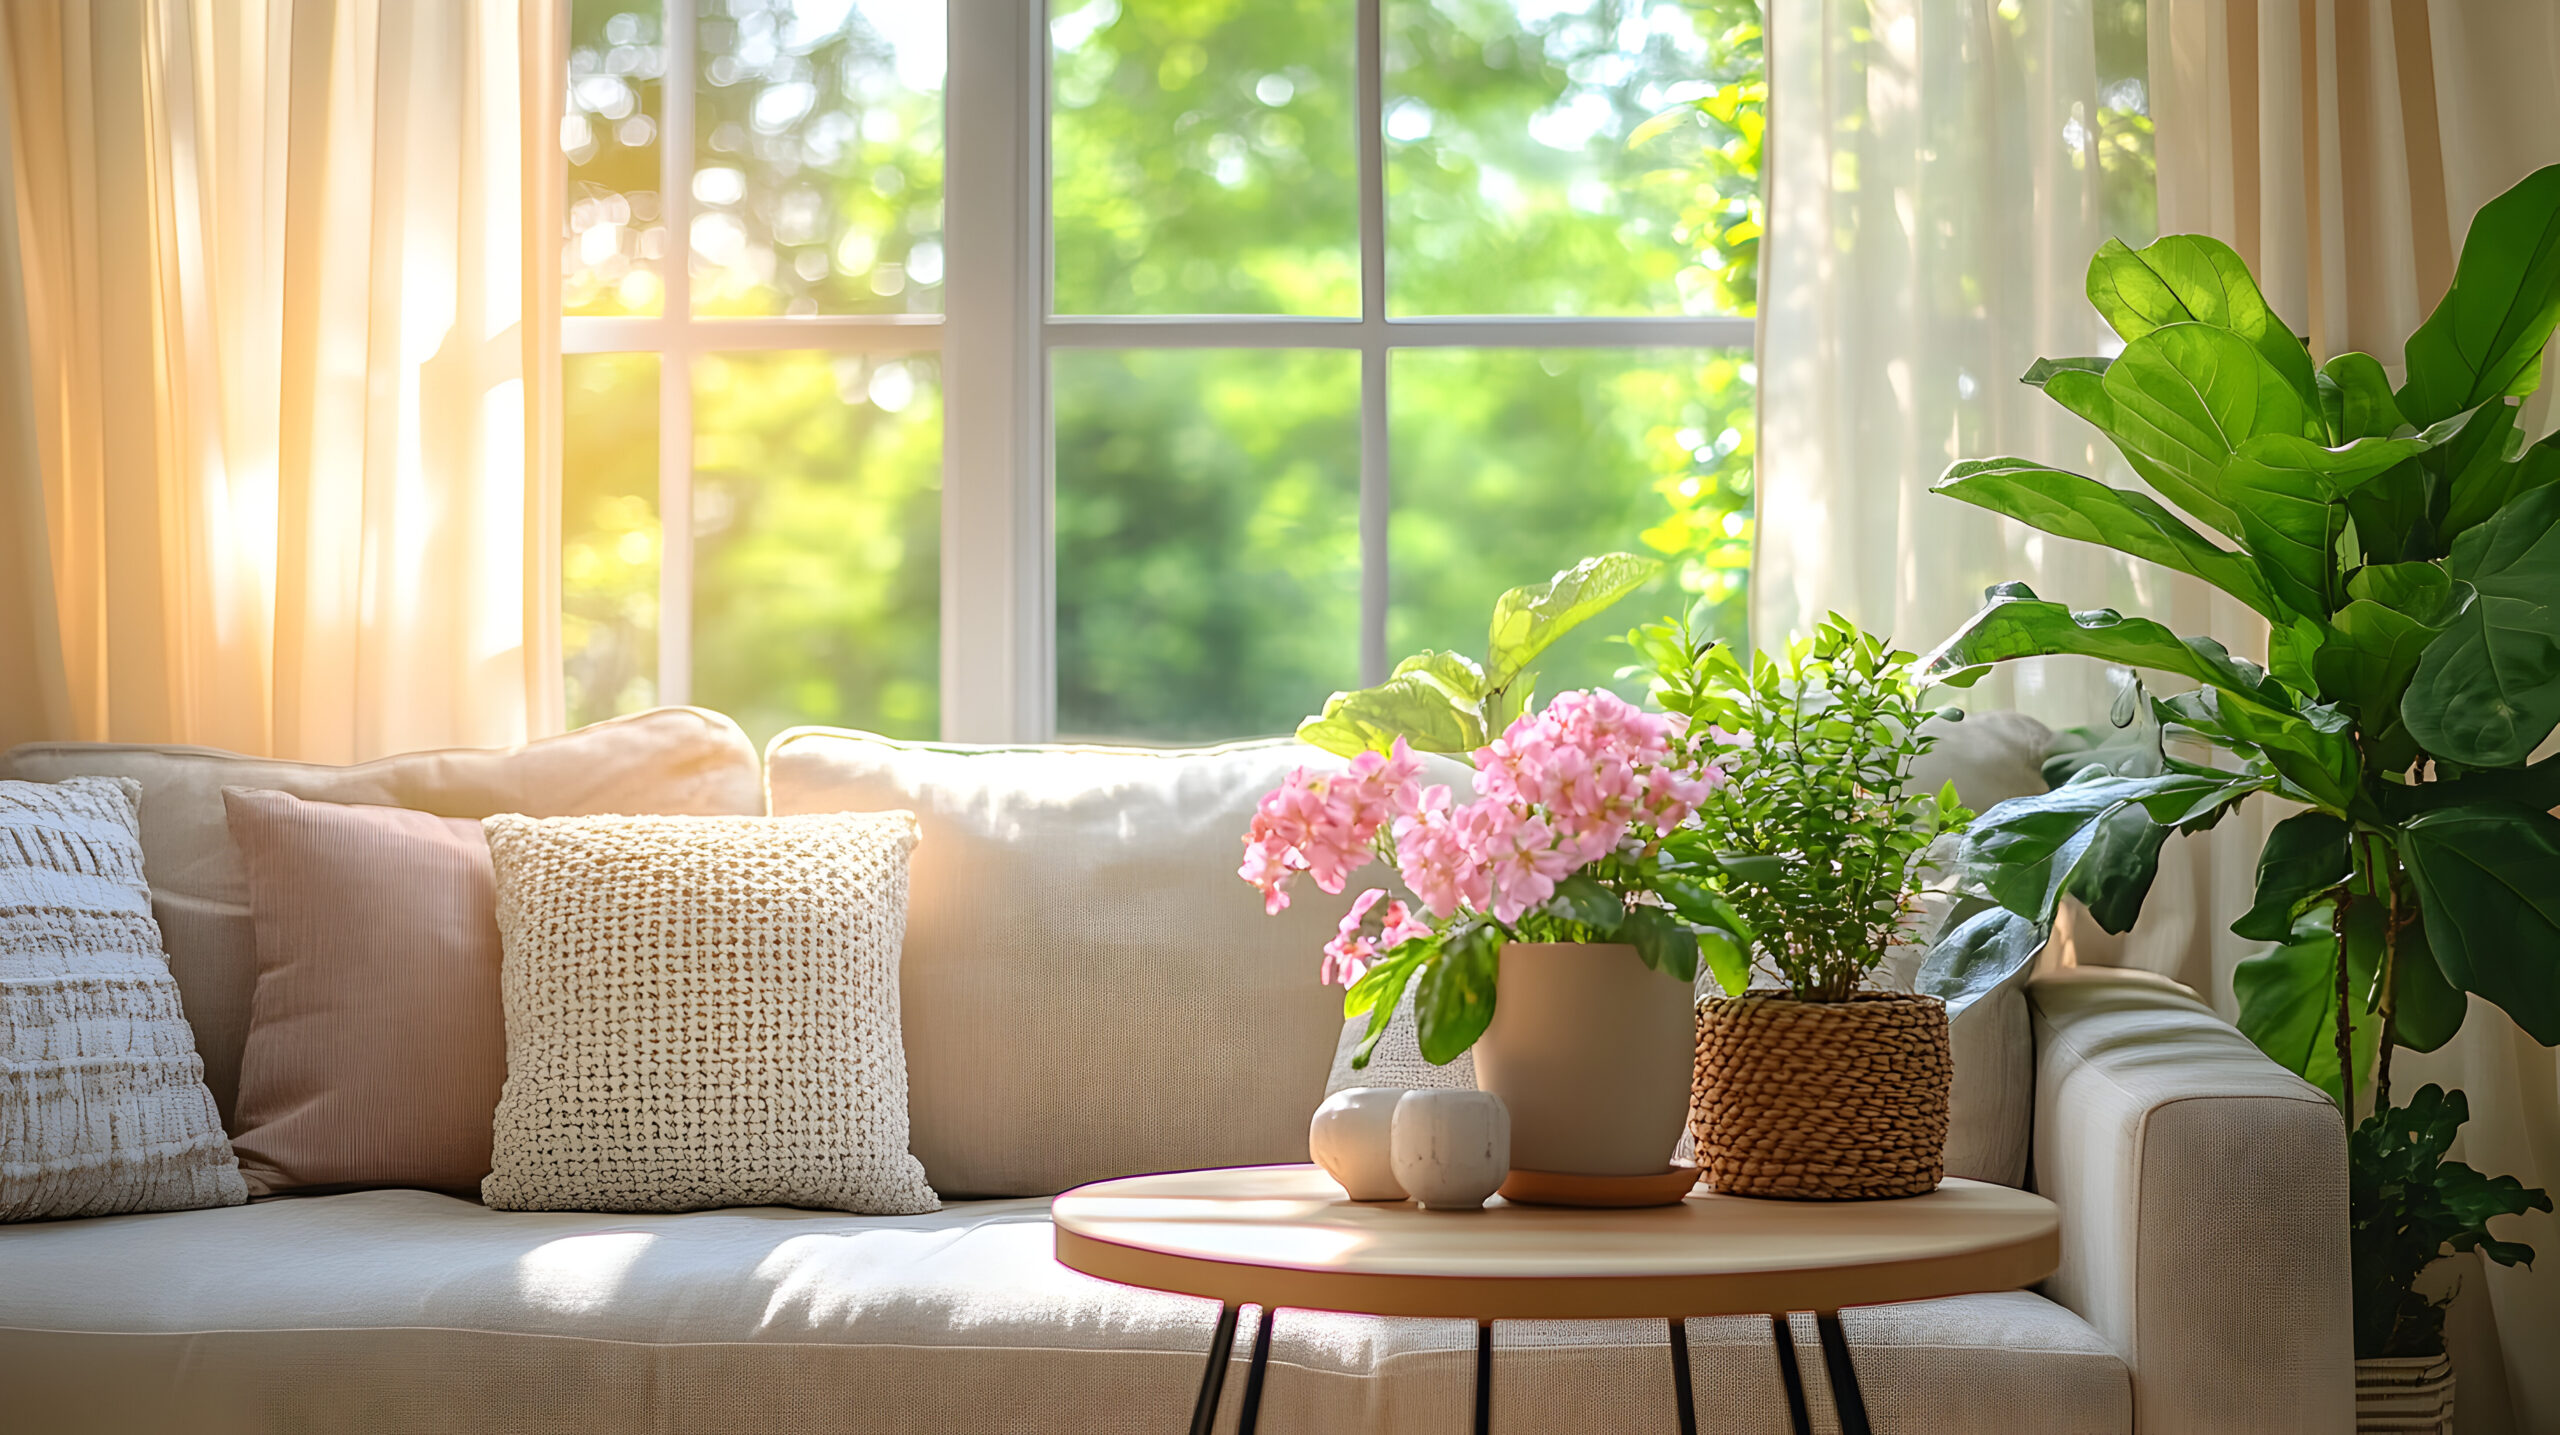
Greenery also plays an important role. Fresh plants or floral arrangements not only connect you back to nature but also link beautifully with your spring colour scheme, reinforcing the sense of freshness throughout your home. Even a single vase of seasonal flowers can tie a look together and anchor your colour palette with ease.
Pay attention to small styling details. Artwork, tableware, and candles are subtle ways to repeat key tones around the space. For example, if you’ve chosen a palette of sage, blush, and cream, a ceramic piece or a framed print in one of those shades keeps the visual rhythm consistent. These elements don’t have to match perfectly; slight variations of tone and texture often make a room feel more natural and lived in.
The goal is to achieve a sense of effortless cohesion, where nothing feels overly coordinated but everything feels like it belongs together. Once your spring colour scheme is applied through paint, textiles, and accents, take a step back and let the space breathe. A well-balanced room doesn’t need to be filled with colour everywhere; sometimes, restraint is what allows your palette to shine.
Choosing the right spring colour scheme is about more than just picking pretty shades; it’s about creating an atmosphere that feels fresh, balanced, and reflective of the season. By understanding how colour affects mood, drawing inspiration from nature, and considering your home’s lighting, you can build a palette that works beautifully across every room.
by Kesaa Interiors | Beginner Design Guides, DESIGN GUIDES, How-To Guides, Style Guides
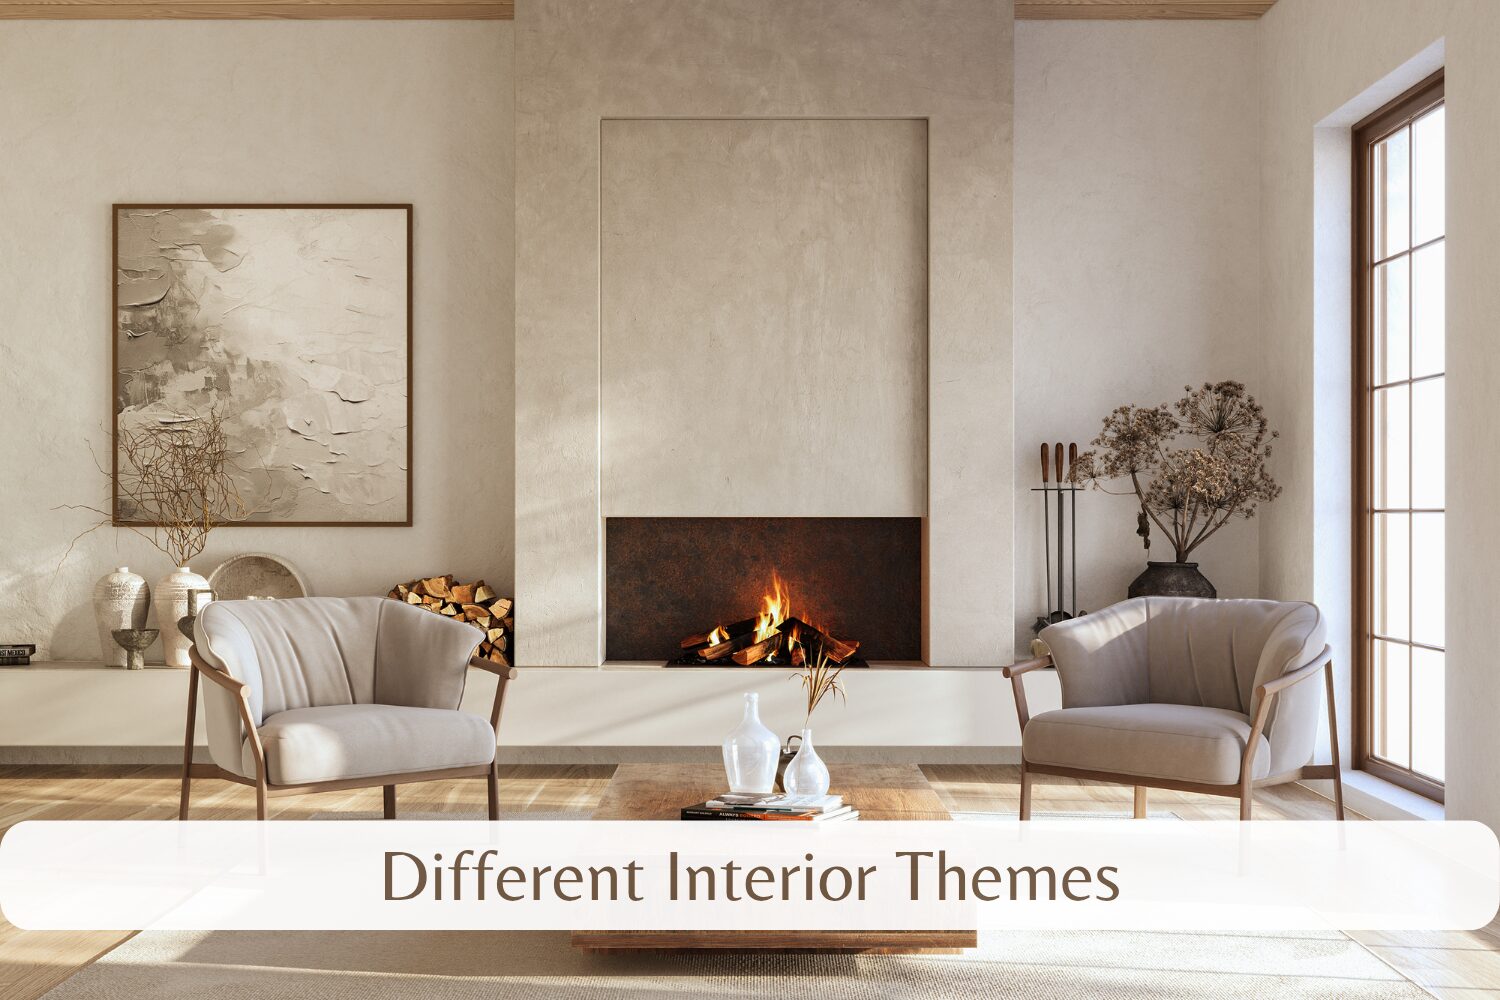
This post is all about different interior themes.
Exploring different interior themes is one of the most exciting parts of designing or refreshing a home. Every style tells a story, through colours, materials and the atmosphere it creates.
Choosing a style that truly fits your space can be overwhelming, especially when there are so many influences to draw from. This guide breaks down 11 different interior themes, clearly defining what makes each one unique and how to capture the essence of every style in your own home. Whether you’re drawn to clean, modern lines or layered, rustic warmth, this post is designed to help you translate that vision into a space that feels authentic and cohesive.
This post is all about Different Interior Themes.
The Importance of Understanding Different Interior Themes
Before diving into specific styles, it’s worth pausing to understand why knowing about different interior themes really matters. Your home’s design is more than just how it looks; it shapes how a space feels and how you interact with it every day.
When you understand the defining features of different interior themes, you can make more intentional design decisions. It becomes easier to identify what resonates with you, avoid mismatched choices, and create a space that feels cohesive and well thought out. Without this understanding, decorating can easily turn into a mix of trends that don’t quite work together.
Design knowledge gives you confidence. You start to recognise what makes a room calming, what introduces warmth, and how elements like texture, scale, and colour can completely change how a space feels. Over time, this awareness helps you move from simply copying styles to creating rooms that truly reflect your personality and lifestyle.
1. Modern Minimalist
Sleek, simple and functional, the modern minimalist theme is one of the most recognised among the different interior themes seen in contemporary homes. It focuses on clarity and calm, using only what’s necessary to create a balanced, uncluttered space.
What Defines This Theme
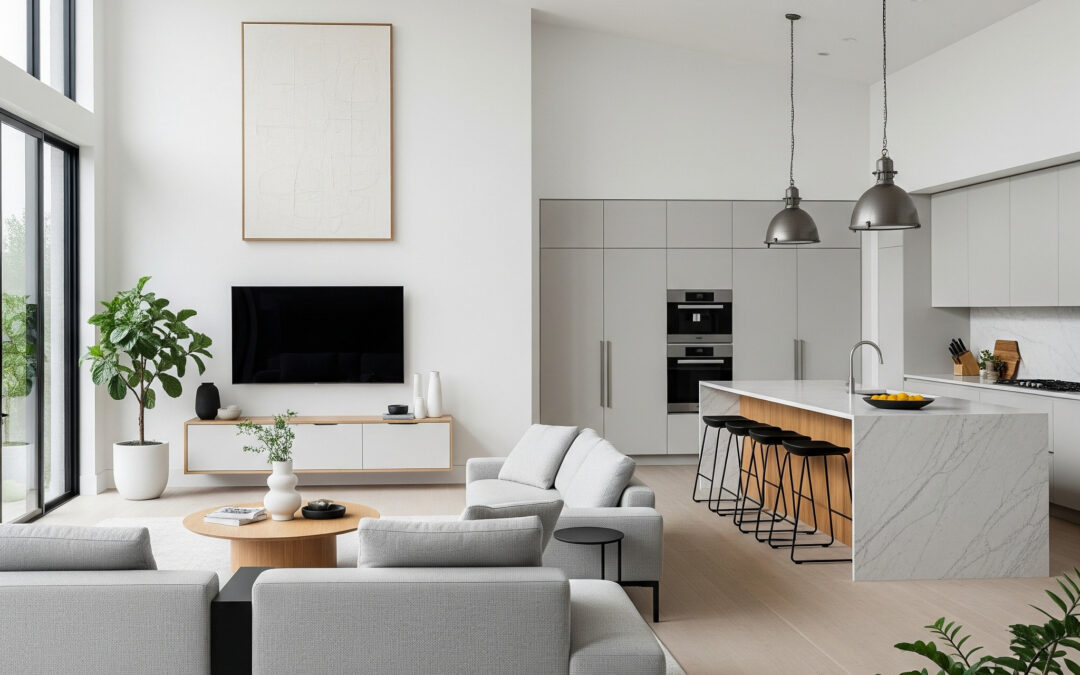
Modern minimalism celebrates open space and understated design. You’ll often see crisp white walls, smooth surfaces, and restrained colour palettes. Every element has a purpose, and the overall goal is to eliminate visual noise.
How to Nail Modern Minimalism
- Keep the palette simple: Stick to three core colours, typically neutrals, with the occasional accent tone.
- Invest in quality essentials: Choose well-made pieces that stand out for their simplicity.
- Embrace negative space: Don’t feel the need to fill every wall or surface; empty space is part of the design.
- Incorporate texture: Add depth through subtle textures like linen, timber or stone.
By focusing on restraint and careful curation, this theme brings a sense of calm and order to your home. Among all the different interior themes, modern minimalism encourages the idea that less can indeed be more when every detail is considered.
2. Scandinavian
Rooted in simplicity and comfort, Scandinavian design is one of the most timeless and versatile among the different interior themes. Known for its bright spaces and clean lines, it strikes a beautiful balance between function and warmth, creating rooms that feel both airy and inviting.
What Defines This Theme
The Scandinavian theme grew out of a lifestyle that values practicality, nature, and calm. Think white or soft neutral walls, pale timber accents, and plenty of natural light. It’s minimalist, but not stark; each room is carefully layered to feel homely rather than cold. Linen, wool, and rattan are staple materials, while greenery and subtle decor add a sense of life.
How to Nail Scandinavian Style
- Start with light: Emphasise natural light wherever possible, use sheer curtains or leave windows uncovered.
- Balance warmth and simplicity: Combine sleek furniture with cosy textiles like knitted throws or sheepskin rugs.
- Stick to natural materials: Prioritise timber, wool, and cotton over synthetics for that organic, refined feel.
- Add a touch of greenery: Indoor plants soften the clean lines and bring in a bit of the outdoors.
What makes this style stand out among the different interior themes is its effortless combination of minimalism and comfort. Scandinavian interiors remind us that beauty often comes from simplicity, natural textures, and thoughtful design choices that make a space feel calm yet lived in.
3. Industrial
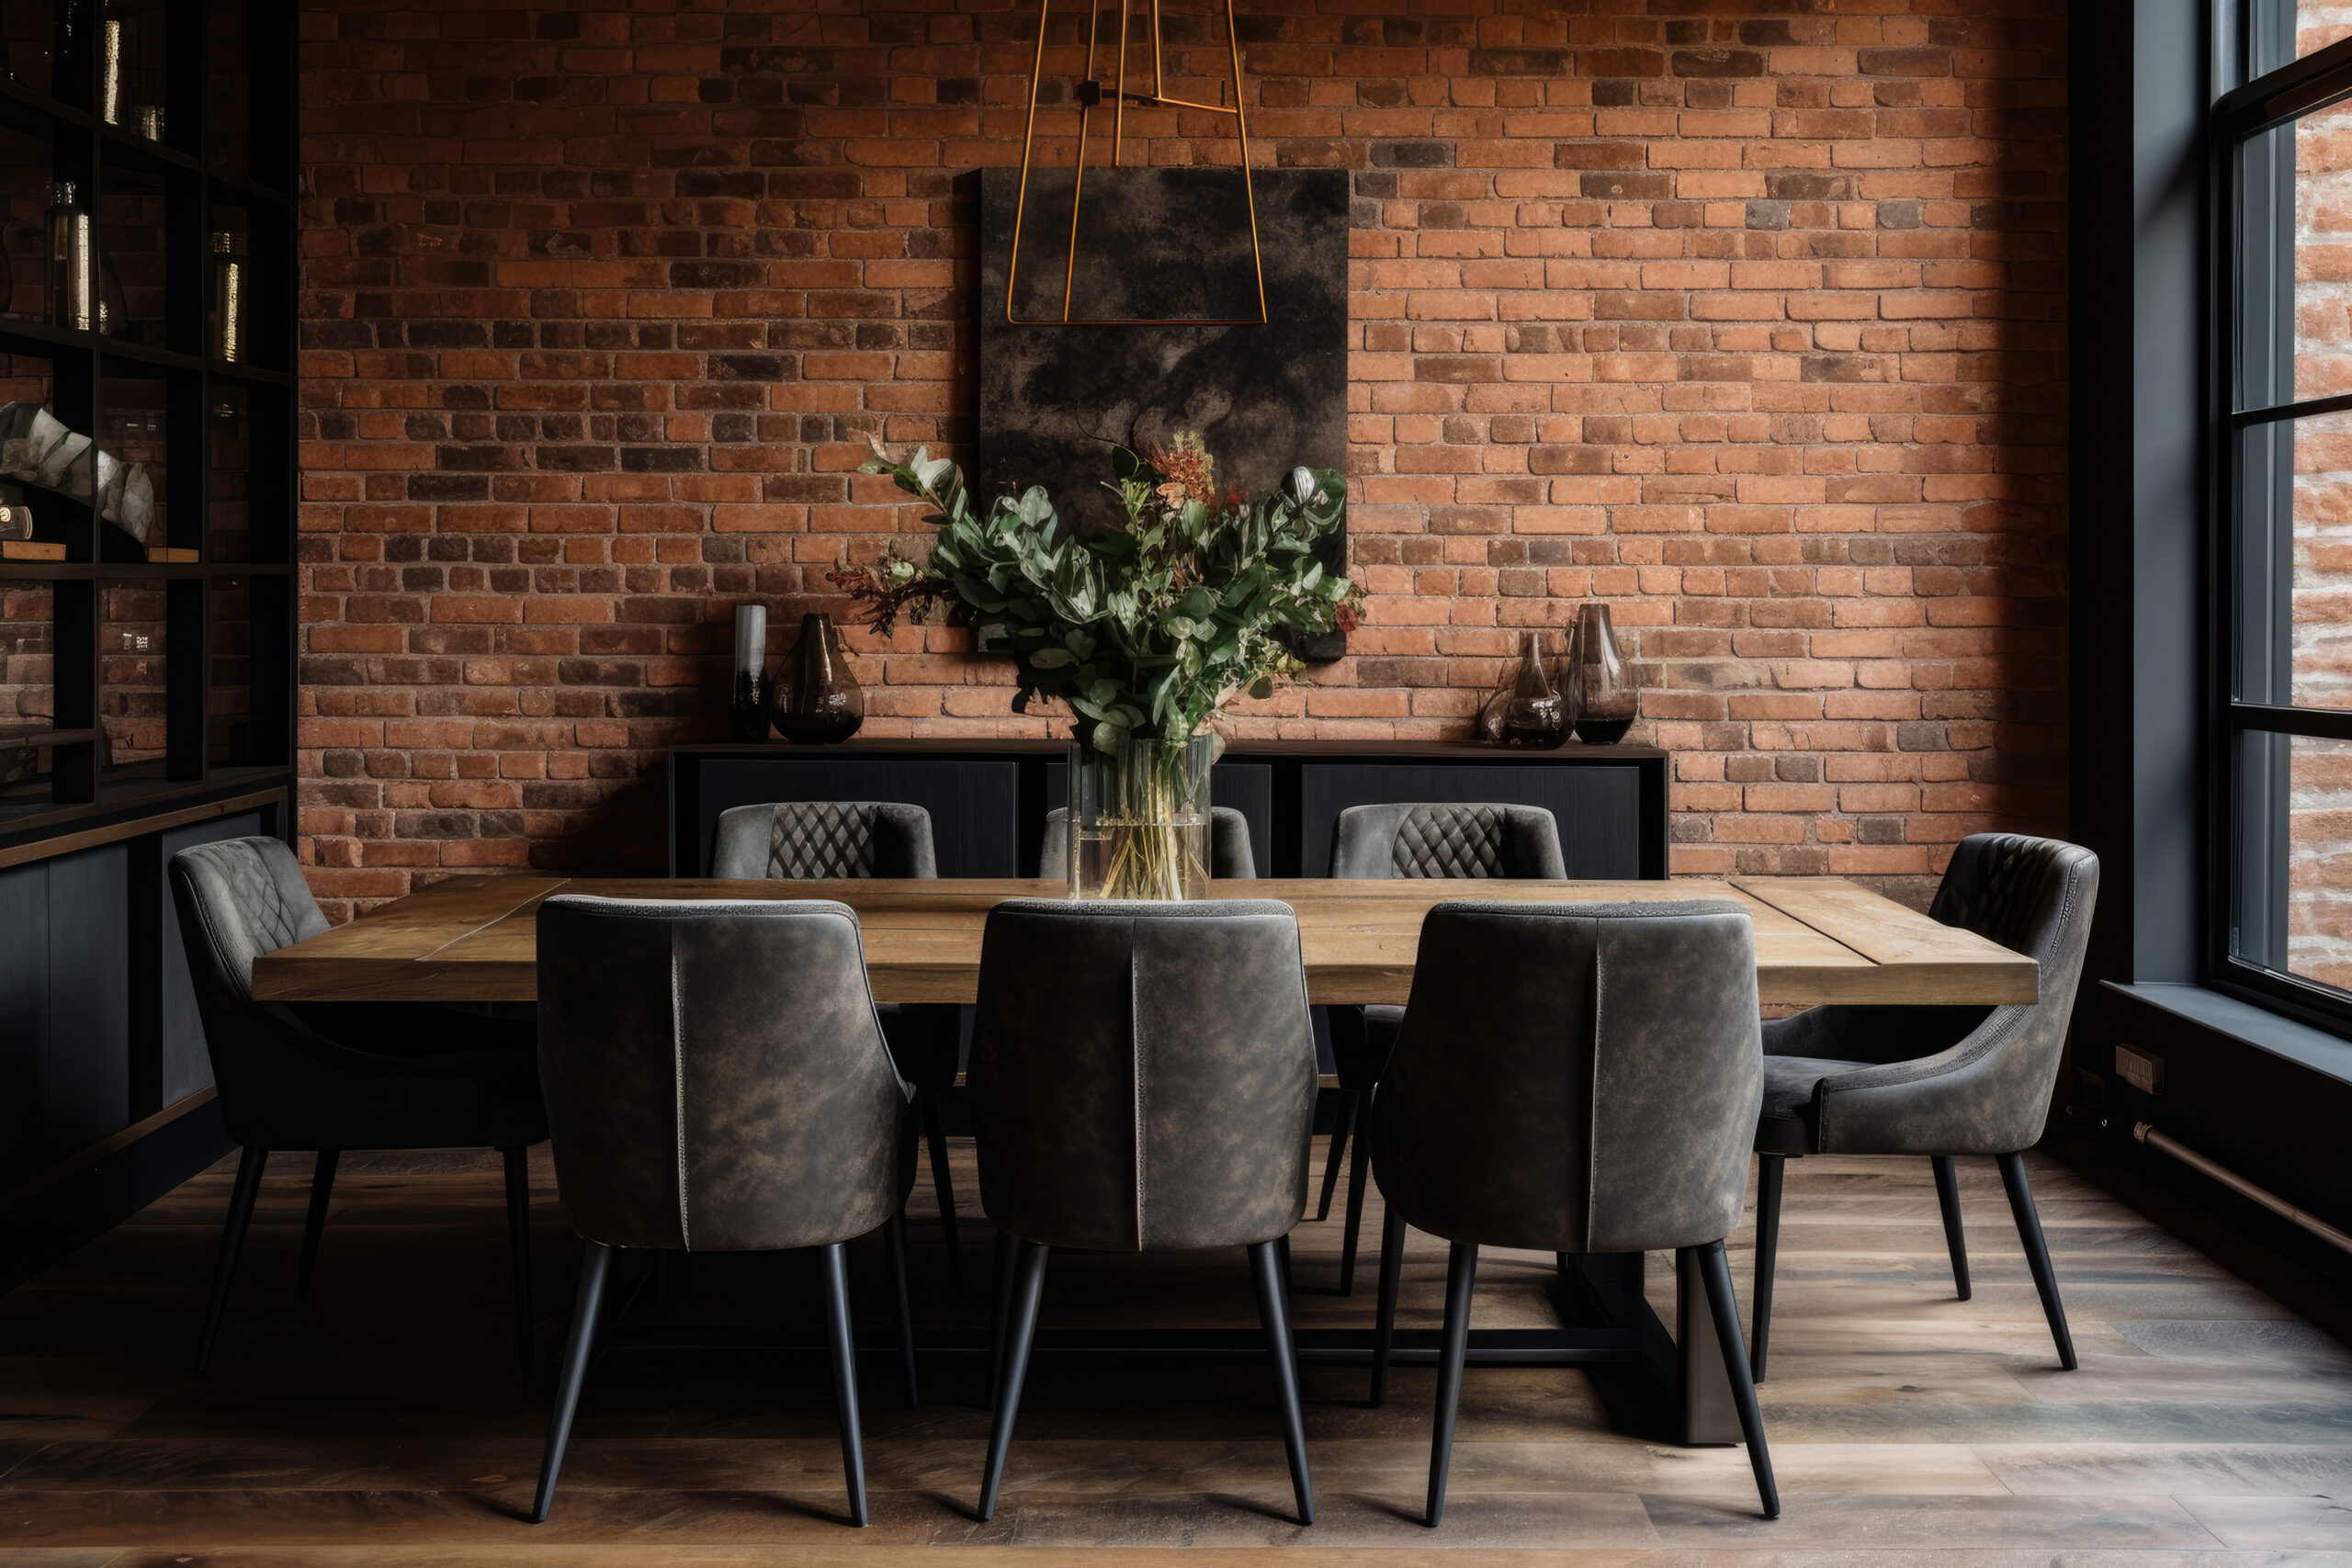
Bold, raw and full of character, the industrial style has become one of the most distinctive among the different interior themes. Originally inspired by converted warehouses and lofts, this look celebrates the beauty of exposed materials and a no-fuss approach to design.
What Defines This Theme
Industrial interiors showcase what often lies beneath the surface, exposed brick walls, visible pipes, concrete floors and steel details. It’s a theme built on contrast: rough textures paired with sleek finishes, and vintage pieces set against modern elements. The colour palette is typically muted, featuring greys, browns and black tones that ground the space with an urban edge.
How to Nail Industrial Style
- Highlight raw materials: Celebrate imperfections; exposed beams, brick walls or concrete benchtops should be visible rather than hidden.
- Mix old and new: Combine vintage furniture or factory-style lighting with modern décor for balance.
- Keep the palette simple: Stick to earthy, neutral tones, then add warmth through wood or leather accents.
- Go for an open layout: Industrial design thrives in open, uncluttered spaces that let materials shine.
Among the different interior themes, industrial style stands out for its authenticity and timeless appeal. It embraces a sense of honesty in design; nothing is overly polished, yet every detail feels deliberate. The result is a space that’s bold, lived in, and effortlessly cool.
4. Bohemian (Boho)
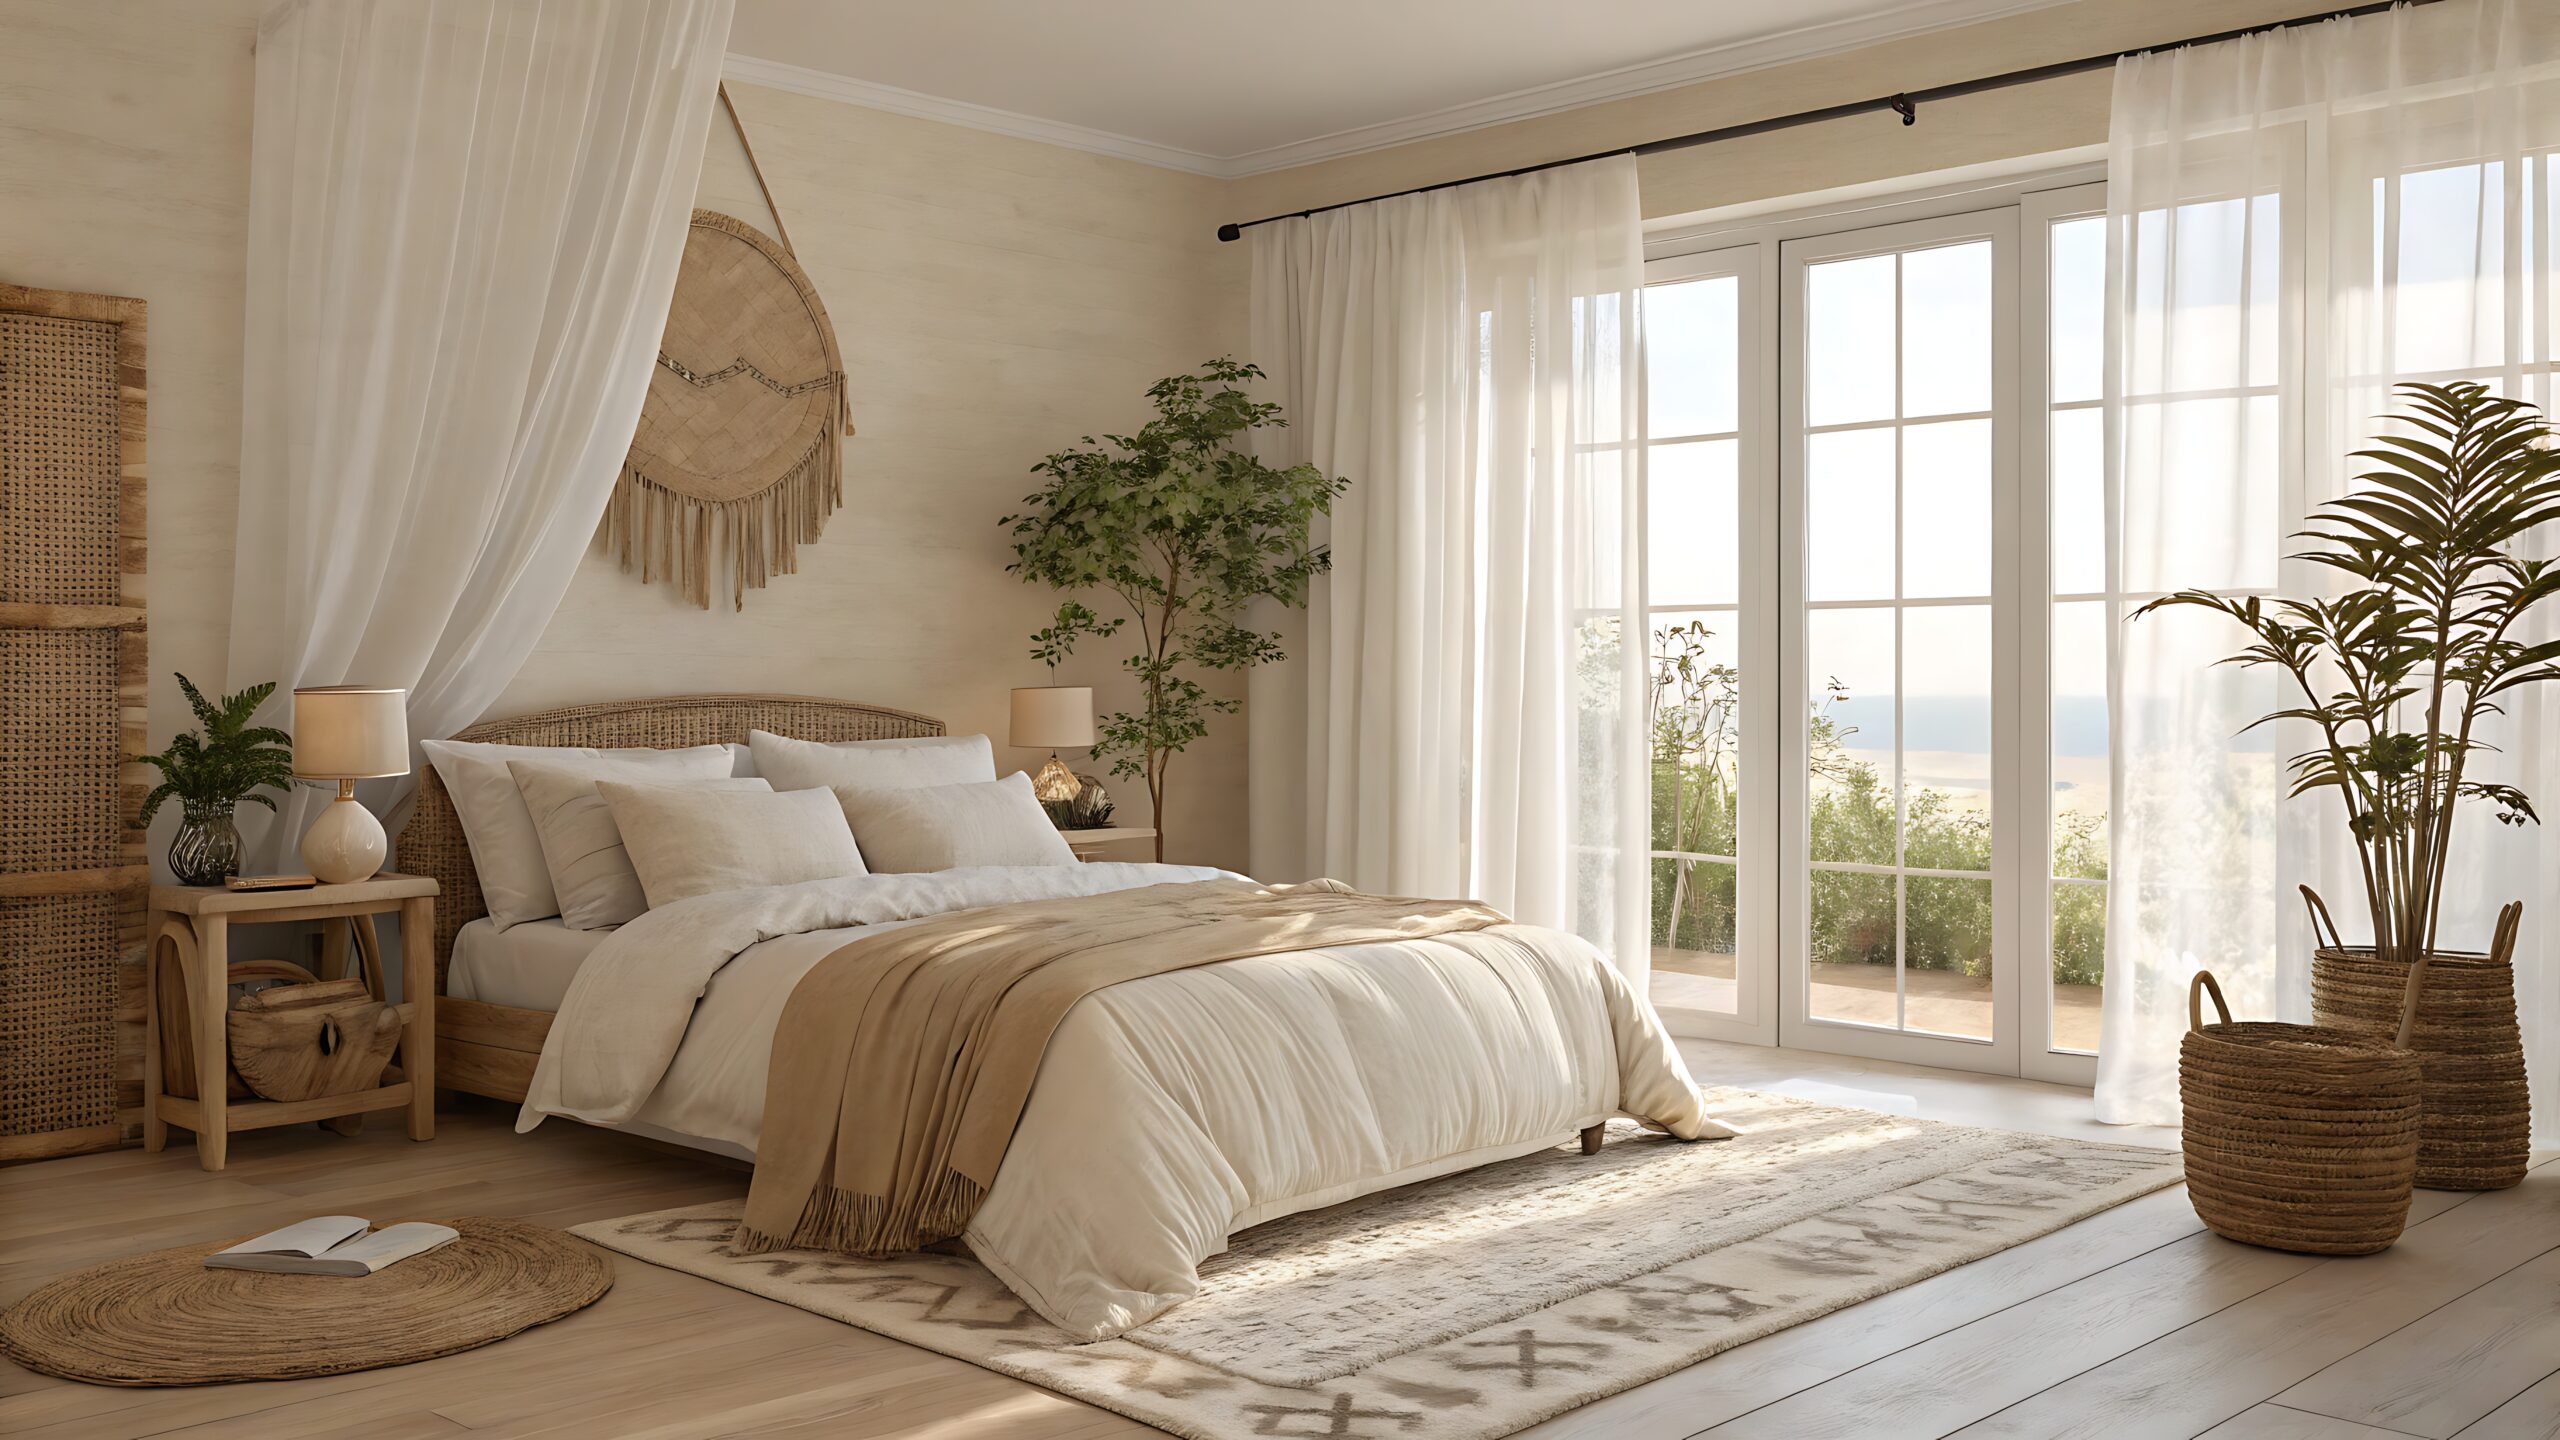
Free-spirited, colourful and full of texture, the Bohemian style is one of the most expressive among the different interior themes. It’s for those who love a relaxed, layered look that feels personal and lived in, rather than carefully curated.
What Defines This Theme
Boho interiors celebrate individuality. The aesthetic draws influence from global design, mixing patterns, cultures and eras with ease. Expect rich textiles, woven furnishings, and lots of greenery. The palette ranges from earthy neutrals to vibrant jewel tones, often mixed together to create a collected, laid-back atmosphere.
How to Nail Bohemian Style
- Layer with intention: Mix rugs, throws, and cushions in varied prints and textures to create depth.
- Embrace imperfection: Let your decor evolve naturally. Mismatched, handcrafted pieces add character.
- Show personality: Include items that mean something to you, such as travel finds or vintage treasures.
- Add natural elements: Rattan, jute, and macramé work beautifully with lush indoor plants.
What makes Boho so beloved among the different interior themes is its freedom; there are no strict rules. The goal is to craft a space that reflects who you are and what you love. Each layer tells a story, blending comfort, creativity and a touch of wanderlust in the most effortless way.
5. Farmhouse (Modern Farmhouse)
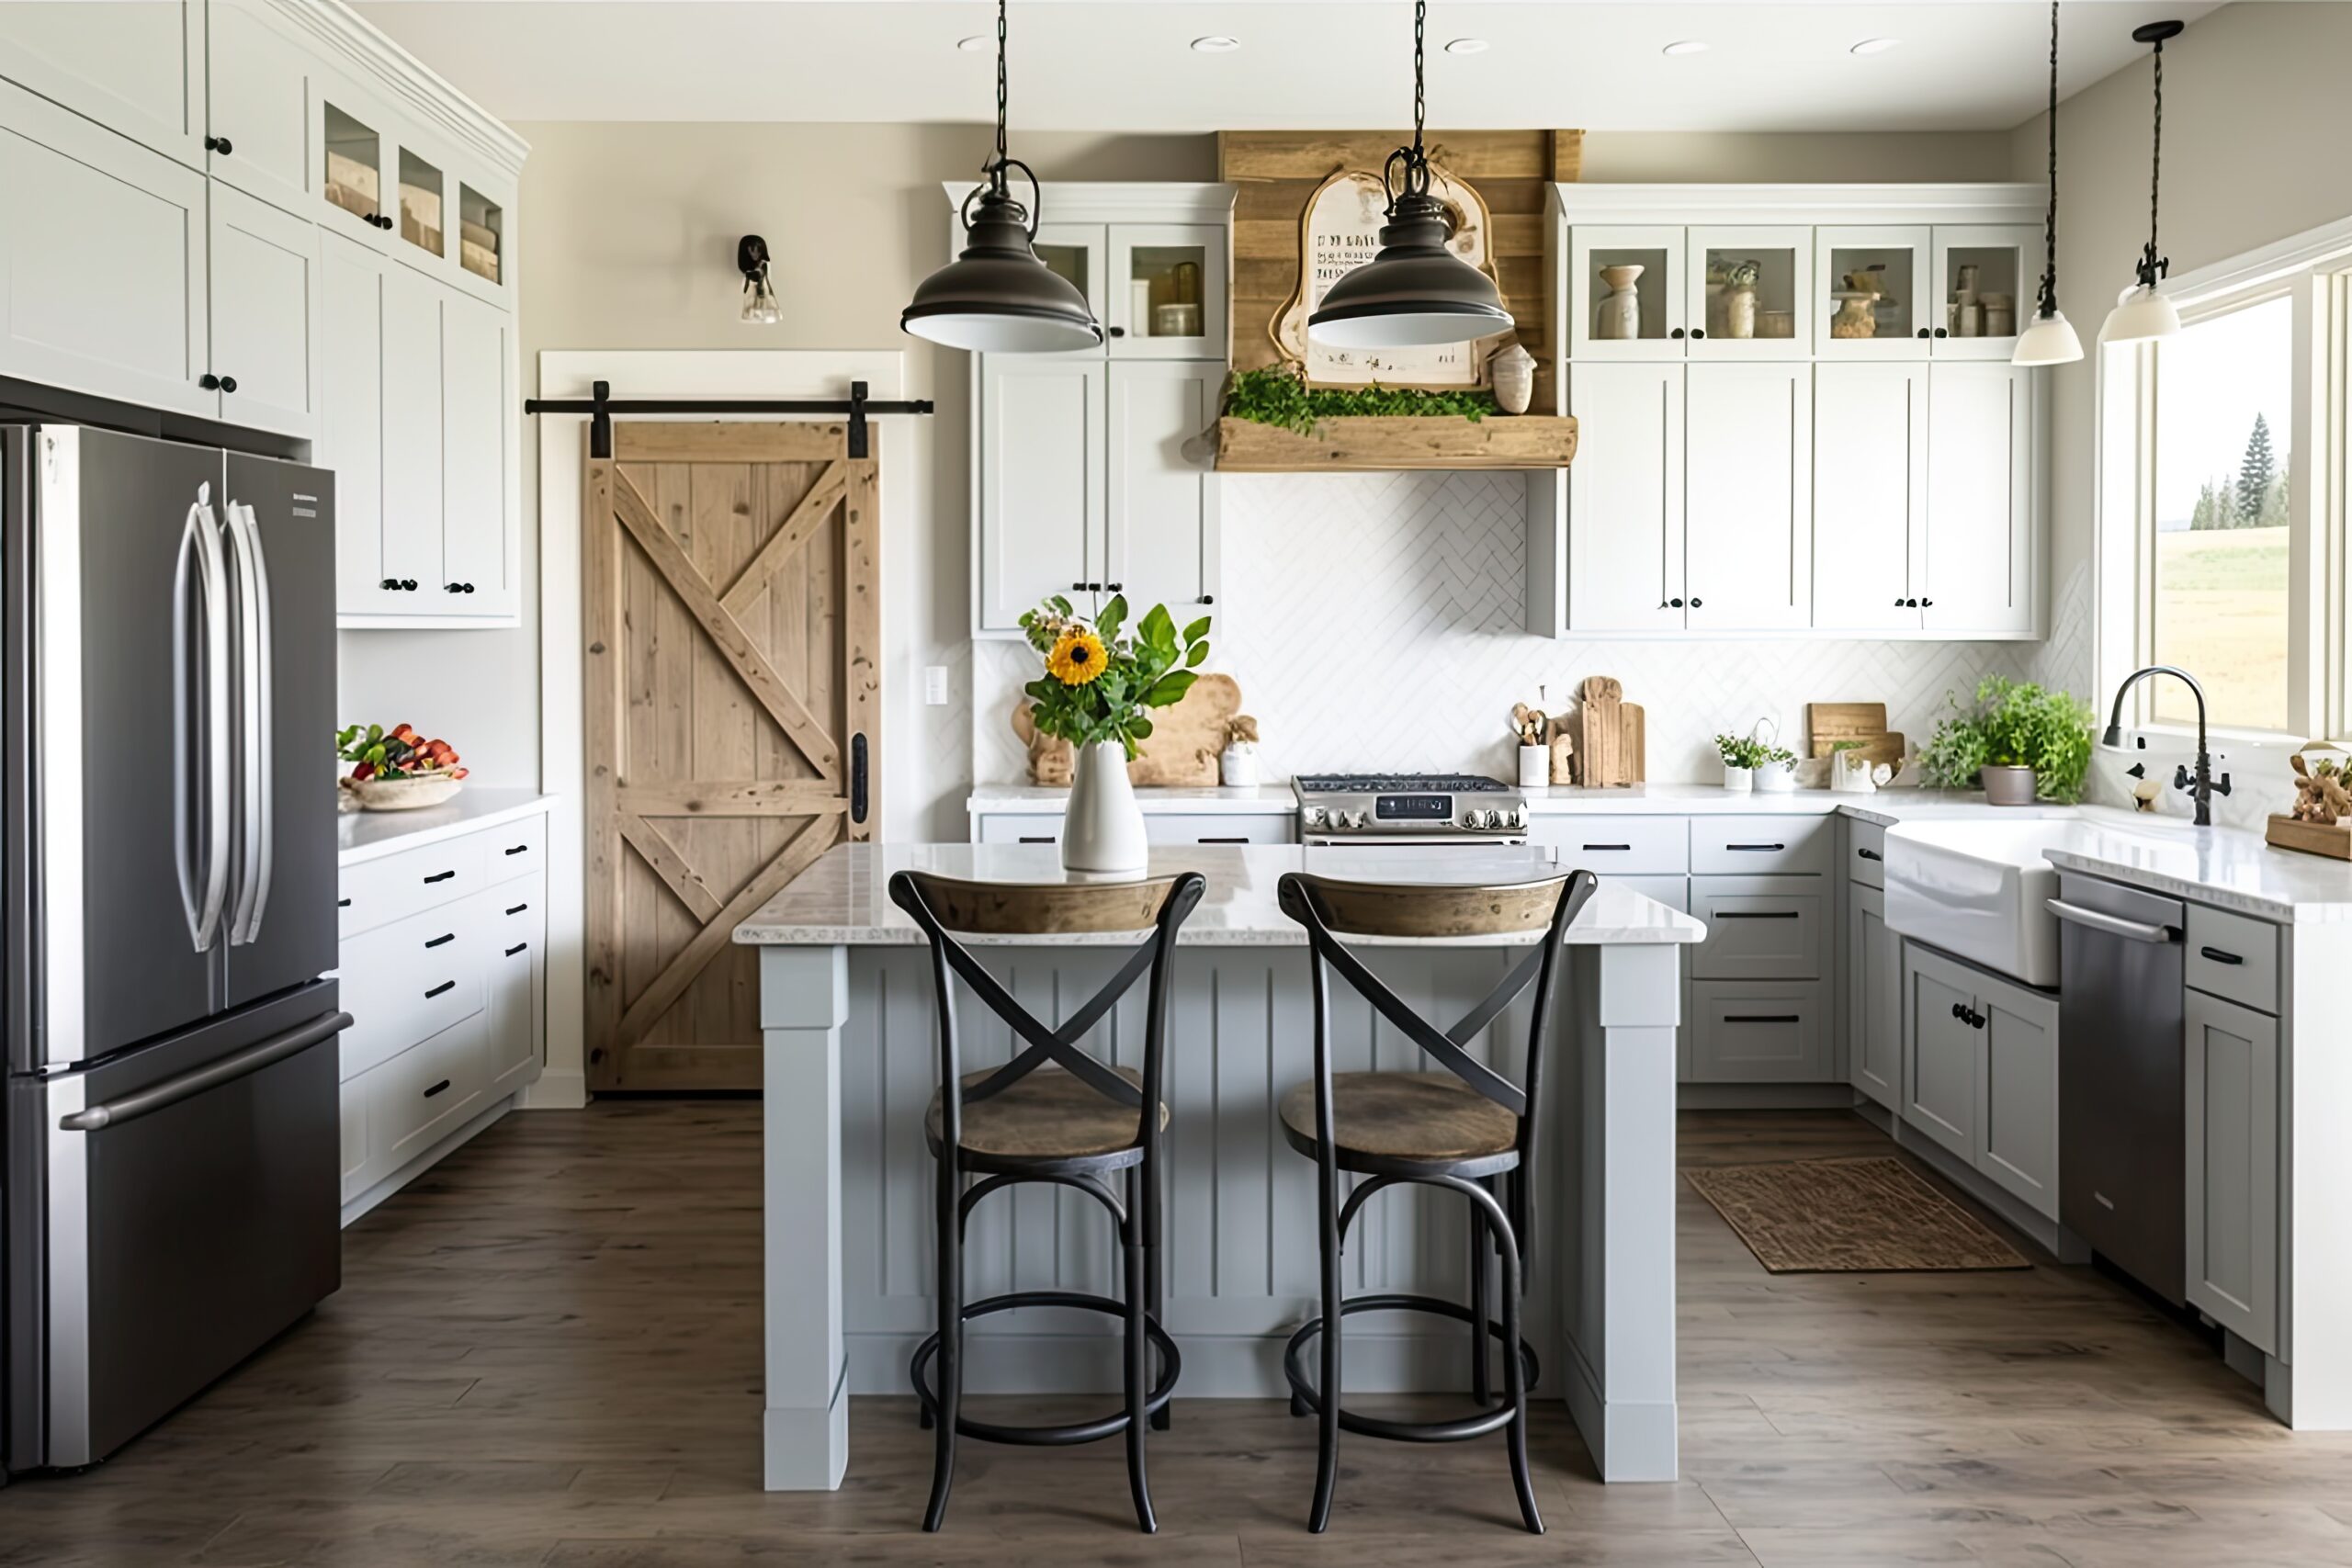
Warm, welcoming and full of charm, the farmhouse style is one of the most comforting among the different interior themes. It combines rustic character with modern touches, creating spaces that feel timeless yet fresh.
What Defines This Theme
Farmhouse interiors are all about warmth and simplicity. They celebrate natural materials, think reclaimed timber, soft fabrics, and handwoven details. The traditional elements, like vintage doors, shiplap walls, and exposed beams, are often balanced with contemporary furniture or lighting to keep things feeling current. The colour palette is neutral and inviting, featuring shades of white, cream, beige and soft grey, often accented with black for definition.
How to Nail Farmhouse Style
- Mix old and new: Blend antique or rustic pieces with modern fixtures, a weathered dining table with sleek pendant lights, for example.
- Focus on comfort: Choose plush seating and relaxed textiles; the room should feel lived in and inviting.
- Highlight natural materials: Timber beams, linen curtains, and jute rugs all help bring that earthy texture to the forefront.
- Keep colours soft: Stick with warm neutrals, and add contrast through darker metal finishes or natural wood tones.
Among the different interior themes, modern farmhouse stands out for its ability to feel grounded without being heavy. It evokes a sense of home, lived-in, layered, and effortlessly welcoming, while still maintaining a refined edge.
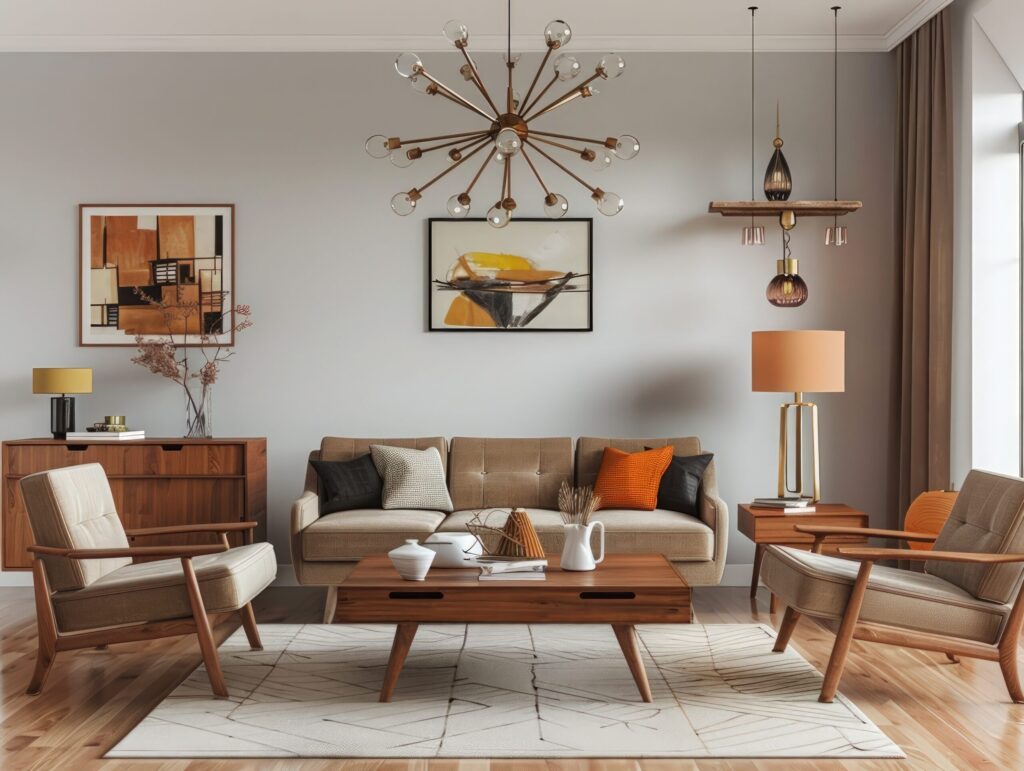
6. Mid-Century Modern
Effortlessly cool and undeniably timeless, Mid-Century Modern is one of the most recognisable of the different interior themes. Its appeal lies in the simplicity of form, the warmth of natural materials, and the sense of optimism it brings to a space.
What Defines This Theme
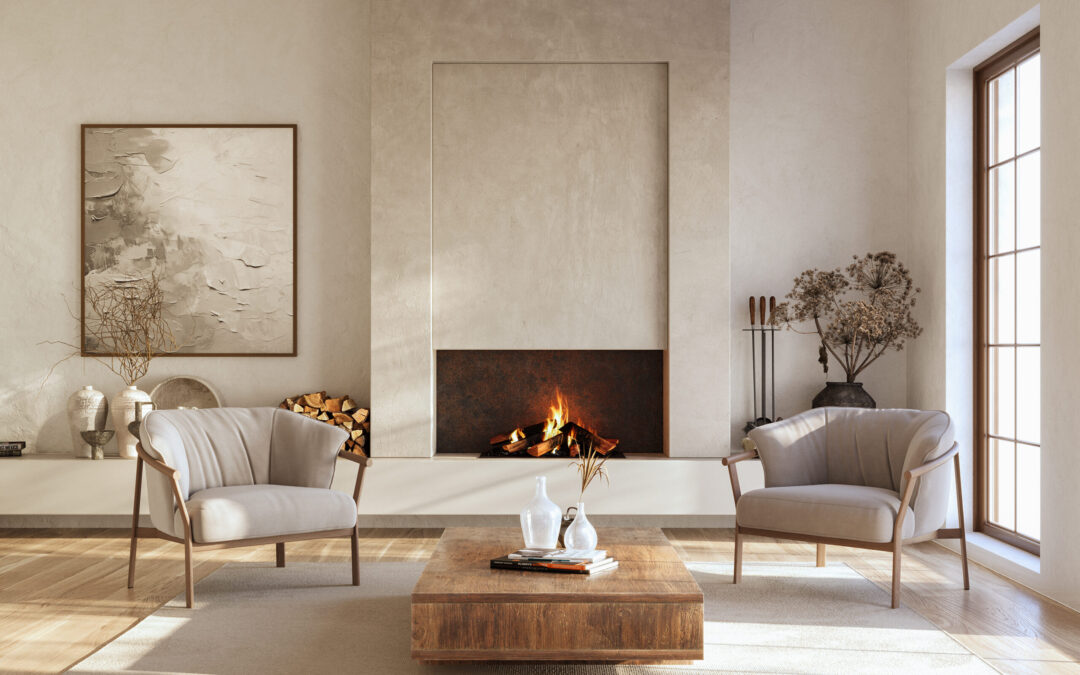
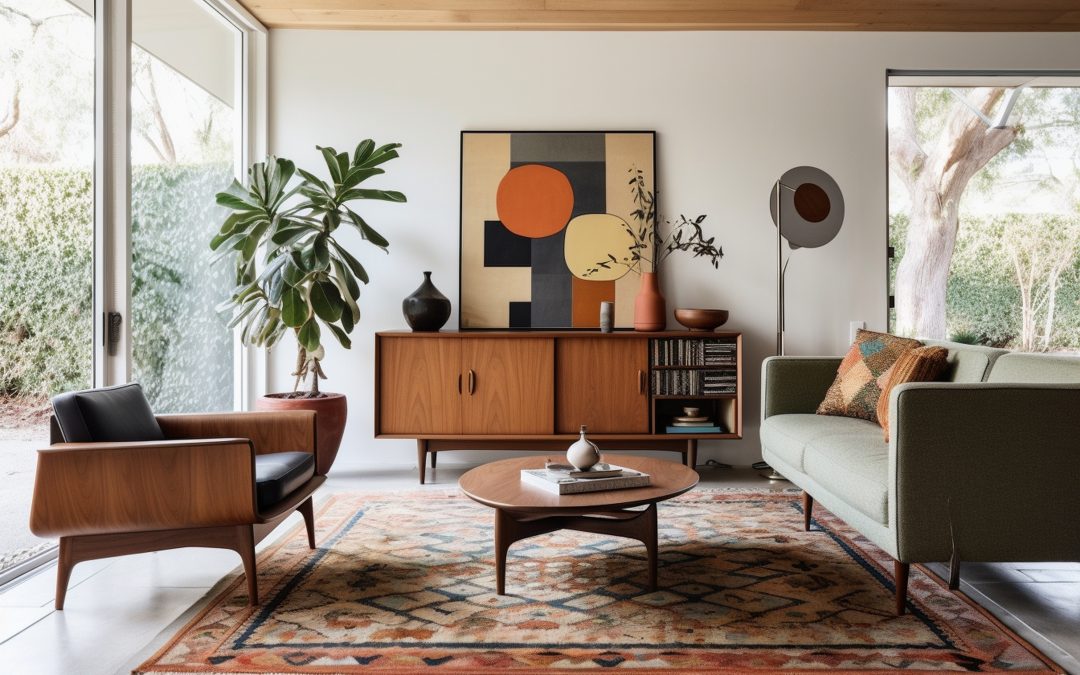
Emerging in the mid-20th century, this style focuses on functionality, clean lines, and organic shapes. Furniture often features tapered wooden legs, smooth curves, and minimal ornamentation. Colour palettes mix earthy tones with bold accents; mustard, teal, or burnt orange are common choices. This theme also embraces an indoor-outdoor connection, with open layouts and large windows that invite natural light.
How to Nail Mid-Century Modern Style
- Choose iconic shapes: Look for furniture with sleek, simple lines. Think statement chairs, sideboards, and low coffee tables.
- Mix playful and practical: Keep decor minimal but allow one or two standout pieces to take centre stage.
- Incorporate wood tones: Teak, walnut and oak are key materials that give warmth and authenticity.
- Add a pop of colour: Accent cushions or artwork in retro hues bring the space to life without overwhelming it.
Among the different interior themes, Mid-Century Modern remains a favourite for its nostalgic charm and enduring versatility. It captures the essence of great design: balanced, thoughtful, and always fresh, no matter the decade.
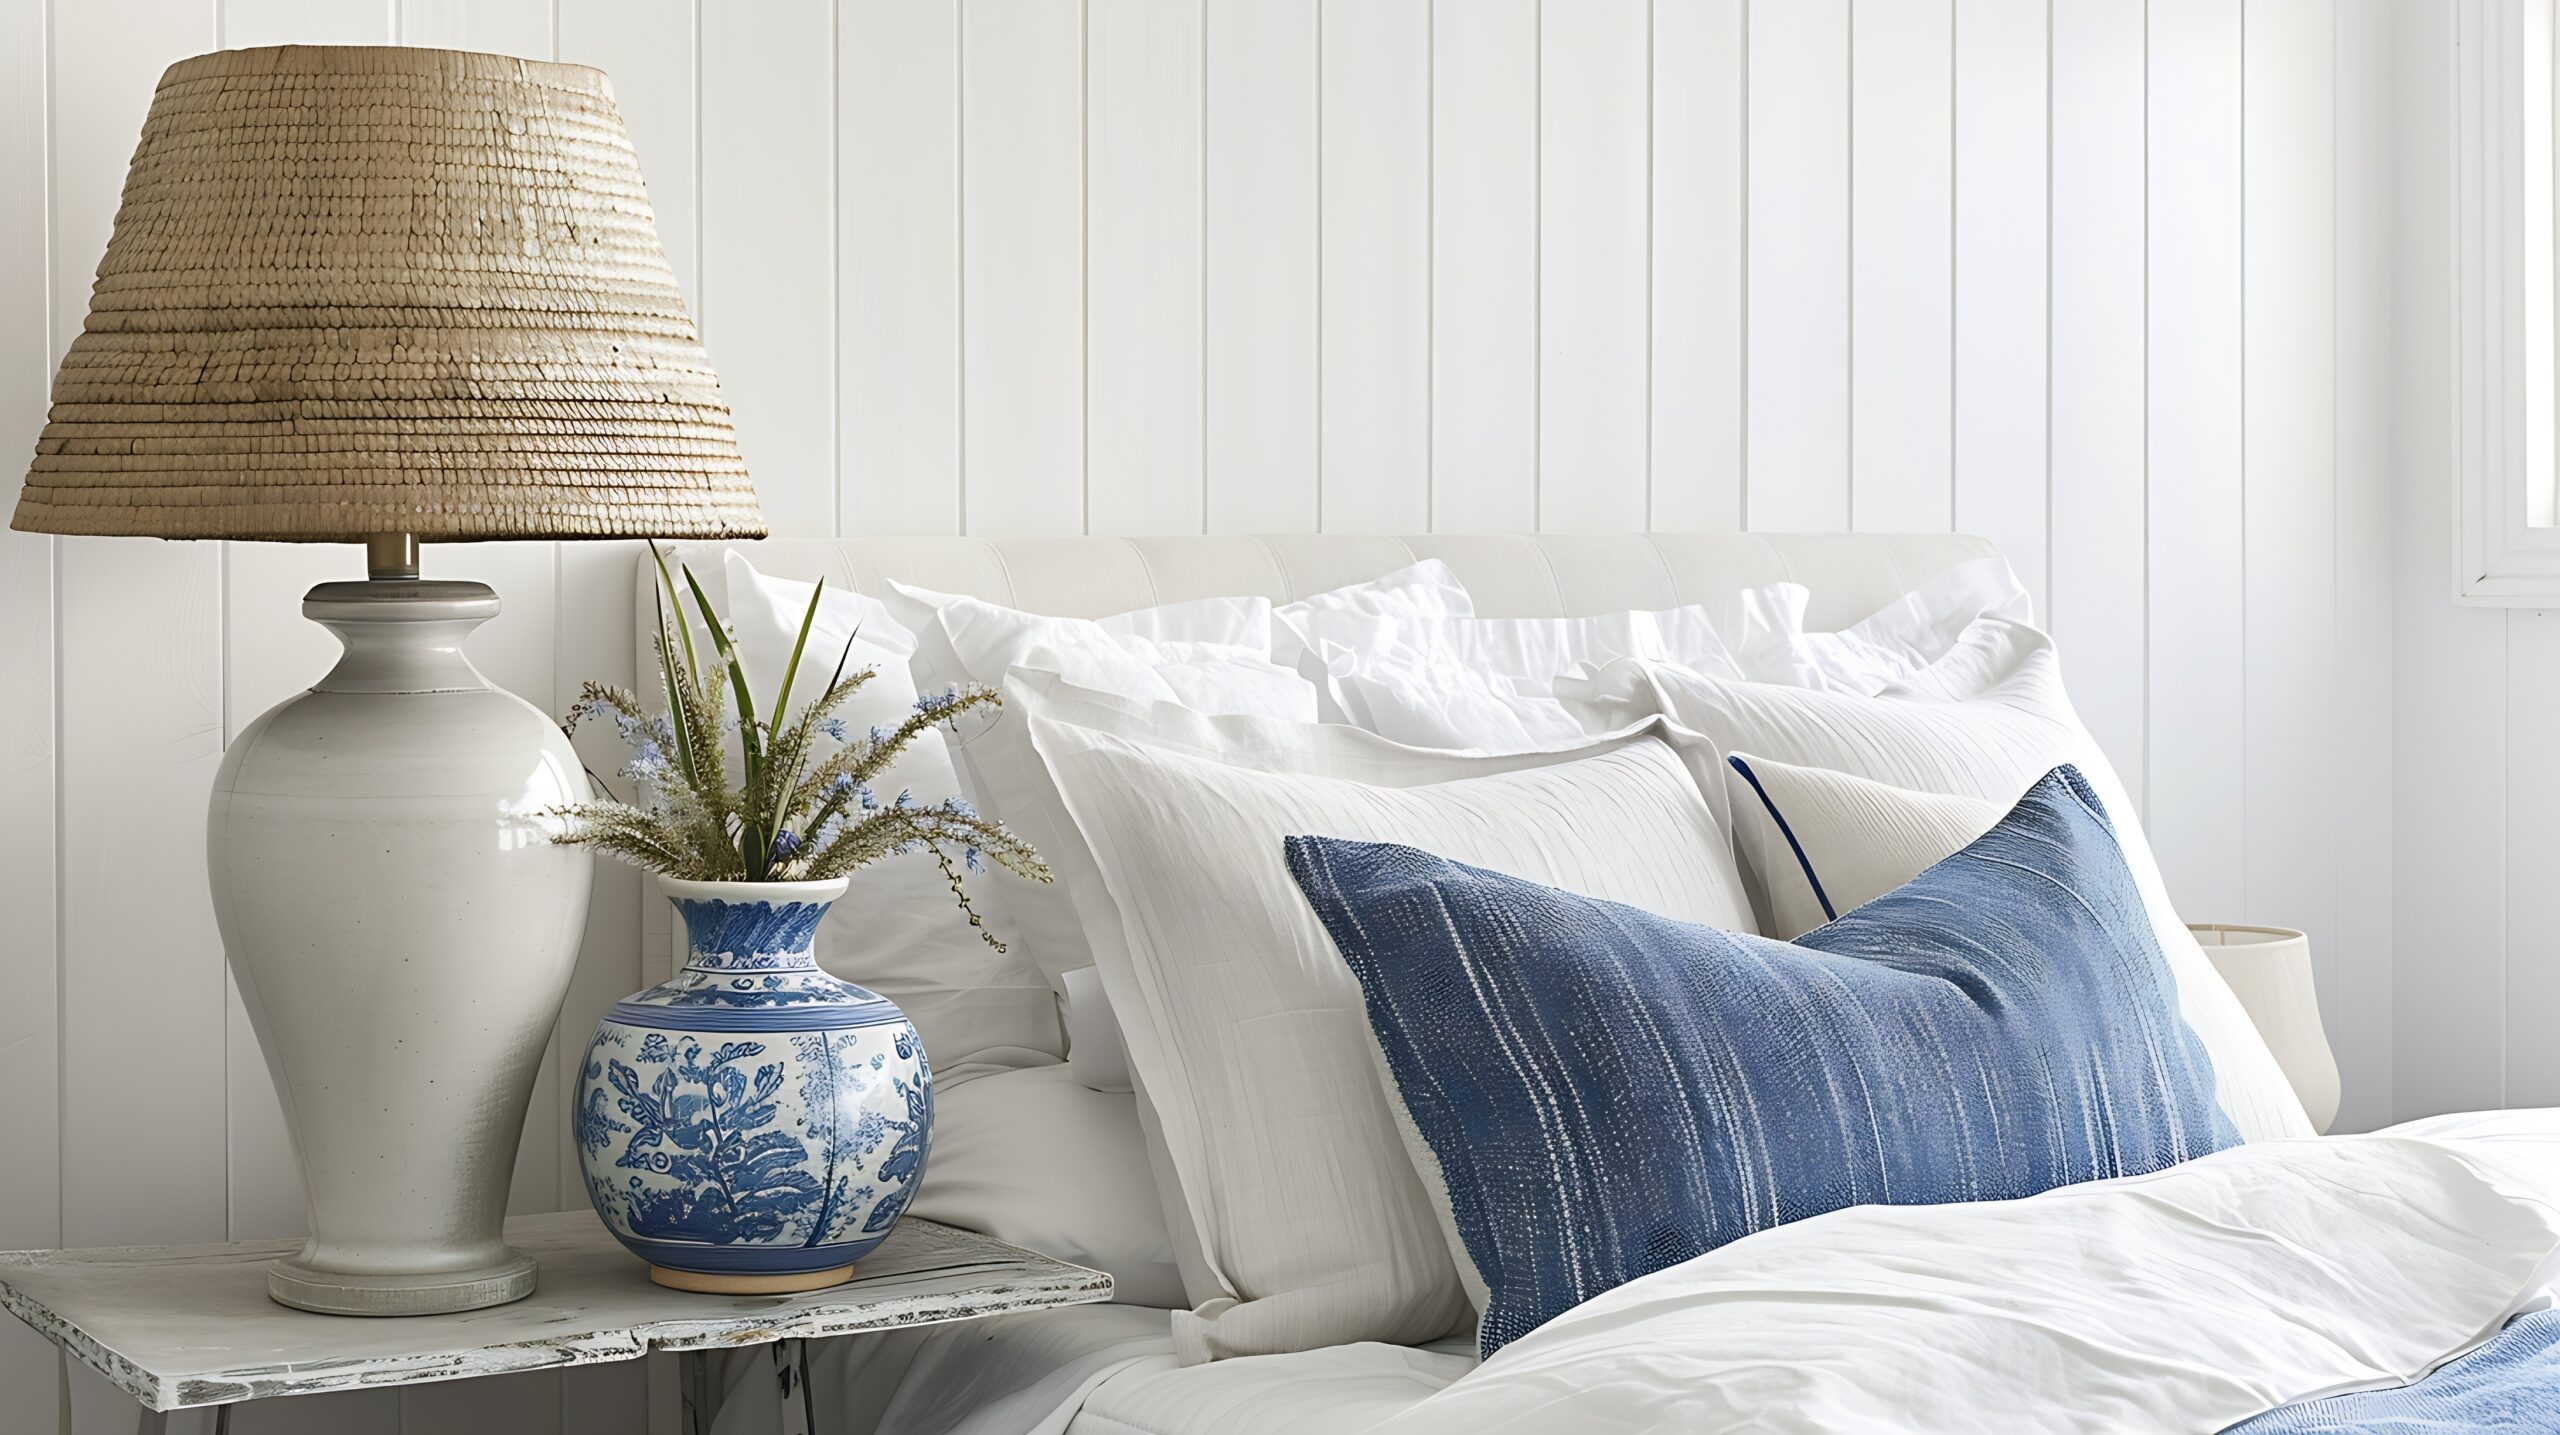
7. Coastal
Light, relaxed, and effortlessly breezy, the coastal style is one of the most refreshing among the different interior themes. Inspired by seaside living, it brings the calm and simplicity of the coast into the home, making every day feel like a breath of fresh air.
What Defines This Theme
The coastal theme focuses on light, space, and natural textures. Its palette is soft and soothing with crisp whites, sandy neutrals, and gentle shades of blue at its core. Furniture often features clean lines and lightweight materials, while decor includes elements like woven baskets, linen cushions, and driftwood accents. It’s not about filling a room with nautical motifs, but rather capturing that relaxed, sunlit feeling of the shoreline.
How to Nail Coastal Style
- Let in natural light: Keep windows uncovered or use light linen curtains to enhance the brightness and openness.
- Use soft, natural colours: Whites, beiges, and blues create that fresh, coastal atmosphere.
- Incorporate texture: Think jute rugs, woven pendants, and raw timber details.
- Keep it uncluttered: Simplicity is key; choose pieces that feel easy and intentional, not overwhelming.
Among the different interior themes, coastal design stands out for its laid-back elegance and timeless charm. It’s the perfect approach if you love interiors that feel calm, unpretentious, and inspired by nature’s beauty.
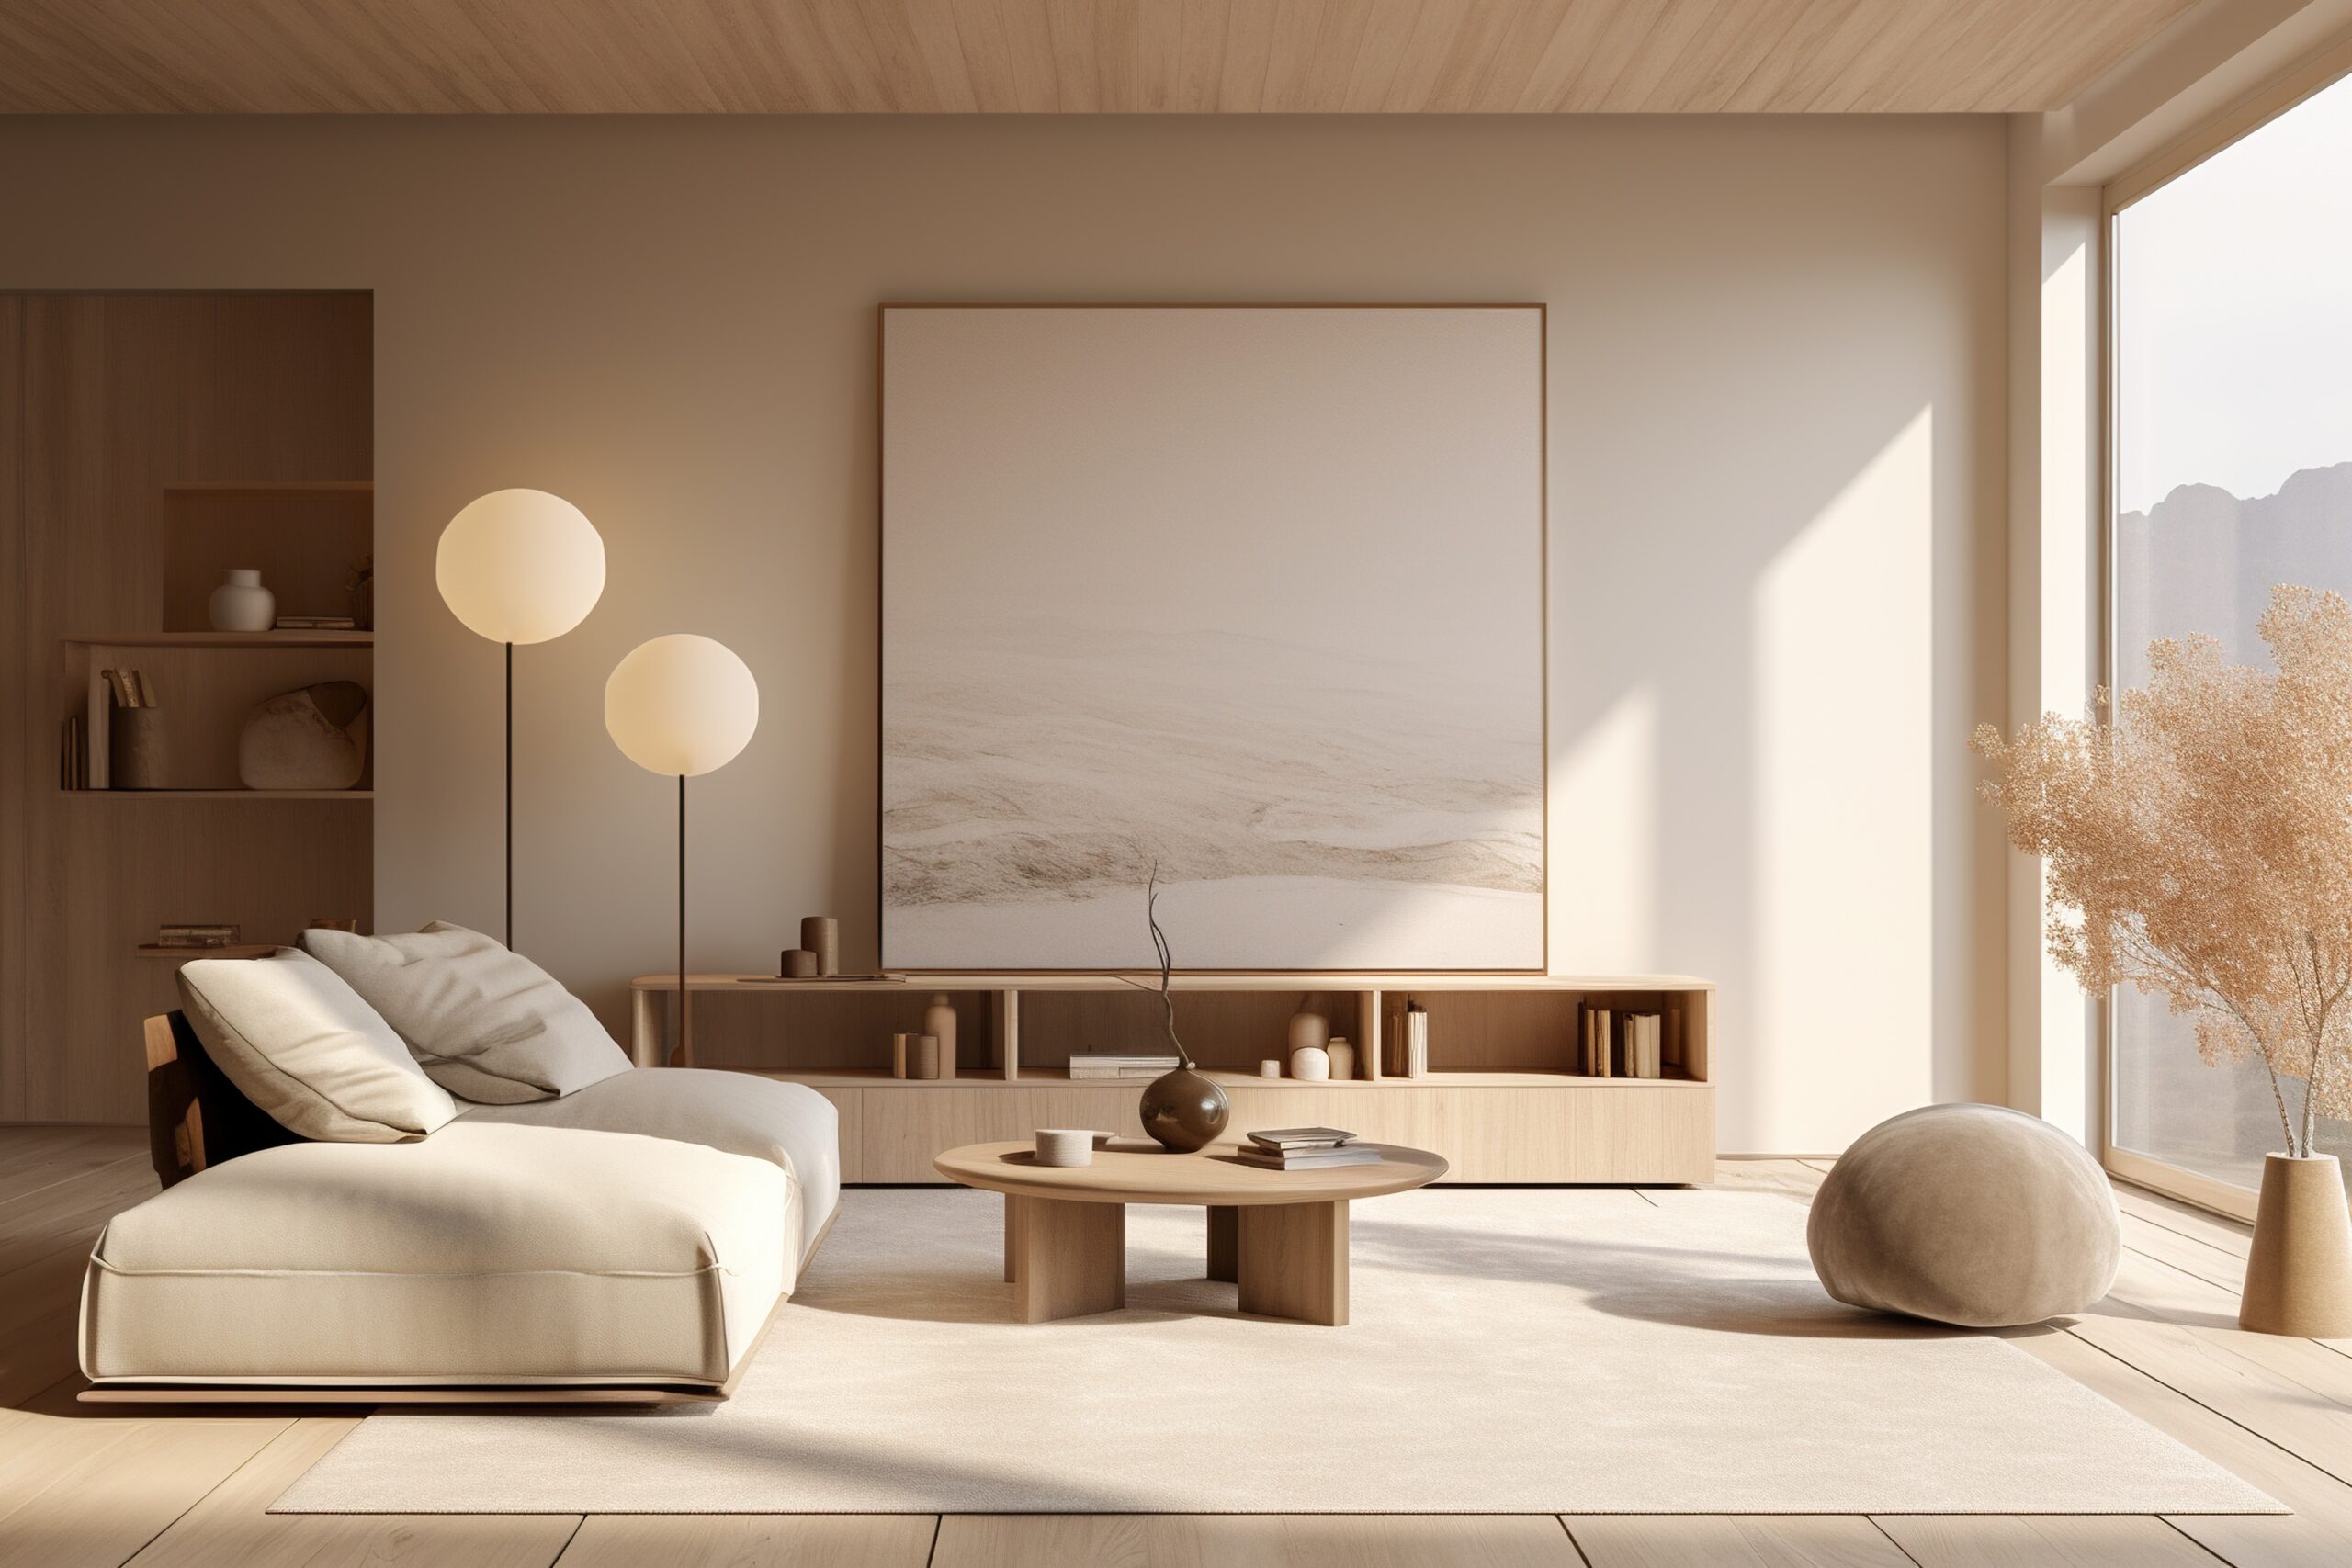
8. Japandi
Minimal, warm, and deeply intentional, Japandi style is one of the most elegant and harmonious among the different interior themes. It blends the simplicity of Japanese design with the cosiness of Scandinavian interiors, resulting in spaces that feel calm, balanced, and beautifully understated.
What Defines This Theme
Japandi design centres on the idea of wabi-sabi, finding beauty in imperfection, combined with Scandinavian functionality. The look is refined but not cold, natural but never overly rustic. Expect muted earth tones, sleek furniture with organic shapes, and a focus on craftsmanship and quality. Every piece serves a purpose, and clutter is kept to a minimum.
How to Nail Japandi Style
- Keep it simple: Choose essential furniture and decor, leaving plenty of negative space for visual calm.
- Layer natural materials: Mix light timbers, ceramics, linen, and stone for soft contrast and warmth.
- Stick to muted tones: Neutral hues like beige, taupe, grey, and soft black define the palette.
- Embrace craftsmanship: Prioritise quality materials and well-made pieces that last.
Among the different interior themes, Japandi resonates for its serenity and purpose. It invites you to slow down, appreciate the details, and create a home that feels grounded, thoughtful, and timeless.
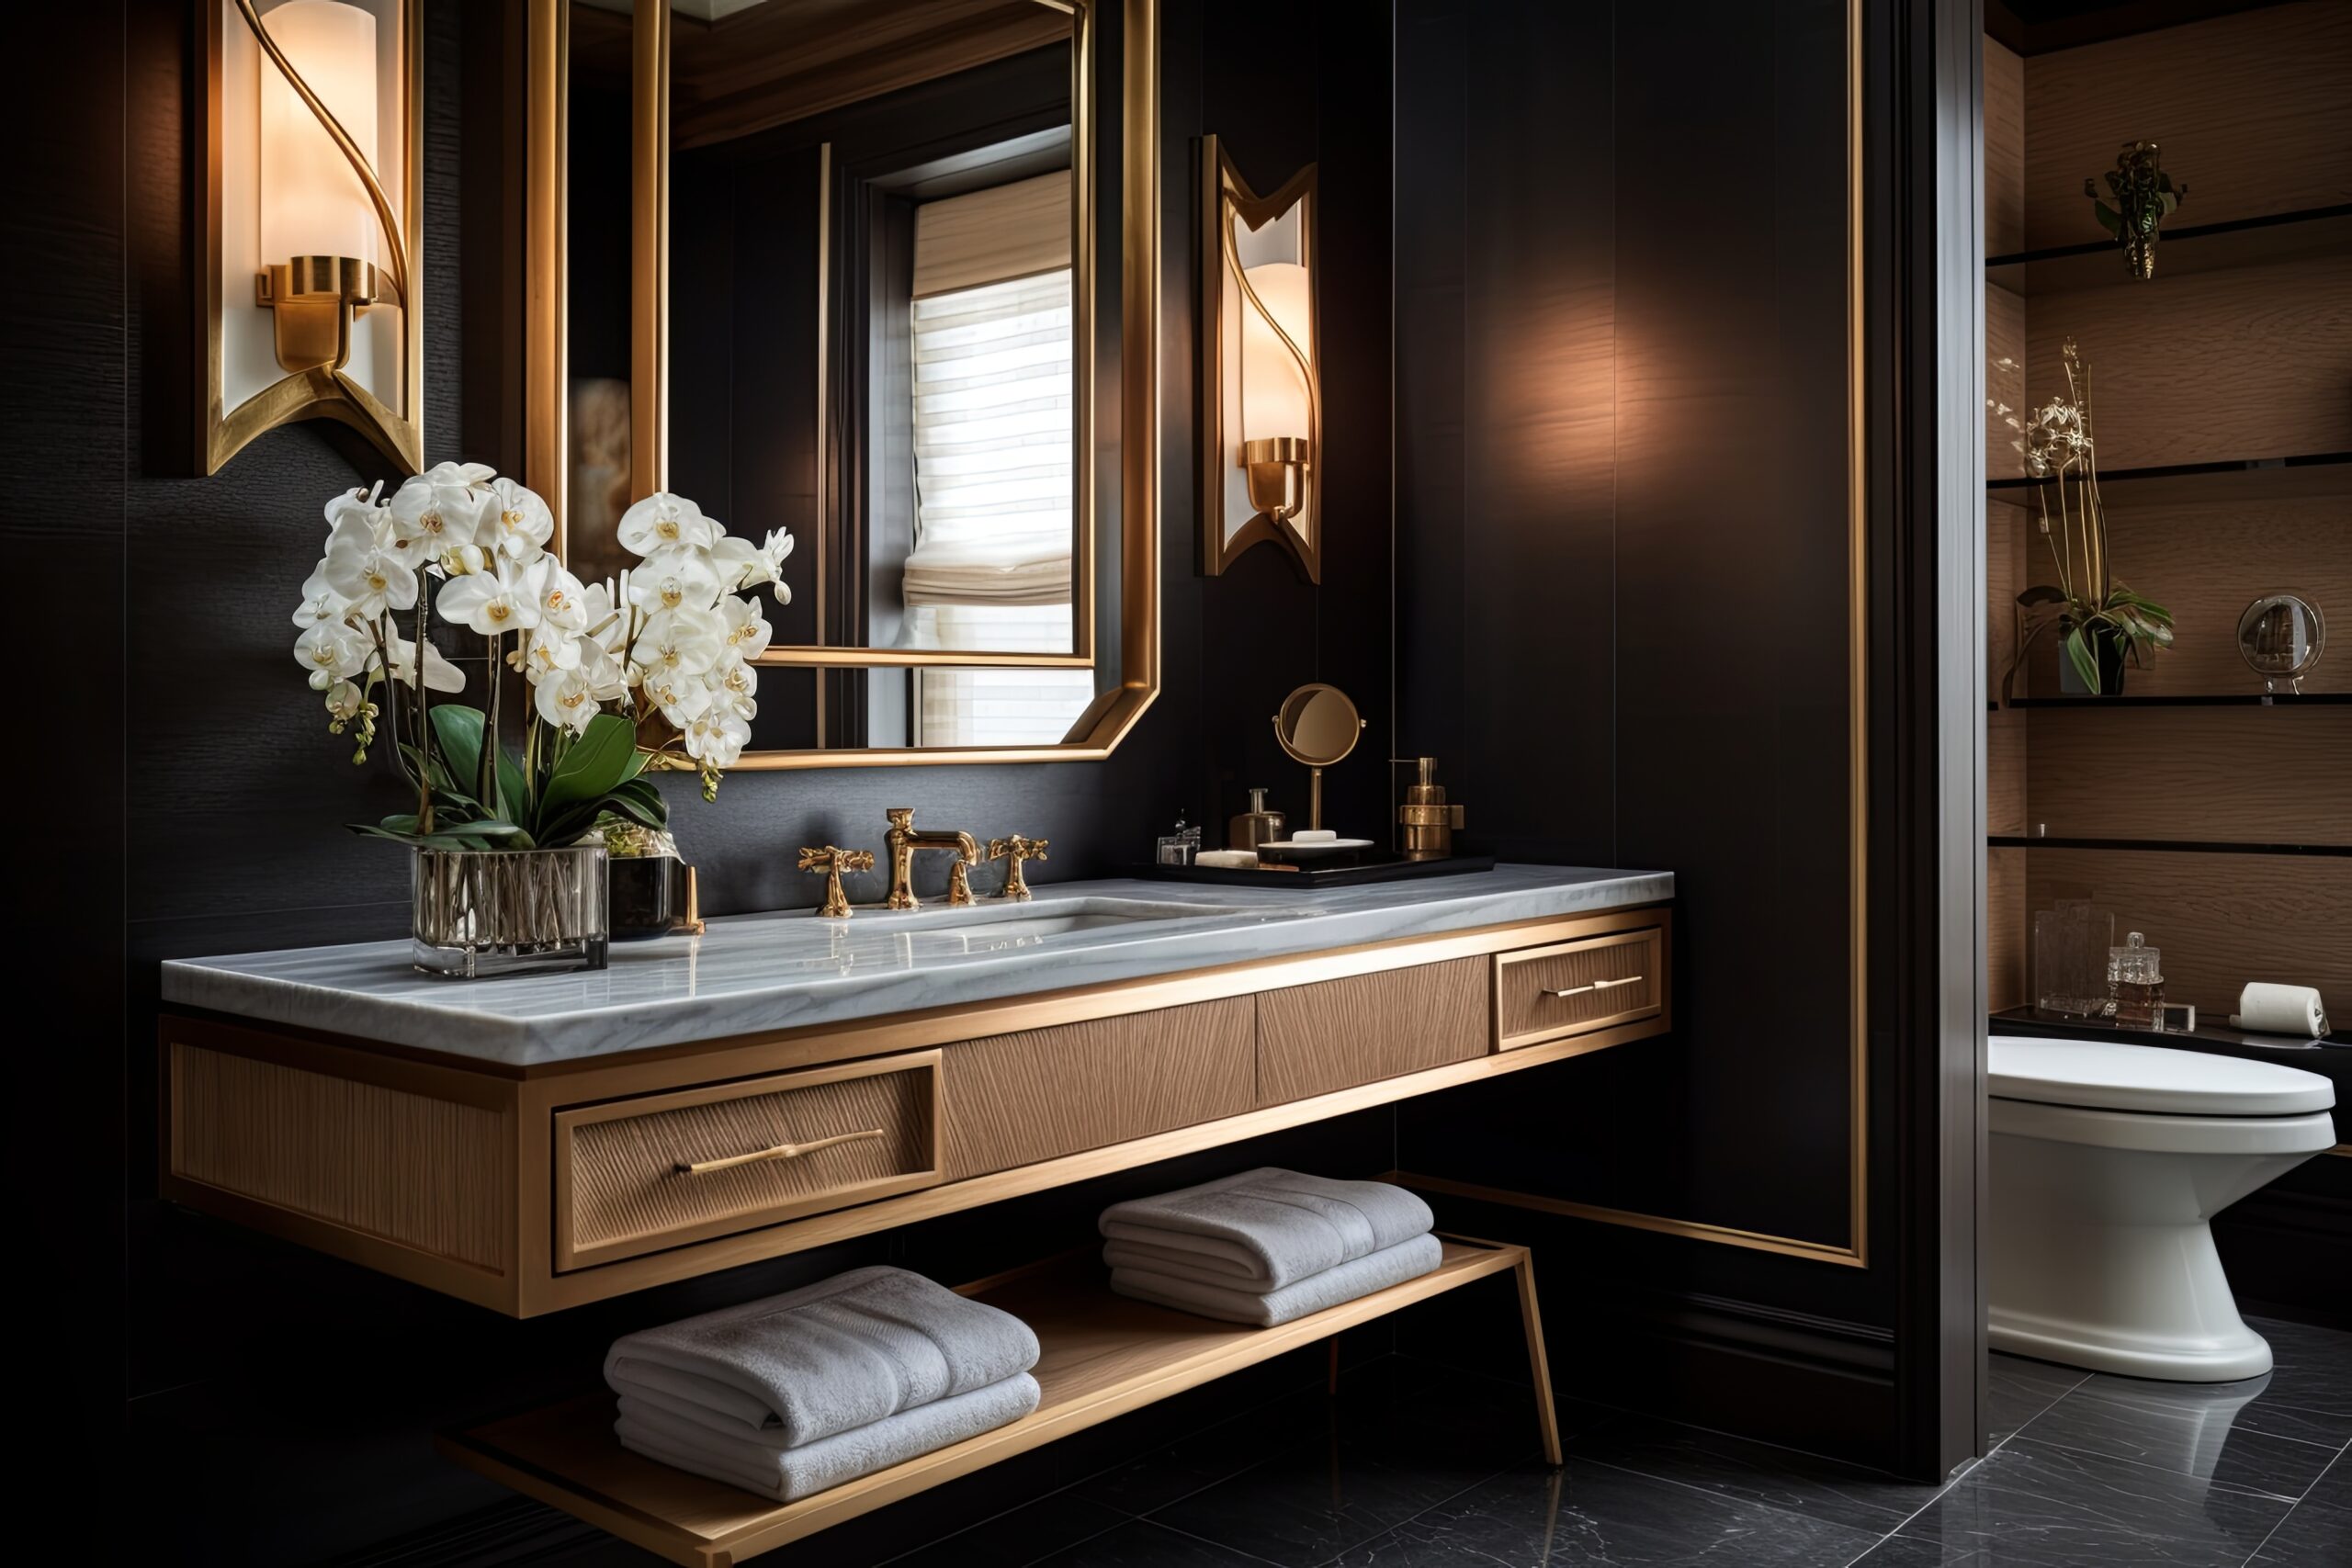
9. Art Deco
Elegant, bold and full of glamour, Art Deco is one of the most expressive and luxurious among the different interior themes. Emerging in the early 20th century, it’s a style that celebrates opulence, symmetry, and statement design.
What Defines This Theme
Art Deco is instantly recognisable for its geometric patterns, rich colours and metallic finishes. Think gold, brass, marble, and lacquered wood paired with plush fabrics like velvet or silk. Statement lighting, curved edges, and architectural details are all signatures of this look. The overall effect is sophisticated and dramatic; every element feels intentional and confident.
How to Nail Art Deco Style
- Play with geometry: Choose furniture and decor with angular lines or bold shapes for instant visual impact.
- Go bold but balanced: Mix deep jewel tones with metallic highlights; emerald, navy, and gold work beautifully together.
- Incorporate luxe materials: Velvet, glass, marble, and brass add texture and elegance.
- Add statement pieces: A sculptural lamp, ornate mirror, or chandelier can become the centrepiece of the room.
Among the different interior themes, Art Deco stands apart for its glamour and precision. It’s perfect for anyone who appreciates the artistry of design and wants to make their space feel both sophisticated and full of character.
10. Traditional
Timeless, refined, and full of character, the traditional style remains one of the most enduring among the different interior themes. It draws inspiration from classic European interiors, offering a sense of structure, symmetry, and elegance that never goes out of style.
What Defines This Theme
Traditional design focuses on balance and harmony. You’ll often see rich wood tones, detailed mouldings, and furnishings with graceful lines. Patterns like damask, florals, and stripes are common, complemented by warm, muted colours, think creams, soft golds, and deep blues or greens. Accessories and decor pieces are chosen purposefully, creating a polished yet inviting atmosphere.
How to Nail Traditional Style
- Keep symmetry in mind: Arrange furniture and decor in balanced pairs for a cohesive, graceful layout.
- Choose classic materials: Polished timber, brass details, and quality upholstery define this look.
- Embrace layering: Use rugs, curtains, and cushions to add richness and depth without overwhelming the space.
- Mix patterns thoughtfully: Coordinate prints with similar tones or motifs to maintain a sense of harmony.
Among the different interior themes, traditional design shines for its enduring beauty and sense of comfort. It feels intentional and complete, celebrating craftsmanship and a timeless approach to decorating that always feels just right.
11. Eclectic
Vibrant, personal, and full of character, the eclectic style is one of the most creative among the different interior themes. It’s all about mixing influences, eras, and textures in a way that feels cohesive yet never overly planned, a curated expression of individuality through design.
What Defines This Theme
Eclectic interiors combine seemingly contrasting elements while still maintaining visual harmony. Colours, patterns, and materials can vary widely, but there’s always a unifying thread, whether that’s a consistent colour palette, a particular texture, or a common design feature. The goal isn’t randomness; it’s balance through contrast. Spaces often feel layered, collected, and full of story.
How to Nail Eclectic Style
- Find a common thread: Use a repeating colour, shape, or texture to tie different elements together.
- Mix with purpose: Combine modern and vintage pieces, but edit carefully to avoid visual clutter.
- Layer thoughtfully: Rugs, artwork, cushions, and lighting can all work together to add dimension and interest.
- Show personality: Showcase decor that reflects who you are. Books, art, and treasures collected over time give your space unmistakable character.
Among the different interior themes, eclectic design is the one that breaks the rules gracefully. It allows personal taste to take centre stage while still feeling cohesive and balanced. Done well, it creates a space that feels meaningful, dynamic, and entirely your own.
How to Choose Your Interior Theme
Once you’re familiar with the variety of different interior themes, the next step is narrowing down which one (or combination) feels right for your home. This process isn’t about following strict rules; it’s about discovering your personal aesthetic and how you want your space to function.
Start by paying attention to what you’re naturally drawn to. Browse photos of interiors, visit showrooms, or take note of textures and colours that make you feel comfortable. If you lean toward simplicity, a modern minimalist or Japandi theme might suit you. If you love character and warmth, perhaps farmhouse or eclectic fits better.
It’s also helpful to think about lifestyle and practicality. A family home may benefit from durable materials and cosy textures, while an apartment might suit cleaner lines and open layouts. Don’t be afraid to blend influences; many of the most interesting spaces borrow from multiple styles while keeping a cohesive feel through colour or texture.
Taking time to explore how different interior themes align with your taste and lifestyle will make decorating less overwhelming and far more rewarding. It ensures every choice you make feels deliberate, harmonious, and true to how you want your home to feel.
Exploring these different interior themes offers so much more than just design inspiration. It’s about finding a style that reflects how you want to live, the colours, textures, and layouts that make your home feel uniquely yours. Each theme has its own mood, purpose, and personality, from the calm of Japandi and Scandinavian styles to the expressive energy of Bohemian and Eclectic spaces.
by Kesaa Interiors | DESIGN GUIDES, How-To Guides, ROOMS
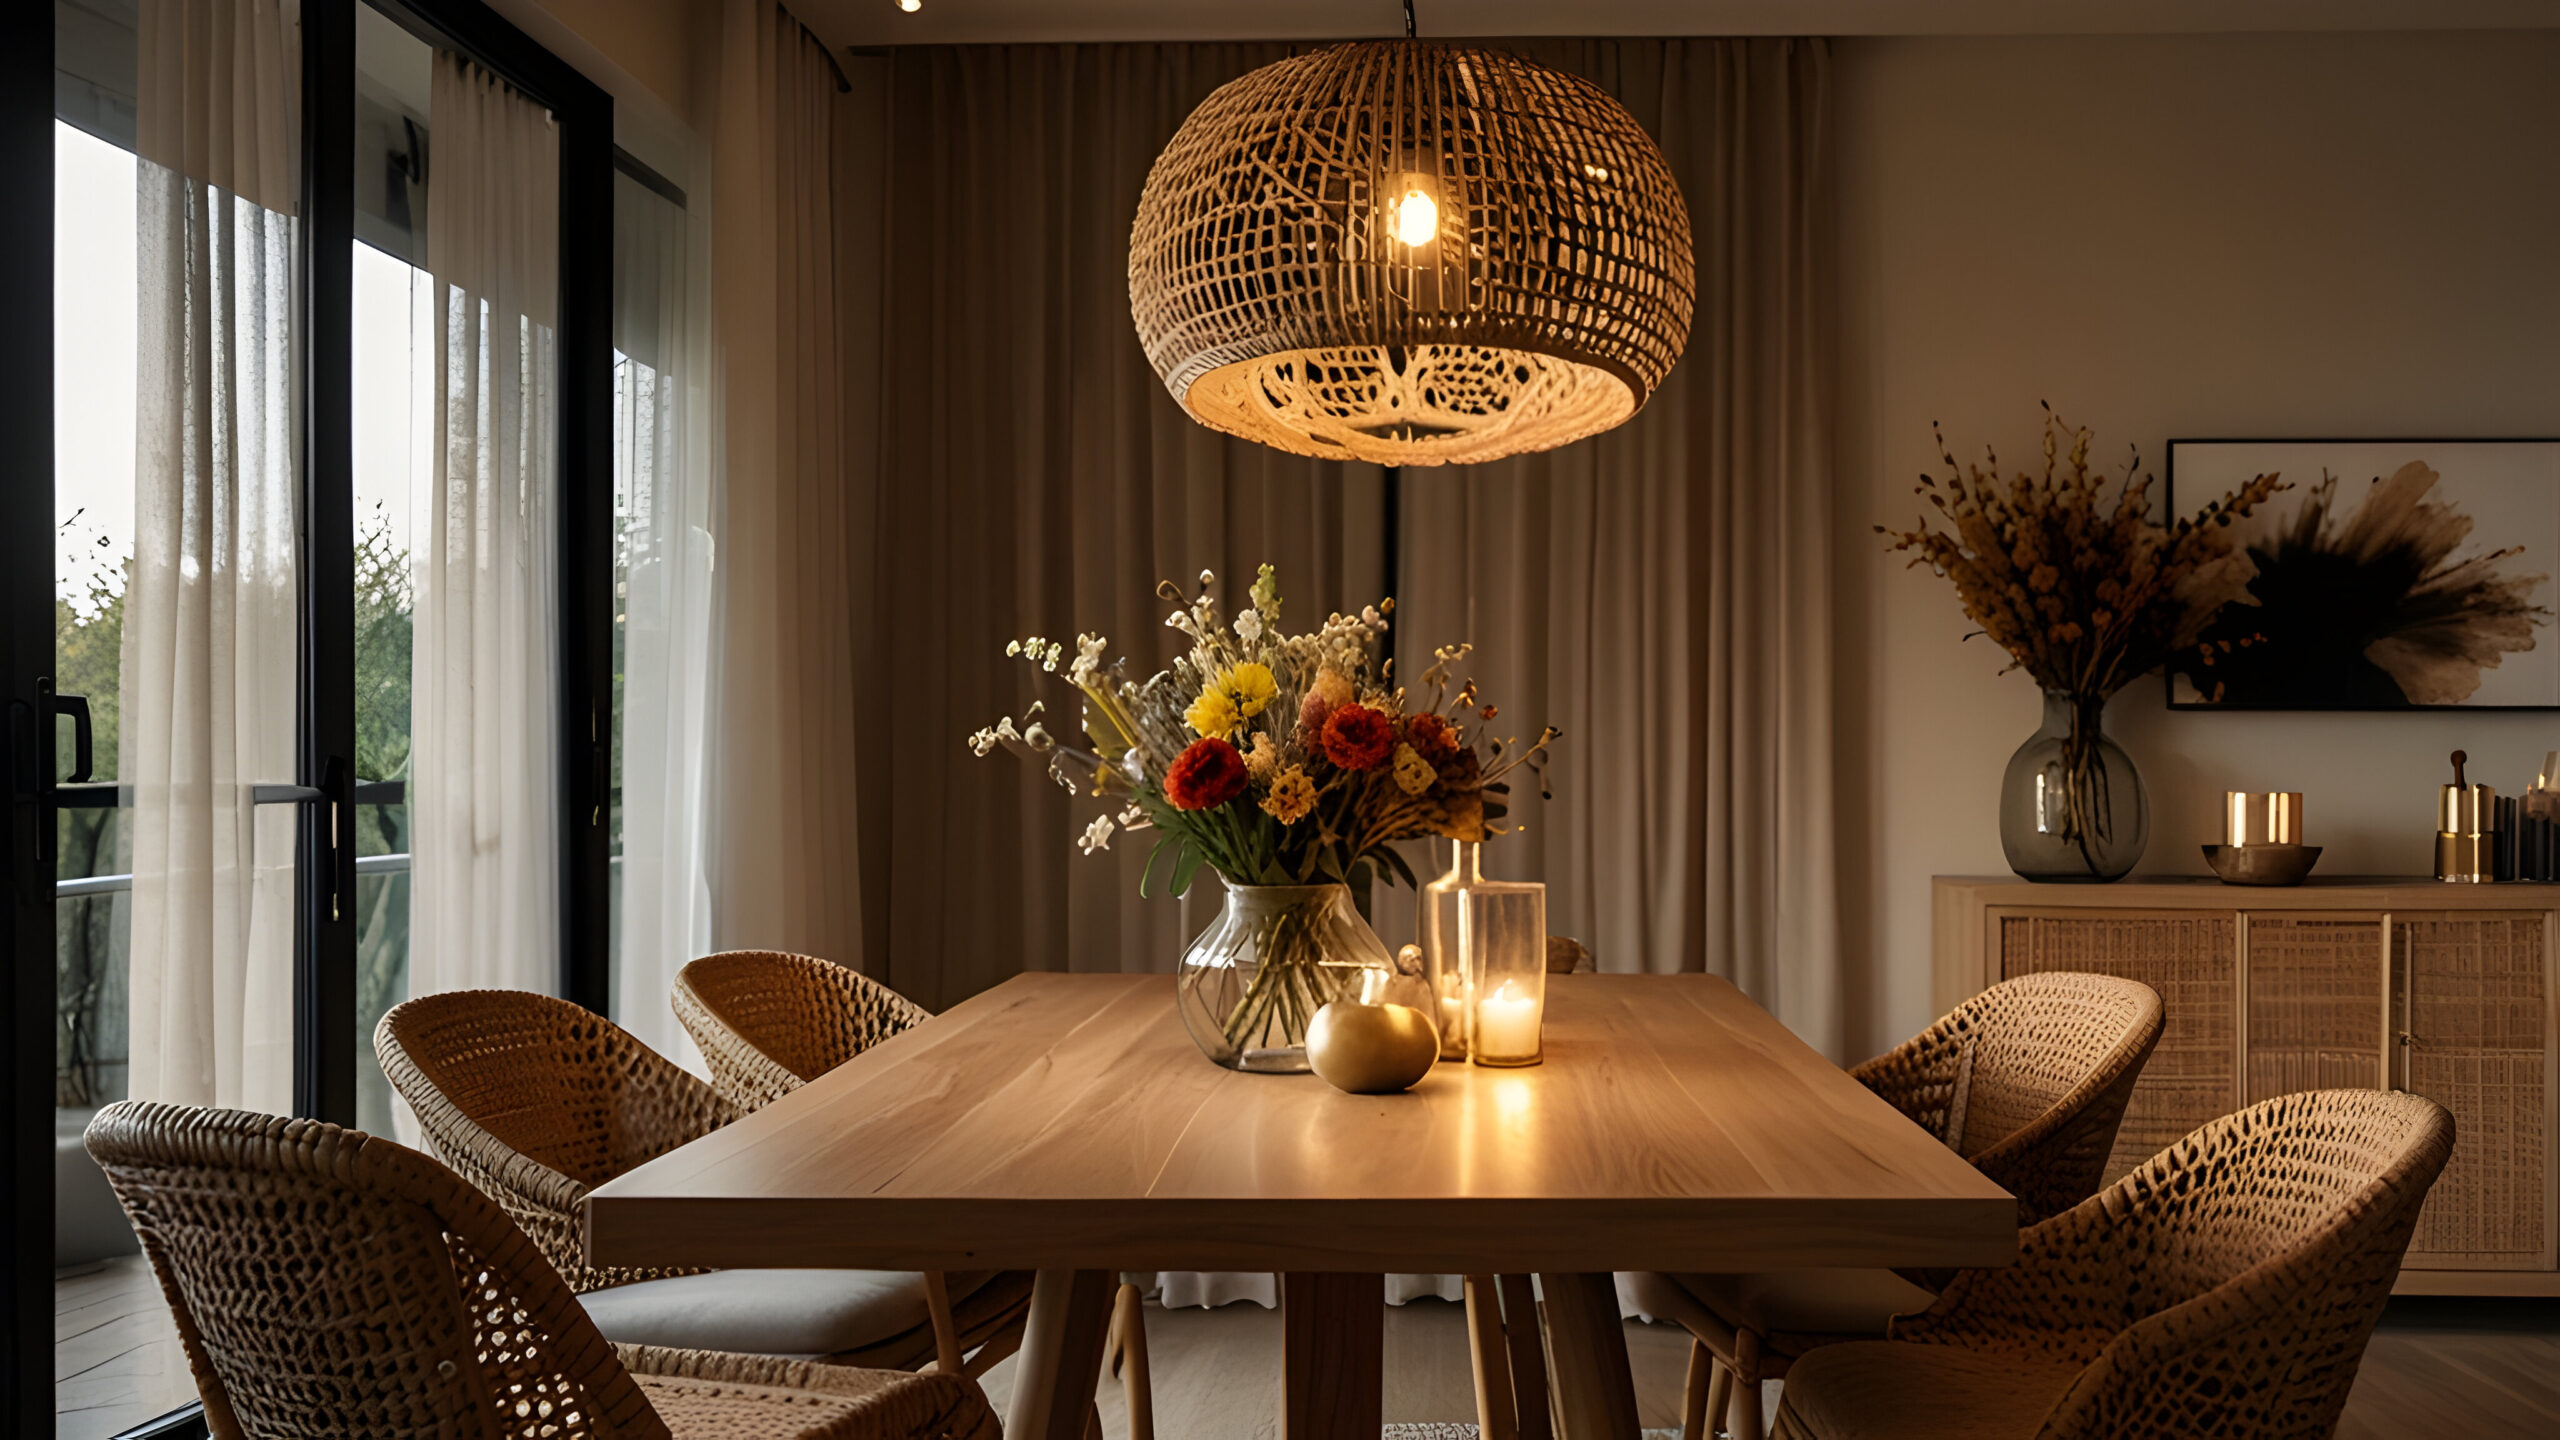
This post is all about How To Arrange Furniture In A Room.
I’ve always believed that the way furniture is arranged can completely change how a room feels. It’s not just about where you put the sofa or how far a chair sits from the coffee table; it’s about creating a space that feels balanced, easy to move through, and effortlessly stylish. Many people overthink how to arrange furniture in a room, but with a bit of planning and an understanding of how your space works, it becomes a creative and rewarding process.
Whether you’re furnishing a new home or reworking a space that’s starting to feel off, knowing how to arrange furniture in a room is the first step toward achieving a comfortable and harmonious flow. In this guide, we’ll look at practical ways to turn any room into one that looks great and functions beautifully.

I. Understand Your Space Before You Start
Before you start moving furniture around, take a step back and study the room. Every space has its own rhythm, its proportions, angles, and flow. Understanding those details gives you a foundation to build on before deciding how to arrange furniture in a room.
Start by measuring everything. Knowing the exact length and width of your space helps you avoid overcrowding and ensures each piece has room to breathe. It’s also useful to measure your larger furniture pieces, so you can visualise how they’ll fit before any heavy lifting begins.
Next, identify the focal points in the room. Maybe it’s a fireplace, a large window with a view, or a statement piece of art. Centring your layout around that focal point creates a natural anchor for the rest of your decorating decisions.
Finally, consider the movement patterns, the paths people take when entering and walking through the room. A good layout keeps those pathways clear and intuitive, which makes the room feel open rather than cluttered. When thinking about how to arrange furniture in a room, always prioritise flow over symmetry. Natural movement should guide your design choices just as much as style.

II. Define the Purpose and Focal Point of the Room
Once you understand the dimensions and flow of your space, the next step is to define what the room is meant to do. Every room should have a clear purpose, and how you define it plays a huge role in how to arrange furniture in a room effectively. The goal here isn’t to overcomplicate things; it’s about knowing how you want to live in the space so your layout supports that naturally.
Start by asking yourself what happens most often in this room. Is it a place to relax with family, host friends, or focus on work? Once the main function is clear, you can make smarter decisions about furniture placement. For example, a living room designed for conversation might centre around a pair of sofas facing each other, while a reading nook might revolve around a comfortable chair near a window. Thinking this way keeps your choices purposeful and cohesive.
Next comes the focal point, the detail that instantly draws attention. It could be architectural, like a fireplace or large window, or something you introduce through design, like an oversized piece of art or a statement light fixture. When deciding how to arrange furniture in a room, always start with your focal point first. Place your largest furniture piece to complement it, then position smaller pieces to enhance balance and visual flow throughout the space.
A room with a clear purpose and well-defined focal point always feels more intentional. Even if you eventually add layers with décor, rugs, and lighting, your layout will have a solid foundation to build upon.

III. Choose the Right Furniture for the Space
Even the best layout can’t shine if the furniture doesn’t suit the room. Choosing the right pieces is just as important as deciding how to arrange furniture in a room because the size, shape, and style of each item influence how the space functions and feels. The goal isn’t to fill every corner, it’s to select furniture that complements the room’s proportions and purpose.
Start with scale. A common mistake is bringing in pieces that are either too large or too small for the room. Oversized furniture can overwhelm the space, while undersized pieces make it feel sparse and disconnected. If your room is small, opt for streamlined furniture with visible legs to create a sense of airiness. In a larger space, choose a few substantial items to ground the layout.
Next, think about balance. Once you’ve determined how to arrange furniture in a room based on your focal point, consider how each piece interacts with the others. Pair heavier furniture, like a sofa or bed, with lighter pieces, such as open-framed chairs or slim side tables, to create visual harmony. You’re aiming for a mix of heights, shapes, and materials that feels interesting yet cohesive.
Function should guide every choice. Ask yourself how each item enhances the way the room is used. A low-profile coffee table might make sense for a lounge-style living area, while a round table could fit better in a tighter space where movement is important. Let the practical needs of your lifestyle direct what stays and what goes.
When you’re intentional about your selections, arranging furniture stops feeling like a puzzle and starts becoming a design decision that reflects your taste and the way you live.

IV. Plan the Layout Strategically
Once you’ve chosen the right furniture, it’s time to put everything together. Planning the layout is where your room starts to take shape, and understanding how to arrange furniture in a room with both intention and flexibility makes all the difference. A well-planned layout allows every piece to serve a purpose while maintaining the room’s natural rhythm.
Start with the Largest Pieces
Begin by positioning the biggest items first, like the sofa in your living room or the bed in your bedroom. These anchor the space and help you visualise proportions before adding smaller pieces. Think of these items as the core that guides everything else. Once they’re in place, you can experiment with side tables, accent chairs, or lamps until the space feels balanced and comfortable.

Maintain Clear Pathways
Good flow is essential. As you decide how to arrange furniture in a room, keep at least two to three feet of walking space between major pieces. This ensures the layout feels open and easy to move through, no matter how large or small the area may be. Furniture should guide movement intuitively, not obstruct it. Avoid pushing everything against the walls just to create space; sometimes, floating a sofa or chair closer to the centre can make a room feel more inviting and better proportioned.

Play with Symmetry and Asymmetry
There’s no single formula for balance. Symmetry, like matching lamps or chairs, creates order and a sense of calm, making it ideal for formal or traditional spaces. Asymmetry, on the other hand, adds energy and a more natural, modern rhythm. When experimenting with how to arrange furniture in a room, mix both approaches. For instance, balance a larger sofa with two smaller chairs across from it, or balance a substantial table with lighter accessories on the opposite side. The key is visual equilibrium rather than perfect mirroring.

By approaching furniture placement strategically, anchoring the space, allowing room for movement, and balancing visual weight, you create a layout that feels effortless and well thought-out. It’s this combination of structure and flow that turns any arrangement into a room that truly works.
V. Optimise for Comfort and Functionality
Even the most stylish layout won’t feel right if it isn’t comfortable to live in. Once the major pieces are in place, focus on how the room actually functions day to day. Comfort and purpose go hand in hand, and knowing how to arrange furniture in a room with those two elements in mind is what brings a layout from “nice” to genuinely enjoyable.
Create Natural Conversation Zones
For shared spaces like living or family rooms, think about how people interact. Sofas and chairs should face each other in a way that encourages conversation, not distance. If the room is large, create smaller zones—like a reading corner or a cozy seating area by a window—so the layout feels welcoming from every angle.
When thinking about how to arrange furniture in a room to support connection, try positioning pieces close enough that people don’t have to raise their voices to talk. Then, add accent tables within reach and soft lighting that makes the space feel inviting once the sun goes down.

Balance Practical Needs with Visual Flow
Functionality isn’t just about movement; it’s about how comfortably the room supports your daily activities. Make sure surfaces, outlets, and lighting work together with your layout rather than against it. For example, keep a clear path from the sofa to any nearby table lamps or side tables, and ensure chairs can easily pull out from a dining table without bumping into walls or other furniture.
As you refine how to arrange furniture in a room that fits your lifestyle, pay attention to how you actually use the space. Are you constantly reaching too far for a drink? Does one corner feel underused? Small adjustments can dramatically improve how comfortably a room works for you.

Layer Comfort Through Design Details
Once the functional layout is set, find subtle ways to make it feel warm and inviting. Add an area rug large enough to tie the main seating pieces together. Use throw pillows or textured fabrics to bring in softness without overwhelming the design. The little things, like a well-placed ottoman or the right reading lamp, often make the biggest impact on how livable a room feels.
Comfort doesn’t have to sacrifice style. When you understand the balance between form and function, it becomes second nature to know how to arrange furniture in a room that truly feels like home.

VI. Add Style Through Accessories and Lighting
After your layout feels comfortable and functional, it’s time to bring in character. Accessories, lighting, and a few thoughtful design choices complete the space and help tie everything together. The key to mastering how to arrange furniture in a room isn’t just placement; it’s how you finish the layout in a way that feels layered and intentional.
Use Lighting to Define the Space
Lighting is one of the most powerful tools you have. It not only sets the mood but also helps define different zones within the same room. Combine ambient lighting (overhead fixtures or recessed lights) with task lighting (floor and table lamps) and accent lighting (sconces or spotlights) to create depth.
If you’re thinking about how to arrange furniture in a room where lighting plays a big role, position lamps near seats, desks, and reading areas, so light falls where it’s needed most. Avoid relying solely on overhead light; it can make even a well-designed layout feel flat. Layering lighting sources ensures every part of the room feels cosy and well thought out.

Incorporate Rugs, Artwork, and Texture
Accessories aren’t an afterthought; they complete the story your layout begins. Rugs are fundamental because they anchor conversation areas and help define scale. Make sure at least the front legs of your main pieces (sofas or chairs) rest on the rug to unify the furniture visually.
Artwork should reflect the mood of the room rather than compete with it. A large piece above a sofa can echo the furniture’s proportions, while smaller pieces look best grouped intentionally rather than scattered. Textiles like cushions, throws, and curtains introduce warmth while allowing you to adjust tone or colour without major changes.
When you already know how to arrange furniture in a room, styling becomes the fun part, where personal taste meets structure. The right mix of soft furnishings and statement décor brings depth and balance to everything you’ve set up.

Keep It Balanced, Not Overdone
A thoughtfully styled room should still feel livable. Editing is just as important as adding. Step back once you’ve layered in accessories and see where the eye naturally travels. If one side of the room feels heavy or crowded, remove or rearrange items until there’s breathing room again.
Finding that sweet spot where décor enhances rather than overwhelms is part of understanding how to arrange furniture in a room that feels polished but honest, comfortable without losing visual interest.

VII. Common Mistakes to Avoid
Even with the best intentions, it’s easy to make small layout decisions that throw off balance, comfort, or visual flow. Understanding what to avoid is just as valuable as learning how to arrange furniture in a room effectively. These are the missteps that can make your space feel less cohesive, and how to fix them.
Pushing Everything Against the Walls
This is one of the most frequent mistakes people make. It might seem like the easiest way to create space, but pulling furniture away from the walls, even slightly, actually makes a room feel larger. Floating a sofa or a few chairs closer to the centre helps define conversation areas and gives the layout depth and movement. Think of empty wall space as breathing room, not wasted space.

Ignoring Scale and Proportion
When learning how to arrange furniture in a room, scale is everything. A huge sectional in a small living room or tiny artwork above a wide sofa can make the entire layout feel off-balance. Mix larger anchor pieces with medium or smaller accents to create a layered and proportionate composition. Rug size also matters; too small, and the furniture looks adrift; too large, and it overwhelms the flow.

Blocking Natural Light and Doorways
Light and access are non-negotiable. Placing furniture in front of windows or doorways can make the space feel cramped and awkward. As you decide how to arrange furniture in a room, look for ways to enhance natural light rather than obstruct it. Lower-profile pieces, like benches or open shelving, placed near windows can allow sunlight to filter through without blocking the view.

Forgetting About Function
A beautiful room that doesn’t work for everyday life never quite feels right. Every piece should serve a purpose, whether it’s seating for a specific activity or storage that supports how you use the space. Revisit your layout from a functional standpoint periodically, since life changes and your furniture arrangement should adapt with it.
The more mindful you are about avoiding these pitfalls, the easier it becomes to instinctively know how to arrange furniture in a room that looks polished, feels practical, and functions smoothly day to day.
VIII. Room‑Specific Layout Tips
While the fundamentals of design apply across every space, the details can shift depending on the type of room you’re working with. Once you understand how to arrange furniture in a room generally, it’s easier to adapt those principles to meet the needs of different areas in your home.
Living Room
The living room often functions as the social heart of a home, so start by establishing your main gathering zone. Anchor the space with a sofa or sectional, then build around it with accent chairs and tables that encourage conversation. Leave open pathways to doorways and adjoining rooms, and keep your focal point, whether a fireplace, television, or window view, at the centre of the arrangement.

Bedroom
In the bedroom, comfort takes the lead. The bed should act as the visual anchor, ideally placed on the longest wall opposite the doorway. Keep plenty of clearance on both sides for movement and bedside tables. When thinking about how to arrange furniture in a room like a bedroom, balance larger storage pieces, such as dressers or wardrobes, with softer elements like rugs or curtains to create a calm, inviting feel.

Dining Room
Dining rooms thrive on balance and accessibility. Position your table so chairs can easily slide in and out without bumping against walls or other furniture. A rug under the dining table should extend at least 24 inches beyond the chair legs to define the area visually. Lighting plays an important role here too; a pendant or chandelier centred above the table anchors the setup beautifully.

Small or Multifunctional Spaces
Compact or hybrid rooms require creative thinking. Use furniture that does double duty, an ottoman with storage, a fold‑out desk, or nesting tables, to save space without sacrificing usability. Float key pieces away from walls when possible to maintain a feeling of openness. In smaller areas, every inch counts, so focus on proportion and function first; style will follow naturally.

Whether it’s a living room, bedroom, or dining area, the same principles apply: start with purpose, respect scale, and keep flow at the forefront. Once you understand how to arrange furniture in a room to fit each space’s unique function, design choices become less about rules and more about rhythm.
Designing a room that truly works is part creativity, part strategy. Once you understand how to arrange furniture in a room, the whole process starts to feel far less intimidating. It’s about looking at your space thoughtfully, studying proportions, flow, and the way you actually live, then blending those elements into something both functional and beautiful.

by Kesaa Interiors | How-To Guides
This post is all about how to arrange living room furniture with tv and fireplace. I have always enjoyed helping people figure out how to arrange living room furniture with TV and a fireplace, because it is one of those design challenges that almost every home...
Rustic minimalist interior design is one of those styles that feels immediately grounding. I’ve always been drawn to interiors that feel calm, warm, and intentional, and this approach delivers exactly that without feeling overdesigned or sterile. It strips a space...
I have always been drawn to how modern dining room drapes can completely shift the look and feel of a space, often more than people expect from something as simple as window treatments. In this post, I am sharing practical and design‑focused ideas to help...
This post is all about Dark Dining Room Ideas. There’s something undeniably captivating about a dark dining room. The depth, the mood, the quiet confidence, it all creates a sense of intimacy that lighter spaces sometimes struggle to achieve. Designing with darker...
This post is all about Bathroom Vanity Organiser Under Sink. A bathroom vanity organiser under the sink can make an incredible difference in how your bathroom looks and functions. It’s often one of the most overlooked spaces in the home, yet it has the...
This post is all about Modern Minimalist Interior Design Living Room. A modern minimalist interior design living room is more than just a trend; it’s a reflection of how we live today. Clean lines, open spaces, and thoughtful details come together to create...
This Post Is All About Bedroom Ideas For Girls Designing a space that feels personal and full of character starts here, and these bedroom ideas for girls are the perfect inspiration. Whether you’re refreshing a cosy nook or planning a complete makeover, finding the...
Put in your email and sign up for weekly emails updating you on everything happening in the design world
by Kesaa Interiors | DESIGN GUIDES, How-To Guides
This post is all about How to Mix Patterns in a Room!
Pattern mixing is one of those design skills that separates rooms with real personalities from spaces that feel like they’re playing it safe. After years of working with patterns in every imaginable combination, I’ve learned that most people avoid mixing patterns not because they don’t want to—but because they’re terrified of getting it wrong. The fear of creating visual chaos keeps so many beautiful rooms stuck in solid-colour limbo.
Here’s what I know for certain: learning how to mix patterns in a room isn’t about following rigid rules or copying what you see in magazines. It’s about understanding a few core principles that give you the confidence to experiment. Once you grasp these fundamentals, you’ll start seeing pattern opportunities everywhere—and more importantly, you’ll know exactly how to bring them together.
In this guide, we’ll walk through the essential do’s and don’ts that professional designers use daily, plus the common mistakes that even experienced decorators sometimes make. By the end, you’ll have a clear framework for mixing patterns like you’ve been doing it for years.

Why Pattern Mixing Matters in Interior Design
Let’s address the elephant in the room first: yes, you can absolutely create a beautiful space using only solids. But here’s what you’re missing out on—patterns add layers of visual interest that solid colours simply can’t achieve on their own. They create movement, establish rhythm, and give your eye interesting places to land as it travels around the room.
When you understand how to mix patterns in a room properly, you’re essentially adding another dimension to your design toolkit. Think about it this way: using only solid colours is like cooking with salt as your only seasoning. Sure, it works, but you’re missing out on so much flavour and complexity.
Pattern mixing also solves a common design challenge: how to make a room feel cohesive without being boring. When done right, mixed patterns create visual connections between different elements in your space. That geometric throw pillow suddenly makes sense with your floral curtains when they share a common colour. Your striped rug grounds everything when its scale complements rather than competes with other patterns in the room.
The biggest misconception I encounter is that patterns need to match or come from the same collection. This matchy-matchy approach actually works against you, creating spaces that feel more like showrooms than homes. Real pattern mixing is about finding harmony in diversity, and that’s exactly what we’re going to explore.
The Golden Rules of Pattern Mixing
After working with countless pattern combinations over the years, I’ve noticed that the most harmonious rooms follow three fundamental principles. These aren’t arbitrary rules—they’re based on how our eyes naturally process visual information. Master these, and you’ll have the foundation for mixing patterns in any space.
1. The Scale Rule
This is your starting point for understanding how to mix patterns in a room without creating visual competition. The concept is straightforward: vary the scale of your patterns by choosing large, medium, and small designs that complement rather than fight each other.
Picture a large-scale floral wallpaper paired with medium-sized geometric pillows and a small-scale striped throw. Each pattern has its own visual weight and breathing room. When patterns are too similar in scale, they compete for attention and create that chaotic feeling everyone wants to avoid.
Here’s how I approach scale: your largest pattern should be your anchor—maybe it’s on your curtains, an area rug, or an accent wall. Medium patterns work beautifully on furniture upholstery or larger pillows. Small-scale patterns shine on accent pieces like lampshades, small cushions, or ottoman tops.

2. The 60-30-10 Colour Rule
You’ve probably heard of this ratio for colour schemes, but it’s equally powerful when learning how to mix patterns in a room. The principle remains the same: 60% dominant colour, 30% secondary colour, and 10% accent colour—but now you’re threading these proportions through your patterns.
Start by identifying a colour that will appear in most (if not all) of your patterns. This becomes your visual thread, the element that ties everything together. Maybe it’s navy blue appearing in your striped curtains, geometric rug, and floral pillows. The key is ensuring this dominant colour shows up consistently enough to create cohesion.
Your secondary colour should appear in about a third of your patterns, while that 10% accent colour adds just enough pop without overwhelming the palette. This approach gives you structure while still allowing creative freedom.
3. The Odd Number Rule
There’s something inherently pleasing about odd numbers in design, and pattern mixing is no exception. Three patterns feel balanced but not predictable. Five patterns create richness without chaos. Even numbers, particularly two or four, often feel either too sparse or too symmetrical.
When working with three patterns, I typically choose one as the star, one as the supporting player, and one as the accent. This natural hierarchy prevents patterns from competing for the spotlight. With five patterns, you have more flexibility, but the principle remains: create a clear visual hierarchy so your eye knows where to focus first.

The beauty of these rules is that they work together. When you combine varied scales with thoughtful colour distribution and odd-numbered groupings, you create spaces that feel intentional rather than random. These principles give you the structure to experiment confidently, knowing you have a solid foundation to build on.
Types of Patterns and How to Combine Them
Understanding pattern categories is like learning a new language—once you know the vocabulary, you can start creating sentences that actually make sense. Each pattern type brings its own energy and visual weight to a room, and knowing how they interact is crucial for mastering how to mix patterns in a room.
Pattern Categories:
Geometric Patterns include stripes, chevrons, lattices, and Greek keys. These patterns bring structure and often have a modern or crisp feeling. They’re incredibly versatile because they can act as either a neutral base or a bold statement, depending on their scale and colour contrast.
Organic Patterns encompass florals, botanicals, abstract shapes, and anything with flowing natural lines. These soften spaces and add movement. Don’t limit yourself to traditional flowers—modern botanical prints and abstract organics can work in any style of room.
Traditional Patterns like damask, toile, paisley, and medallions carry historical weight and formality. They’re perfect for adding sophistication, but they also mix surprisingly well with contemporary patterns when you play with scale and colour.
Textural Patterns are the unsung heroes of pattern mixing. Think subtle herringbone, nubby linens, or tone-on-tone designs. These add visual interest without demanding attention, making them perfect bridges between bolder choices.
Foolproof Combinations:
Stripes + Florals + Geometric
This classic trio works because each pattern has a distinct personality. The linear nature of stripes provides structure, florals add softness, and a geometric pattern (like a small-scale lattice) bridges the gap between the two. The key to making this combination work is ensuring they share at least two colours.
Large Floral + Small Polka Dot + Solid
Here’s where scale really shines. A large-scale floral commands attention, while small polka dots add whimsy without competing. The solid grounds everything and gives your eye a place to rest. This combination feels fresh and approachable in any room.
Plaid + Toile + Stripe
This might sound traditional, but it’s all about execution. A modern plaid in unexpected colours paired with an updated toile and a simple stripe creates sophisticated layers. The linear elements in both plaid and stripe create natural harmony, while the scenic toile adds narrative interest.
When figuring out how to mix patterns in a room using these combinations, remember that colour is your best friend. Pull one or two colours from your anchor pattern and repeat them throughout your other choices. This creates cohesion even when the patterns themselves are quite different.

The magic happens when you start seeing beyond the obvious combinations. A geometric doesn’t always have to be bold—a subtle Greek key trim can act almost like a solid. An organic pattern doesn’t have to mean grandmother’s roses—abstract watercolours and modern botanicals open up entirely new possibilities.
I’ve found that the most interesting rooms often break expected pattern partnerships. Try mixing a traditional damask with a modern geometric, or pair an ethnic ikat with contemporary stripes. When the scale relationships are right and the colours connect, these unexpected combinations create rooms with real personalities.
The goal isn’t to memorise every possible combination but to understand why certain patterns work together. Once you grasp the interplay between structure and flow, tradition and modernity, bold and subtle, you’ll start seeing pattern possibilities everywhere.
The Do’s of Pattern Mixing
Let’s get into the practical strategies that make pattern mixing work every time. These aren’t just suggestions—they’re the techniques I rely on to create rooms that feel cohesive rather than chaotic.
DO: Start with a Statement Pattern
Every well-designed room needs an anchor, and when you’re learning how to mix patterns in a room, your statement pattern serves this purpose. Choose one pattern that you absolutely love—maybe it’s a bold floral fabric you’ve been eyeing or a geometric wallpaper that speaks to you. This becomes your starting point, the pattern that sets the tone for everything else.
Your statement pattern should be the largest or most prominent in the room. From there, pull colours and complement its style with your supporting patterns. If your anchor is a large-scale traditional damask, your secondary patterns might include a coordinating stripe and a small geometric that echoes one of the damask’s background colours.
DO: Use Solids as Breathing Space
Here’s something that took me years to fully appreciate: solid colours aren’t cop-outs when mixing patterns—they’re essential breathing spaces. Aim for about 40% solids in your overall scheme. These might be solid-coloured walls, a neutral sofa, or simple window treatments. They give your patterns room to shine without overwhelming the senses.
Think of solids as the punctuation in your pattern story. Without them, everything runs together in one exhausting visual sentence.
DO: Repeat Colours Throughout
Colour repetition is your secret weapon for making disparate patterns feel intentional. When the same blue appears in your curtains, throw pillows, and area rug—even if the patterns are completely different—your brain registers the connection and sees harmony instead of chaos.
This doesn’t mean everything needs to match exactly. In fact, slight variations in shade often look more sophisticated than perfect matches. The goal is to create visual threads that tie your patterns together.
DO: Consider Pattern Placement
Where you place patterns matters as much as which patterns you choose. Larger patterns typically work better on larger surfaces, such as area rugs, curtains, or upholstered furniture. Smaller patterns excel on accent pieces where their detail can be appreciated up close.
Also, consider sight lines and how patterns interact as you move through the space. A bold pattern on curtains might overwhelm you if it’s the first thing you see when entering a room, but it could be perfect on an accent chair in the corner.

DO: Test with Samples First
This might sound basic, but it’s crucial: always test patterns together before committing. Order fabric samples, paper swatches, or even print-out patterns you’re considering. Tape them up in your actual space and live with them for a few days.
Natural light, artificial lighting, and the room’s existing colours all affect how patterns look and interact. What seems like a perfect combination online might feel completely different in your space. Testing saves you from expensive mistakes and builds confidence in your choices.
The Don’ts of Pattern Mixing
Understanding what to avoid is just as important as knowing what works. These common mistakes can derail even the most promising pattern combinations.
DON’T: Use All Bold Patterns
This is the fastest route to visual chaos. When every pattern screams for attention, nothing stands out and the room becomes exhausting. Even if you love bold patterns, incorporating quieter options creates the necessary contrast.
If you’re drawn to high-impact patterns, balance them with subtle textures or tone-on-tone designs. A room with a bold floral, a loud geometric, and a high-contrast stripe needs calming elements to work. Replace one of those with a subtle textural pattern, and suddenly the whole room breathes easier.
DON’T: Forget About Texture
Texture functions as a subtle pattern that adds depth without overwhelming. When learning how to mix patterns in a room, remember that smooth and rough, matte and shiny, flat and dimensional all create visual interest.
A nubby linen sofa, smooth cotton pillows, and a plush velvet throw each contribute pattern through texture. These elements bridge the gap between your more obvious patterns and add sophisticated layering.
DON’T: Match Everything Perfectly
Nothing says “amateur” quite like patterns that all come from the same collection. You know the look—matching curtains, pillows, and bedding all in the same print, just in different scales. This catalogue approach lacks personality and sophistication.
Instead, aim for coordination without being matchy-matchy. Patterns should converse with each other, not echo each other exactly. When patterns share colours or themes but come from different sources, the result feels collected and intentional.

DON’T: Ignore the Room’s Architecture
Your room’s existing elements—architectural details, flooring, built-ins—all contribute to the pattern and must be considered in your overall scheme. A highly patterned wood floor, for instance, already adds visual texture that needs to be balanced, not competed with.
Work with what you have rather than against it. If your room has ornate crown moulding, that decorative element counts as a pattern. Strong architectural lines from windows or built-ins create geometric patterns that influence your fabric and décor choices.
DON’T: Rush the Process
Pattern mixing is a skill that develops over time. Start small—maybe with throw pillows or a single patterned chair—and build your confidence gradually. Living with patterns for a while helps you understand what you truly enjoy versus what just looked good in the moment.
The rooms that feel most successful are often those that evolved naturally, with patterns added thoughtfully over time rather than all at once. Give yourself permission to experiment, adjust, and even change your mind as you develop your pattern-mixing skills.
Room-by-Room Pattern Mixing Guide
Every room has its rhythm and purpose, which directly influences how patterns should work within the space. Let’s walk through specific strategies for each area of your home.
Living Room
The living room is where most people want to make a pattern statement, and for good reason—it’s typically the largest space and the one where you entertain. Start with your biggest piece: the sofa. If you’re going with a patterned sofa, keep it to a medium or large-scale design that won’t feel busy when you’re sitting on it for hours.
For a solid sofa, you have more freedom with pillows and throws. Try this reliable formula: one large-scale pattern on your biggest pillows, a medium geometric on smaller pillows, and a textural throw that bridges everything together. Your rug can handle patterns if your furniture is mostly solid, but if you have patterned upholstery, consider a subtle textural rug instead.
Window treatments offer another opportunity for pattern, but consider their relationship to your seating. Busy patterns at eye level can be distracting, so if your curtains hang near seating areas, opt for subtle patterns or solids with interesting textures.

Bedroom
Bedrooms require a more delicate approach to pattern mixing. While you want visual interest, the space still needs to feel restful. The bed naturally becomes your focal point, so start there when figuring out how to mix patterns in a room designed for sleep.
Layer patterns on the bed, starting with your largest scale on the duvet or comforter. Add medium-scale patterns through Euro shams or decorative pillows, then incorporate small-scale patterns or textures in accent pillows and throws. The key is creating layers that can be adjusted—you might want all the patterns during the day but prefer simplicity at night.
If you’re using patterned curtains in the bedroom, ensure they complement rather than compete with your bedding. A good rule: if your bedding is bold, keep window treatments subtle, and vice versa. An upholstered headboard in a small-scale pattern or interesting texture adds another layer without overwhelming the space.

Dining Room
Dining rooms offer unique opportunities for pattern play because you’re working with different elements than in living spaces. Chair upholstery is your primary canvas—consider a medium-scale pattern that’s sophisticated but not so busy it competes with food presentation or table settings.
For formal dining rooms, mixing patterns through table linens adds flexibility. You can change the mood entirely by switching between patterned and solid table runners, placemats, and napkins. If your chairs are patterned, keep table linens simpler. Solid chairs? Go bold with your table settings.
Don’t forget the walls—dining rooms can handle more dramatic pattern choices since you typically spend less continuous time in them. A bold wallpaper or large-scale art creates a stunning backdrop for dinner parties.

Small Spaces
Small rooms require strategic thinking about pattern scale and placement. The old rule about keeping small rooms simple? Ignore it. Small spaces can absolutely handle patterns—you just need to be thoughtful about scale and contrast.
In powder rooms, entries, and other compact spaces, one statement pattern can actually make the room feel larger by creating a focal point. The key is choosing patterns with movement and depth rather than flat, repetitive designs. A wallpaper with perspective or a pattern that draws the eye upward can visually expand the space.
For small bedrooms or living areas, focus on how to mix patterns in a room without cluttering. Use the same colour palette throughout your patterns to create flow, and ensure at least one pattern has plenty of negative space to prevent the room from feeling cramped.
Advanced Pattern Mixing Techniques
Once you’re comfortable with the basics, these advanced strategies will elevate your pattern game even further.
The Bridge Pattern Method
This technique uses transitional patterns that share elements from your other patterns, creating seamless connections throughout the room. For example, if you have a floral with blue and green plus a geometric in blue and white, your bridge pattern might be a subtle stripe incorporating all three colours.
Bridge patterns often work best in smaller doses—on lampshades, small ottomans, or throw pillow piping. They’re the supporting actors that help your star patterns shine while creating cohesion.
The Neutral Pattern Base
Starting with patterns in neutral colours—think cream-on-white damask, grey herringbone, or taupe geometric—creates a sophisticated foundation. These patterns add visual texture without committing to colour, giving you the flexibility to layer in colourful patterns through easily changeable elements.
This approach works particularly well if you like to update your space seasonally or if you’re still developing confidence in mixing patterns. Build your neutral pattern base through larger investments like rugs and upholstery, then play with colourful patterned accessories.
Cultural Pattern Mixing
Combining patterns from different design traditions creates rooms with real character and depth. A Persian rug, African mud cloth pillows, and Scandinavian geometric throws might sound chaotic, but when unified by colour or scale, they create globally inspired spaces that feel collected over time.
The key is respecting each pattern’s cultural significance while creating harmony through your mixing principles. Avoid using sacred or ceremonial patterns as simple decoration, and research the meanings behind patterns that interest you.

Common Pattern Mixing Mistakes to Avoid
Even experienced decorators stumble over these pattern-mixing pitfalls. Recognising them helps you sidestep issues before they derail your design.
Competing Focal Points happen when multiple patterns fight for dominance. If your eye doesn’t know where to land first, you’ve created competition rather than harmony. Every room needs a clear hierarchy—one pattern leads, others support. When two bold patterns of similar scale occupy the same sightline, neither can properly shine.
Ignoring the Room’s Purpose leads to pattern choices that work against how you actually use the space. A home office filled with busy, high-contrast patterns might look stunning in photos but prove distracting during work hours. Similarly, ultra-formal patterns in a family room where kids play daily creates unnecessary stress. Always consider function alongside form.
Forgetting About Existing Furniture is surprisingly common when people get excited about pattern mixing. That wood grain dining table? It’s adding a pattern. Your leather sofa’s texture contributes visual weight. Before adding new patterns, catalogue what you already have—including wood tones, metal finishes, and textural elements that affect your overall pattern story.
Scale Mishaps in Small Rooms occur when people automatically default to tiny patterns in compact spaces. Counterintuitively, one large-scale pattern often works better than several small ones in tight quarters. Small, busy patterns can make a room feel cramped and cluttered, while a single bold pattern can actually expand the visual space.
Quick Pattern Mixing Formulas
Think of these formulas as training wheels—use them to build confidence, then adapt as you develop your own style. Each formula shows you how to mix patterns in a room with guaranteed harmony.
Classic Formula: 1 Geometric + 1 Floral + 1 Solid
This timeless combination works in any style of room. Your geometric provides structure (stripes, lattice, or Greek key), your floral adds organic movement (contemporary or traditional), and your solid grounds everything. The key is ensuring these three elements share at least two colours.
Modern Formula: 2 Abstracts + 1 Linear + Textural Solids
Perfect for contemporary spaces, this formula plays with artistic patterns. Choose two abstract patterns in different scales—perhaps a large watercolour-inspired print and a small organic dot pattern. Add one clean linear element like stripes or a grid, then balance with textural solids in linen, wool, or nubby cotton.
Eclectic Formula: 1 Ethnic + 1 Contemporary + 1 Traditional
This formula creates a collected-over-time appeal. Mix a global pattern (ikat, suzani, or mud cloth), a contemporary geometric, and a traditional element like toile or damask. The unexpected combination works when unified by a consistent colour story or similar pattern weights.
[Image placement: Visual formula guide showing each combination with real room examples and pattern swatches]
Remember, these formulas are starting points, not rules. Once you understand why they work—the balance of structure and flow, the varied scales, the unifying elements—you can create your own combinations with confidence.
Mastering how to mix patterns in a room transforms your decorating from safe to sophisticated. We’ve covered the essential principles—varying scale, following the 60-30-10 colour rule, and working in odd numbers. You now understand how different pattern categories interact and have specific formulas to try in your own space.
by Kesaa Interiors | Bedroom, DESIGN GUIDES, How-To Guides, ROOMS
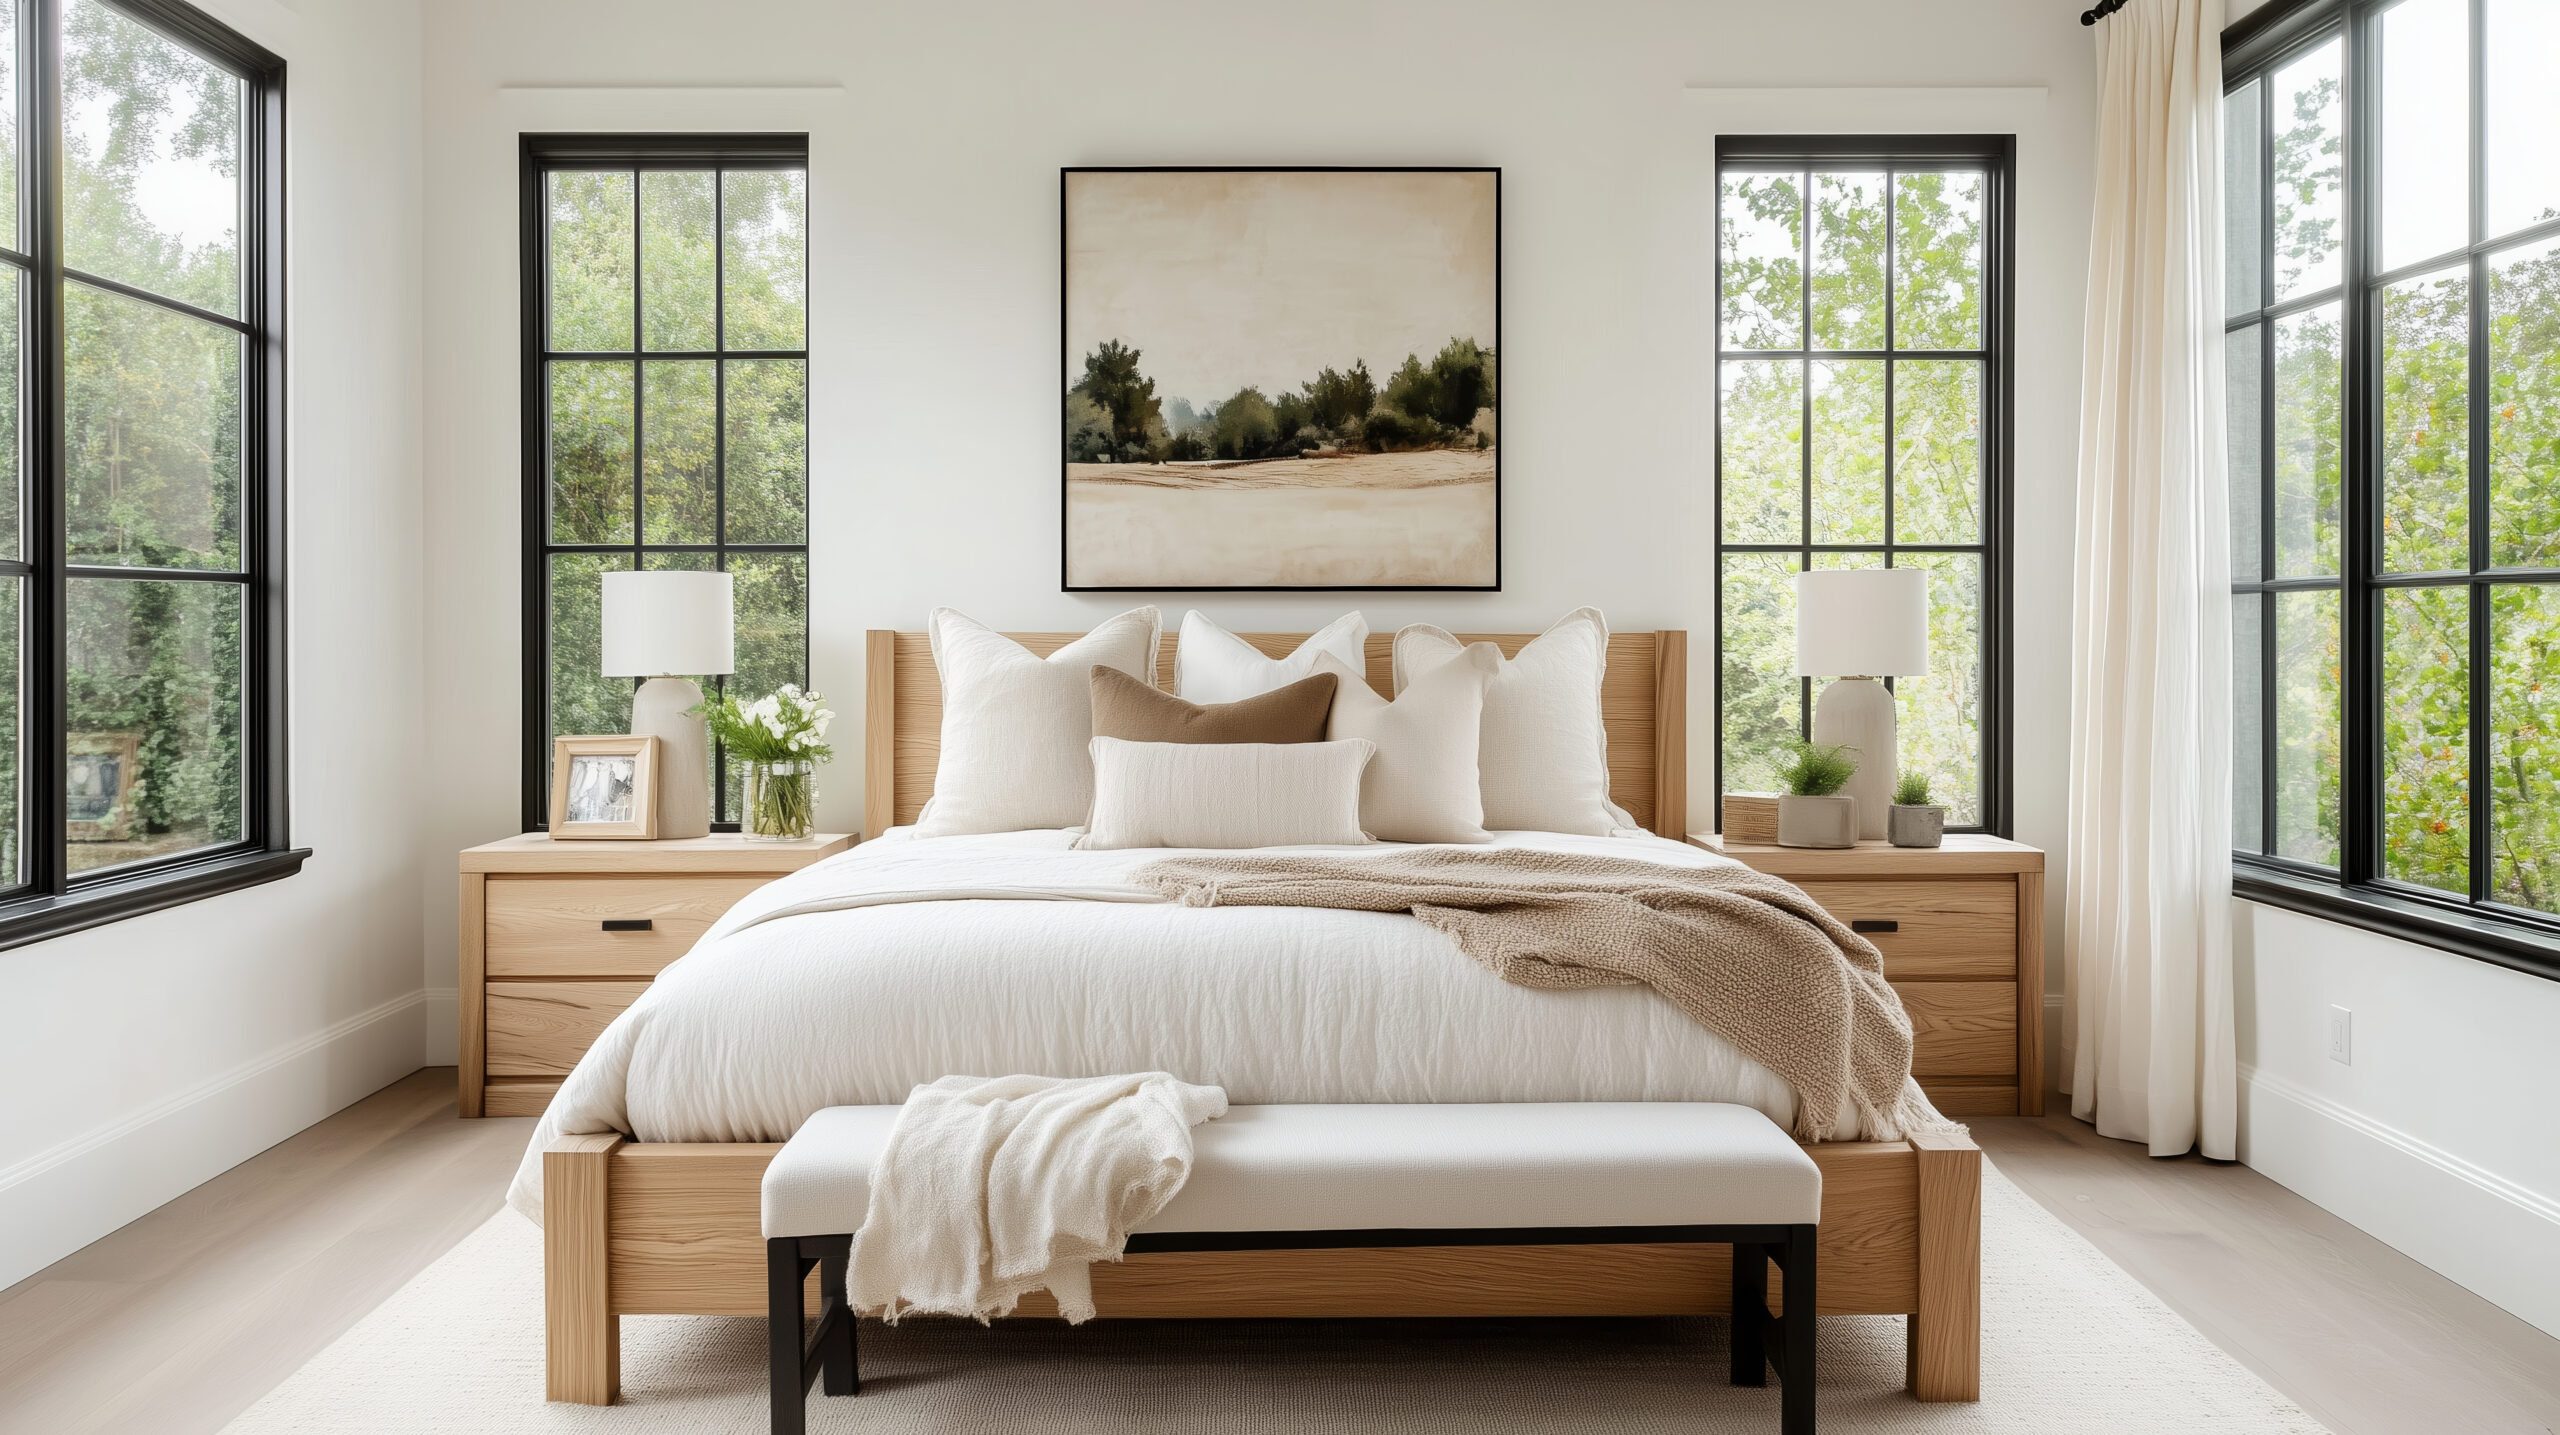
Create the perfect retreat to relax and unwind, follow along with these tips and tricks to come home to a master suite design you love.

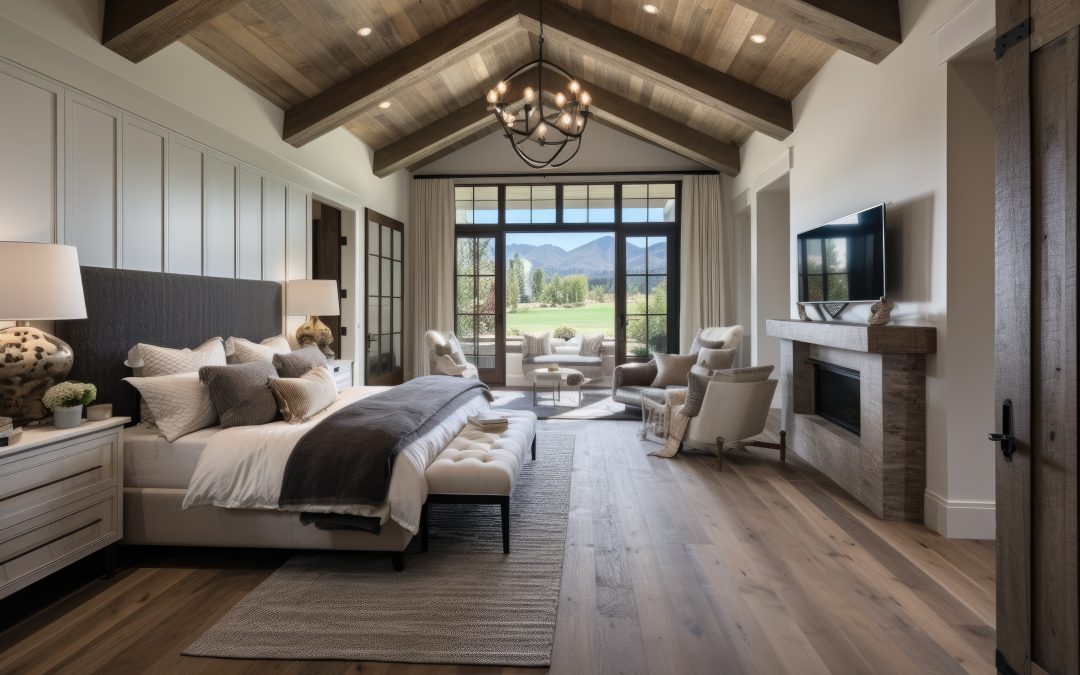
Transform your master suite into a haven of tranquillity and luxury. Your master suite should be more than just a bedroom; it should be a personal sanctuary where you can relax and rejuvenate.
This post will explore actionable tips and inspiring ideas to elevate your master suite design, creating a luxurious retreat you’ll never want to leave.
1: The Blueprint for Your Dream Master Suite Design
Initial Planning and Considerations
Embarking on a master suite design project requires careful planning to ensure the final result aligns perfectly with your vision. Before diving into paint swatches and furniture catalogues, take the time to consider the foundational elements of your master suite design.
Understanding your lifestyle, needs, and budget is crucial for a successful outcome. Do you envision a serene minimalist space or a more opulent and glamorous retreat? How will the space be used – primarily for sleep, or will it also serve as a dressing room, home office, or reading nook? Establishing a realistic budget will guide your choices throughout the design process and prevent overspending.
Equally important is the flow and layout of your master suite. Consider the placement of furniture, the traffic flow within the room, and the connection to adjoining spaces like the master bathroom. A well-planned master suite design maximises functionality and creates a harmonious environment.
2: Crafting the Perfect Colour Scheme
The Psychology of Colour in Your Master Suite
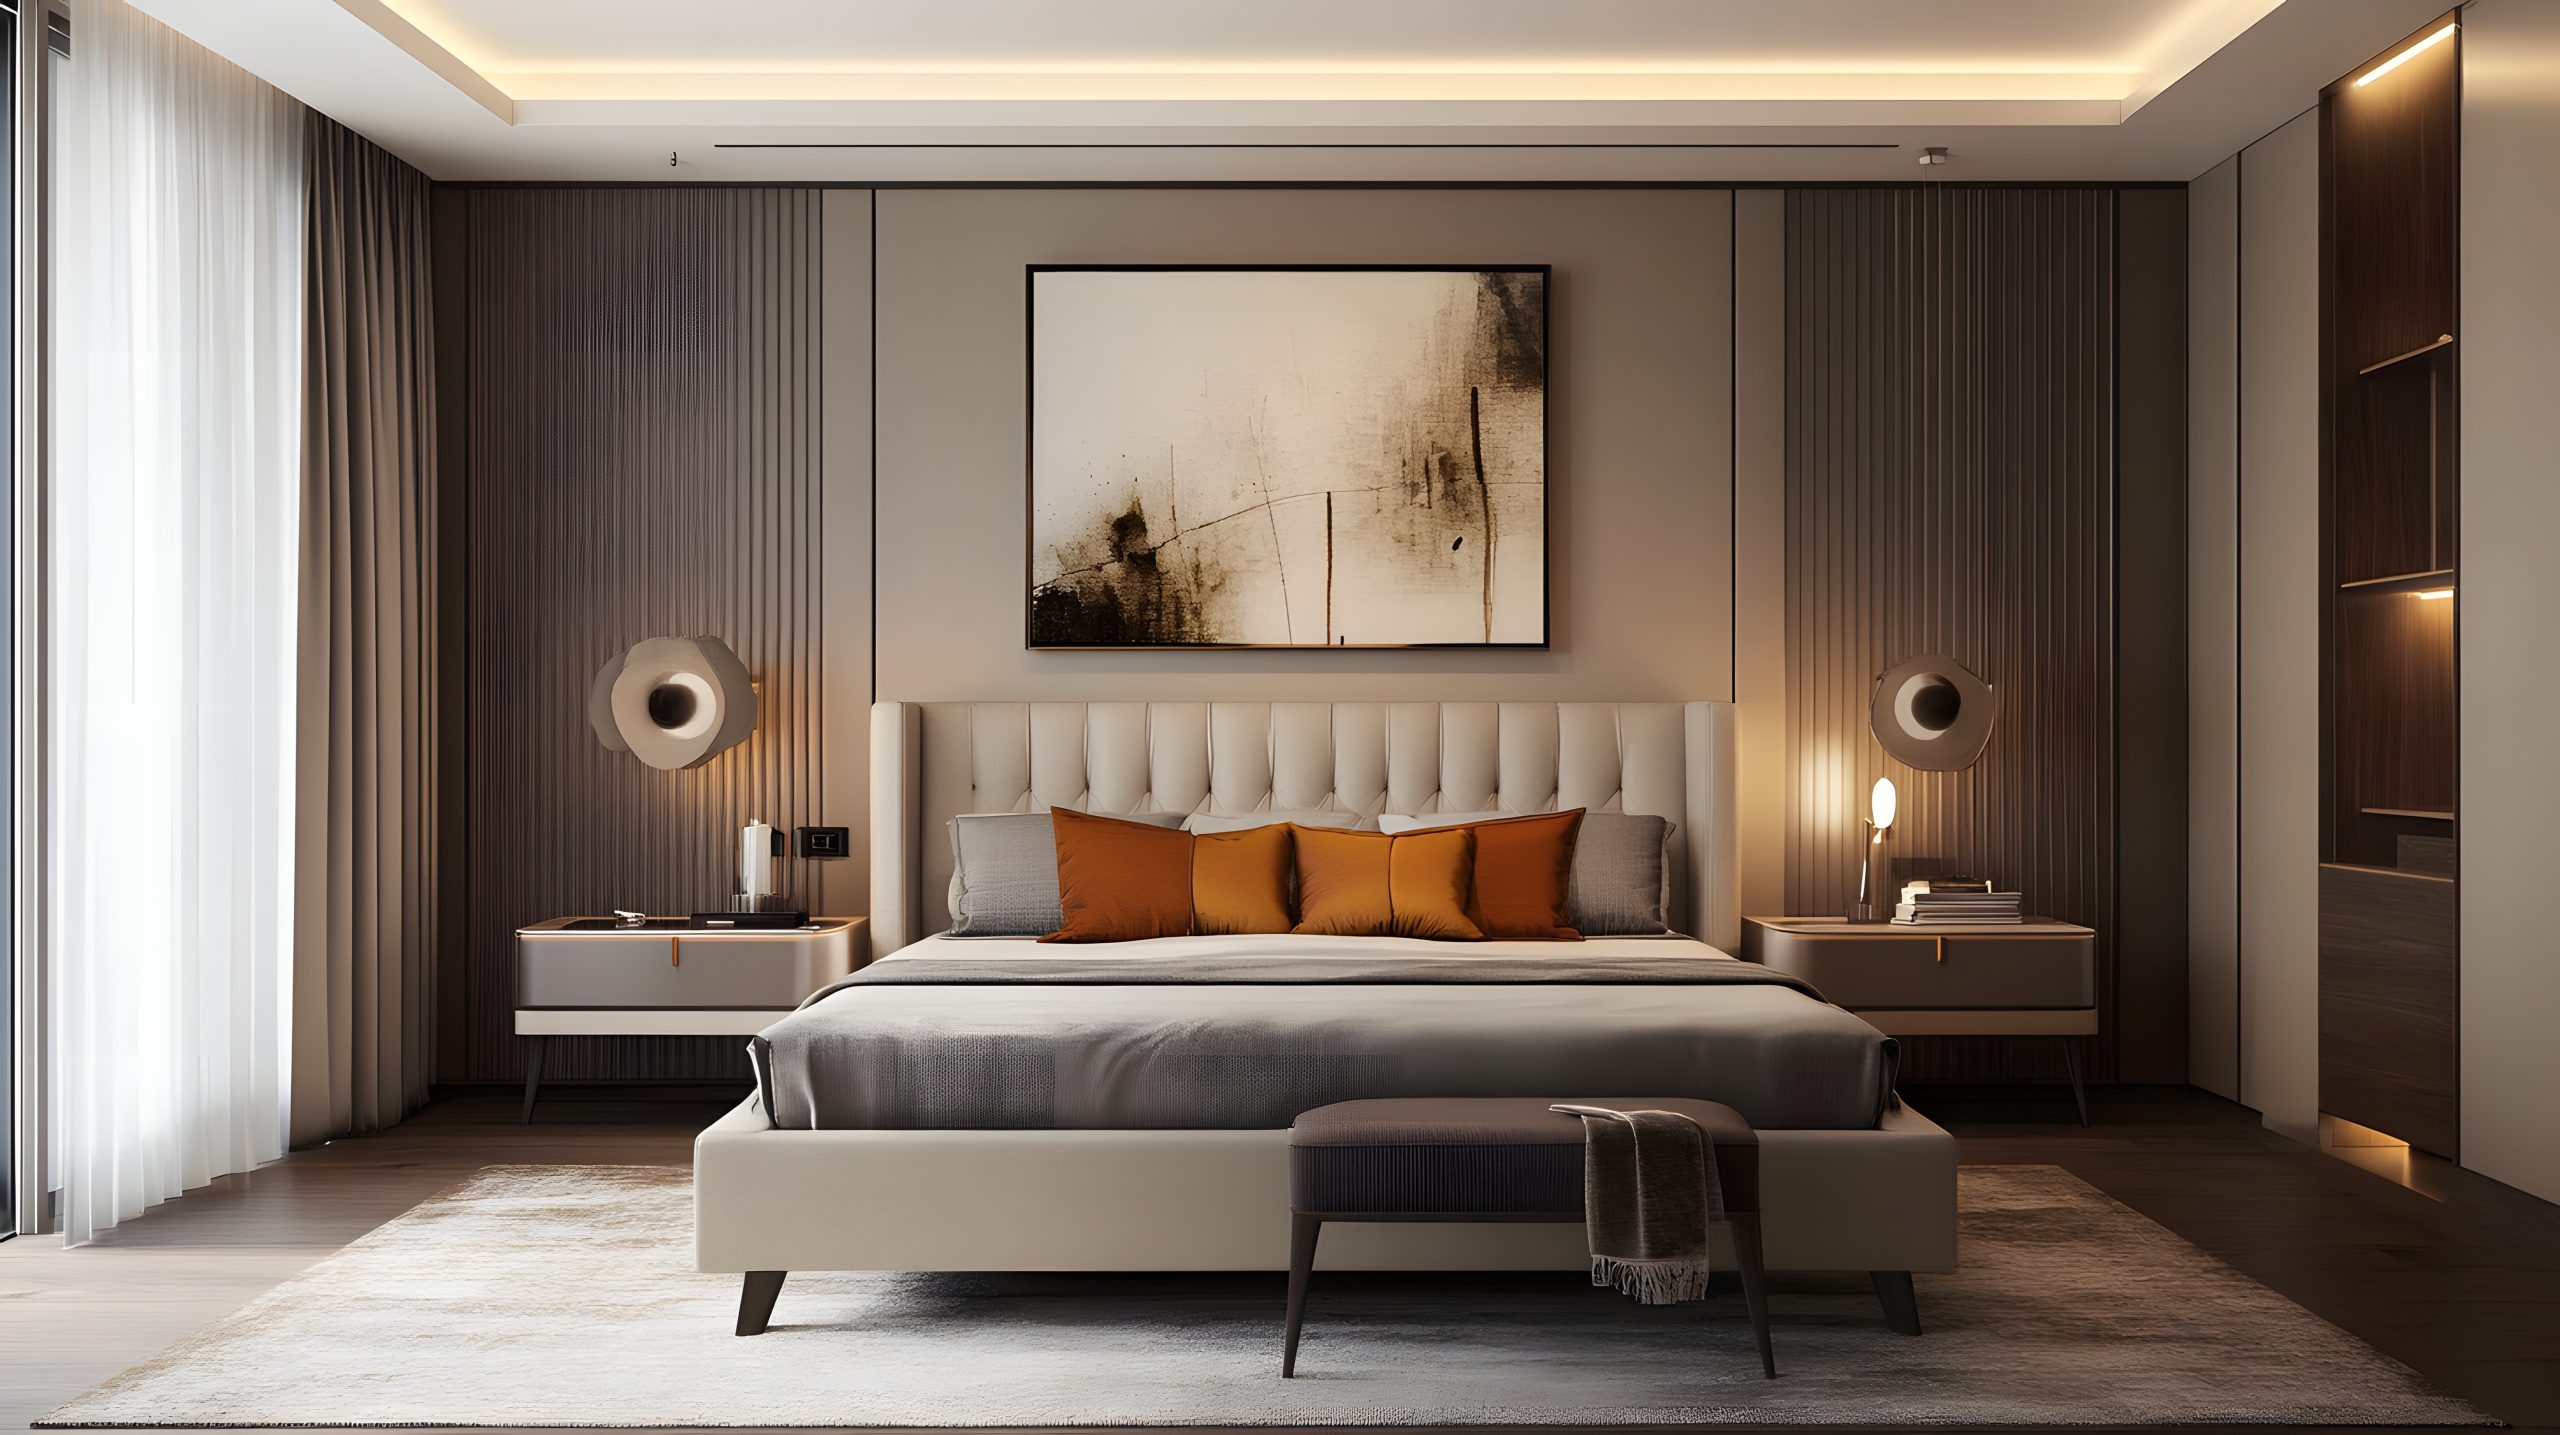
Colour plays a pivotal role in setting the mood and ambience of your master suite design. Understanding the psychology of colour can help you create a space that reflects your desired atmosphere. Soft, muted tones like blues and greens evoke a sense of calm and tranquillity, perfect for promoting relaxation and sleep. On the contrary, warmer hues like yellows and oranges can create a more energetic and uplifting environment. For a luxurious master suite design, consider incorporating rich jewel tones like emerald green, sapphire blue, or ruby red as accent colours to add depth and sophistication.
Luxurious Colour Palette Ideas
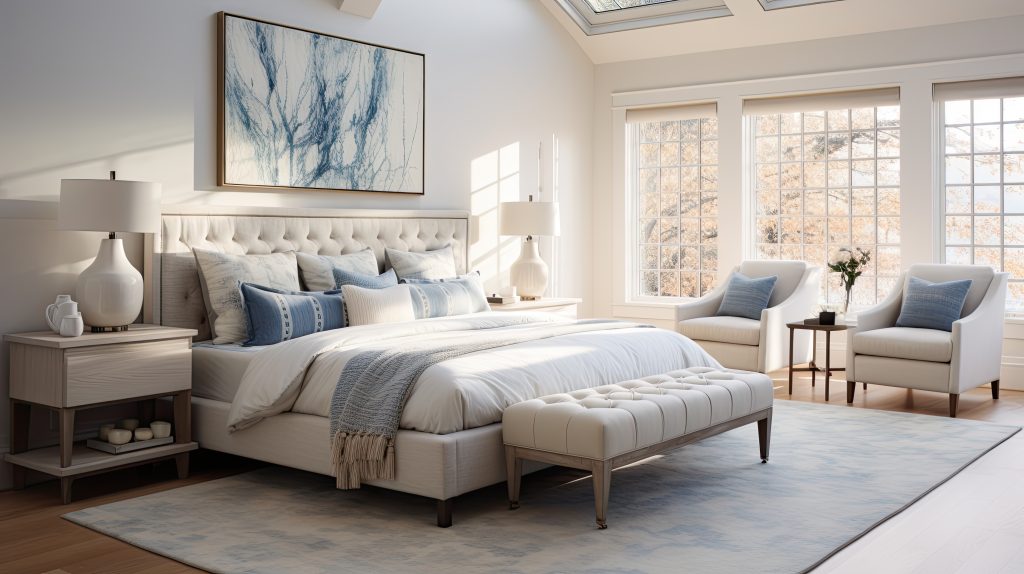
Creating a cohesive and luxurious colour palette is essential for a successful master suite design. Consider starting with a neutral base of whites, creams, or soft greys. These versatile hues create a sense of airiness and provide a blank canvas for layering in other colours and textures. For a touch of drama, incorporate rich jewel tones or deep, saturated colours as accents. A popular choice for master suite design is a monochromatic scheme, using varying shades of a single colour to create a sophisticated and harmonious look. For example, layering different shades of blue, from pale sky blue to deep navy, can create a calming and luxurious atmosphere. Don’t be afraid to experiment with different colour combinations to find the perfect palette that reflects your personal style and enhances your master suite design.
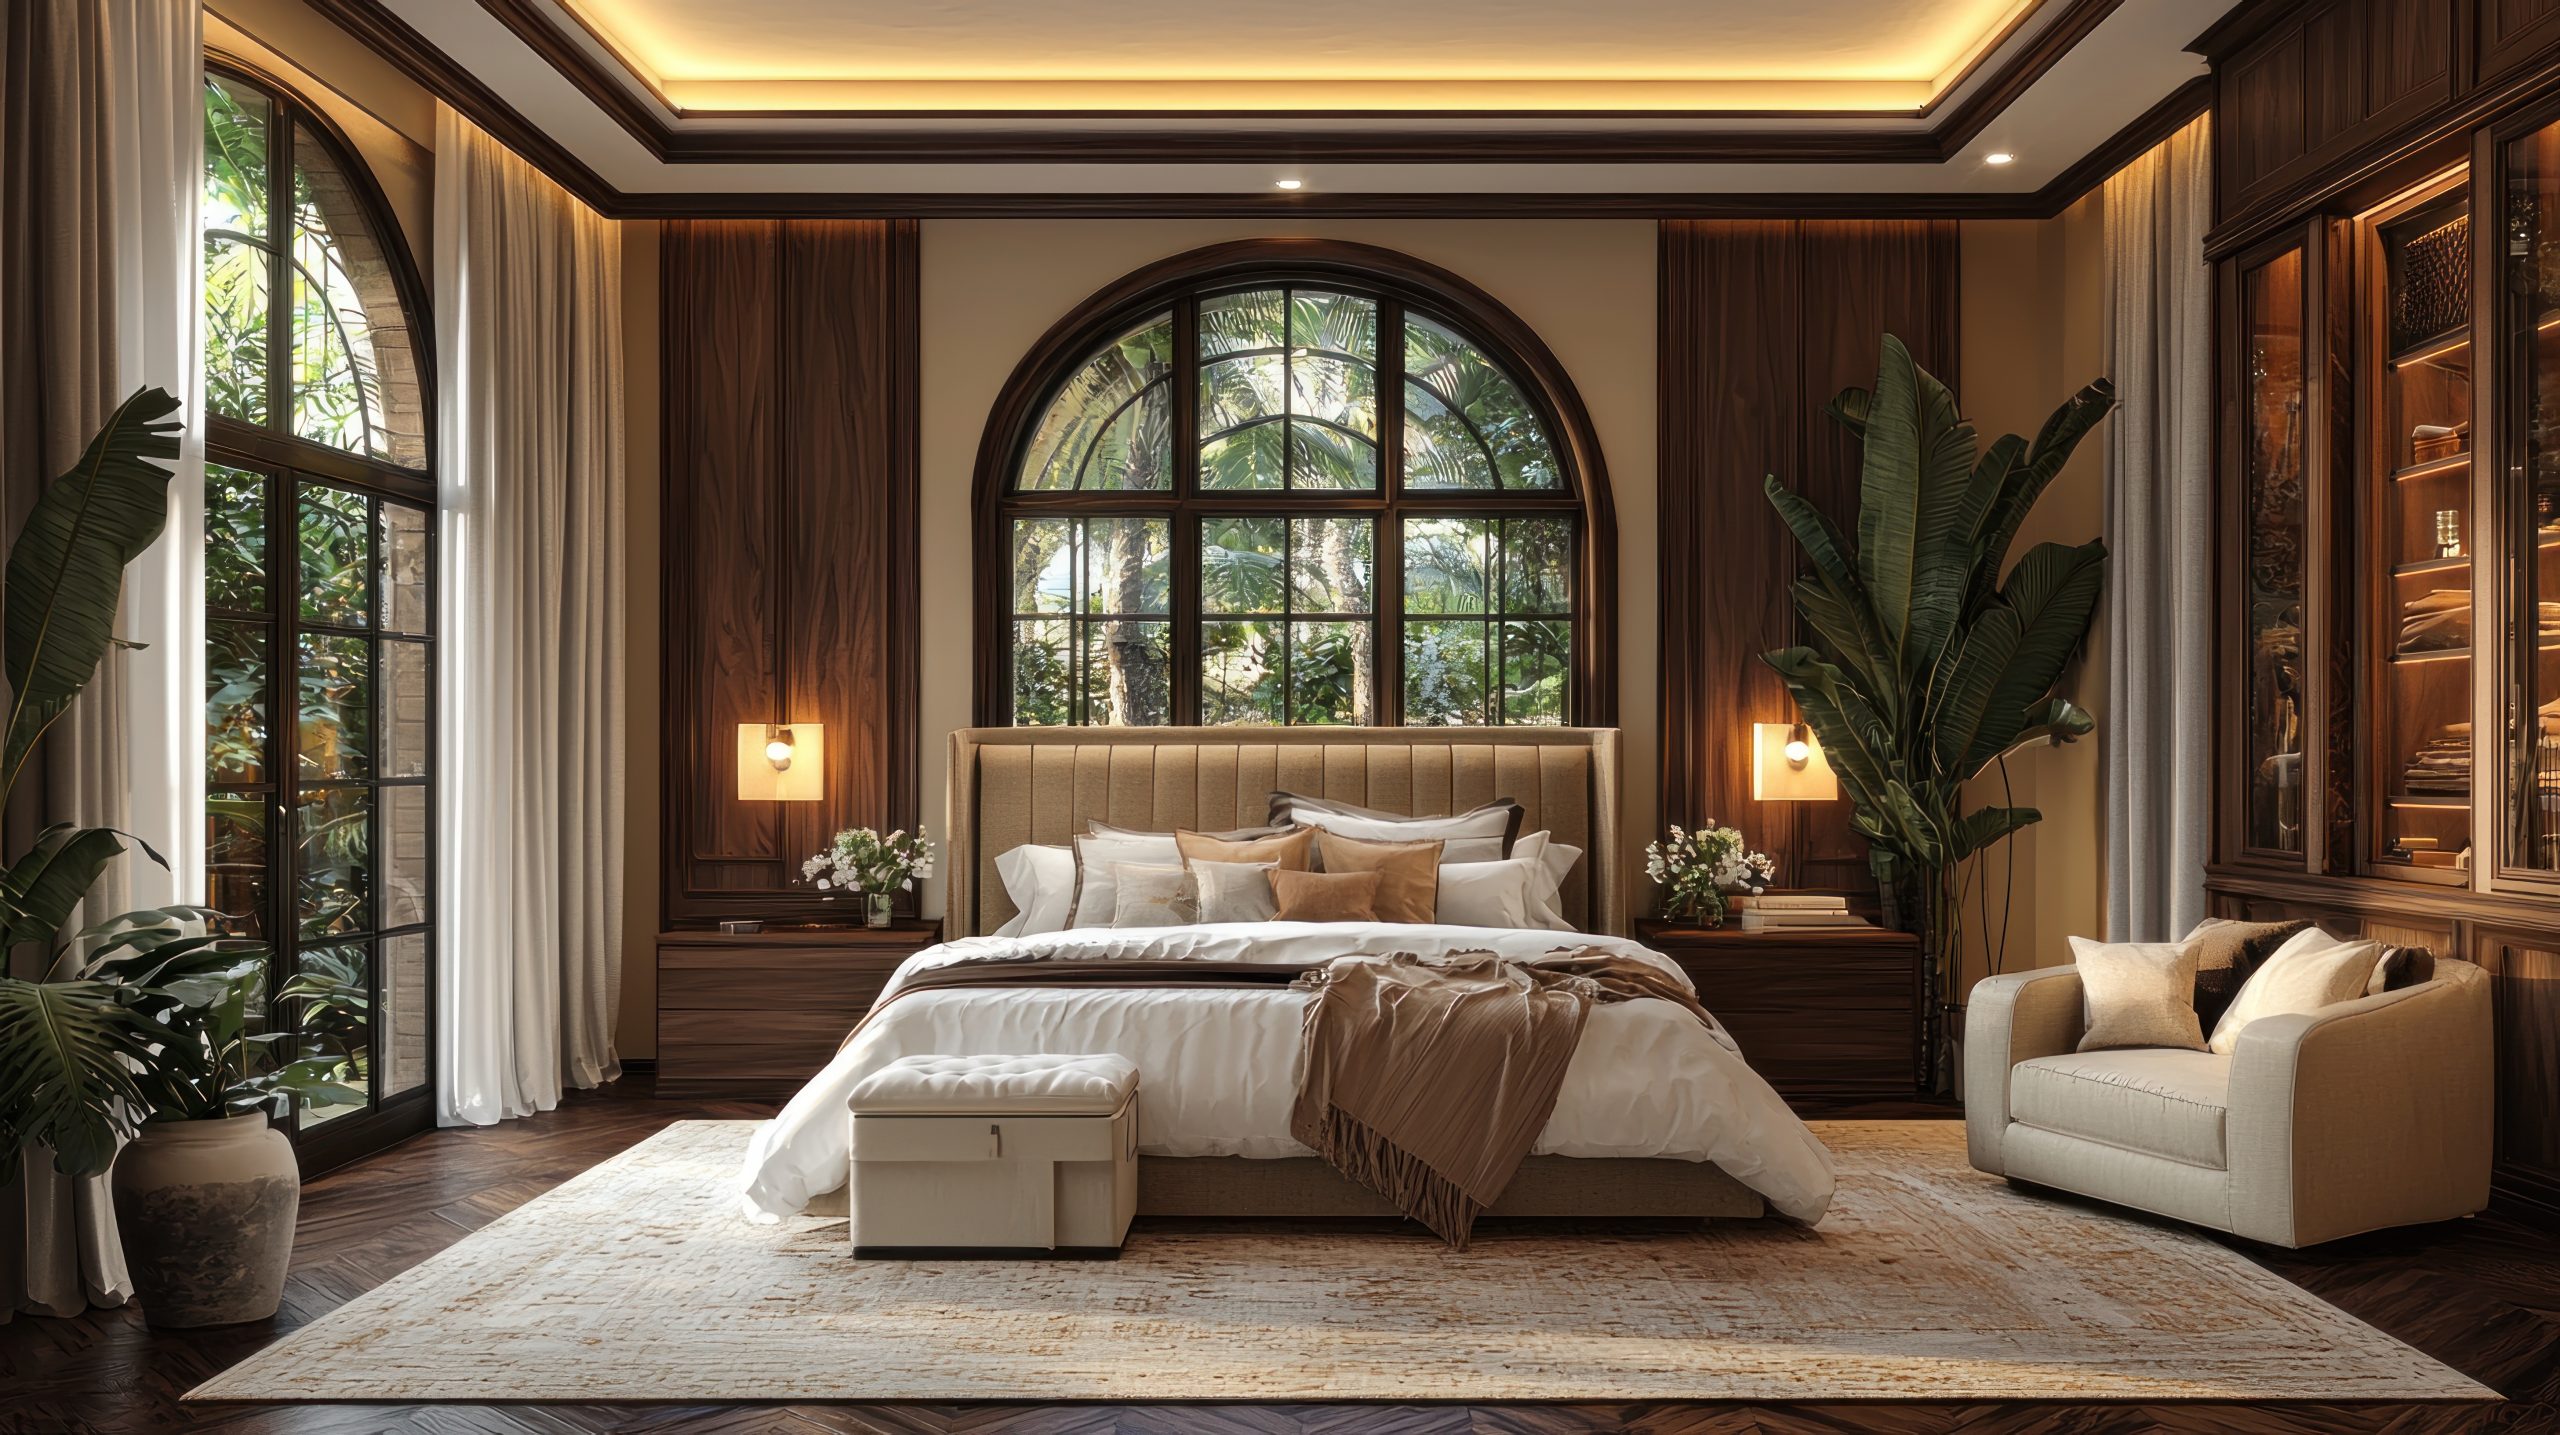
3: Luxurious Materials: Textures and Finishes
Indulge in Tactile Luxury
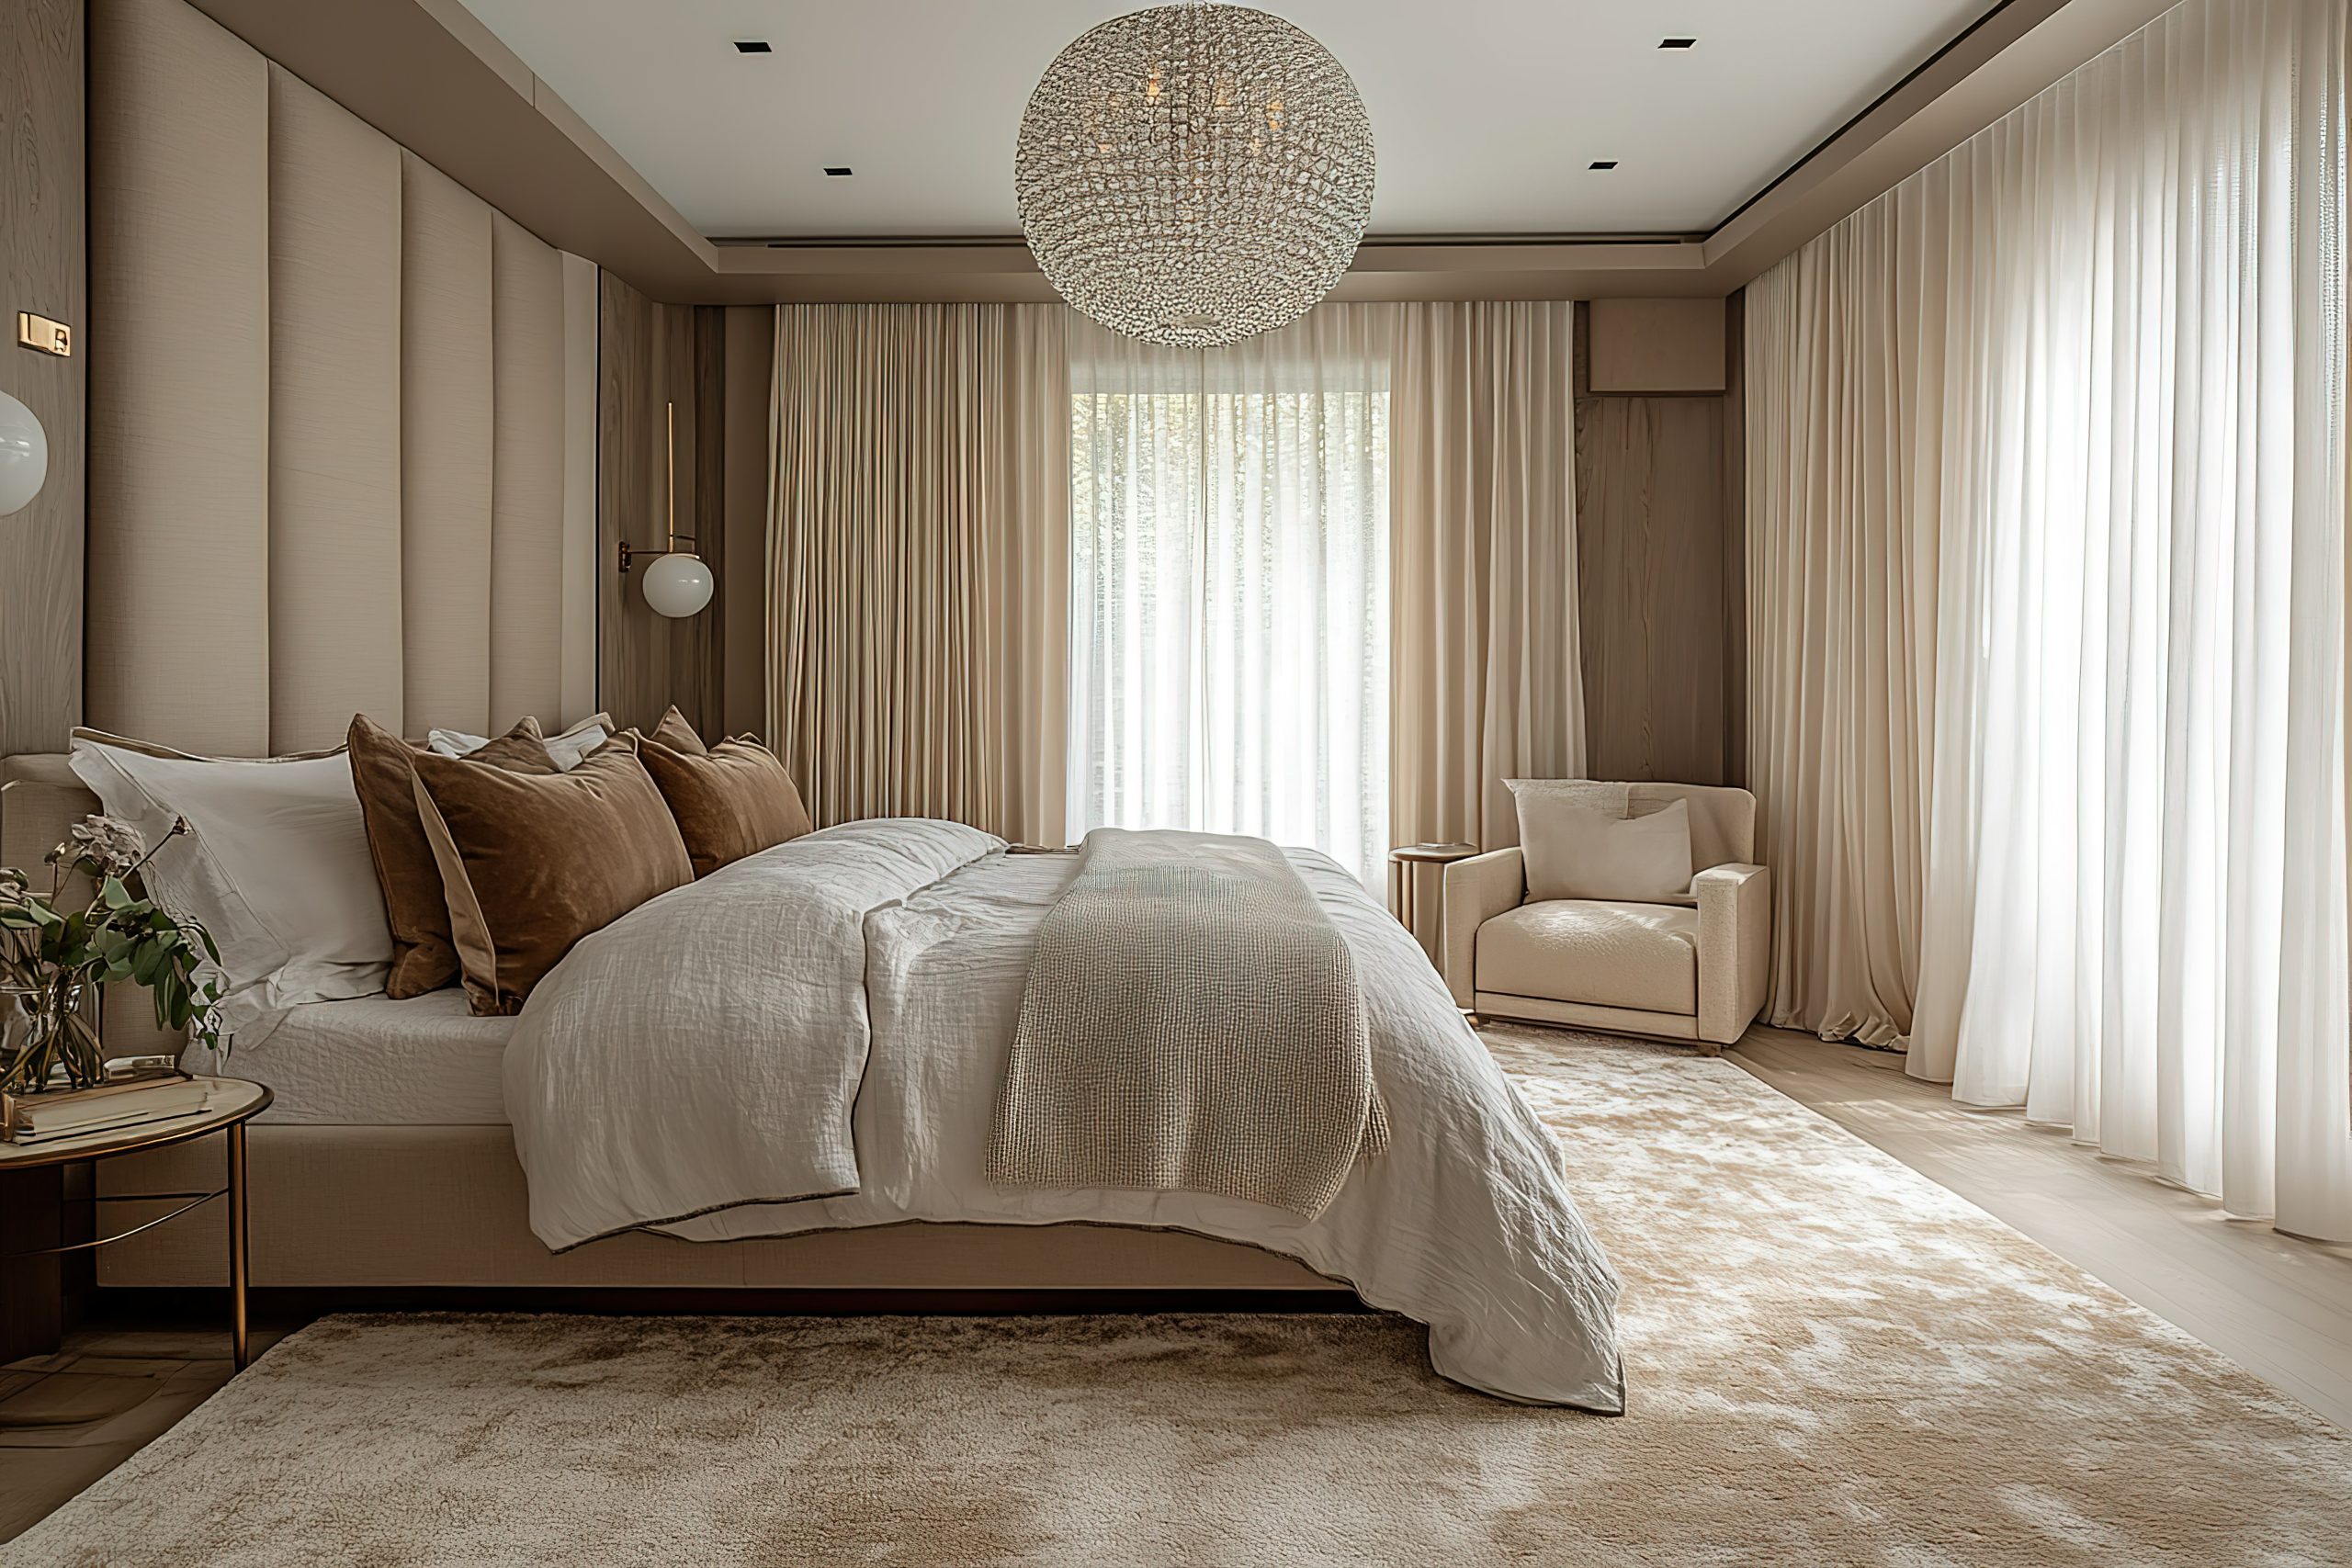
Elevating your master suite design goes beyond just colour; it’s about incorporating luxurious textures and finishes that create a truly indulgent experience. Introduce lavish fabrics like velvet, silk, and linen for bedding, curtains, and upholstery. A plush velvet headboard or a silk throw draped across the bed instantly adds a touch of luxury. Incorporating natural materials like wood, stone, and marble can further enhance the luxurious feel of your master suite design. A beautifully crafted wooden bed frame or a marble-topped nightstand adds a touch of sophistication and timeless elegance. Layering different textures creates visual interest and depth, making your master suite a feast for the senses. Consider a faux fur rug for a touch of warmth and glamour, or woven baskets for storage that add a natural and organic element.
The Gleam of Metallic Accents
Metallic finishes play a crucial role in adding a touch of glamour and sophistication to your master suite design. Incorporate shimmering accents of gold, silver, brass, or copper through lighting fixtures, hardware, and decorative accessories. A stunning brass chandelier can serve as a focal point, while sleek silver drawer pulls add a subtle touch of elegance. Consider incorporating metallic accents through decorative trays, mirrors, or picture frames. The key is to use metallics strategically, avoiding overuse, to create a sense of refined luxury within your master suite design.
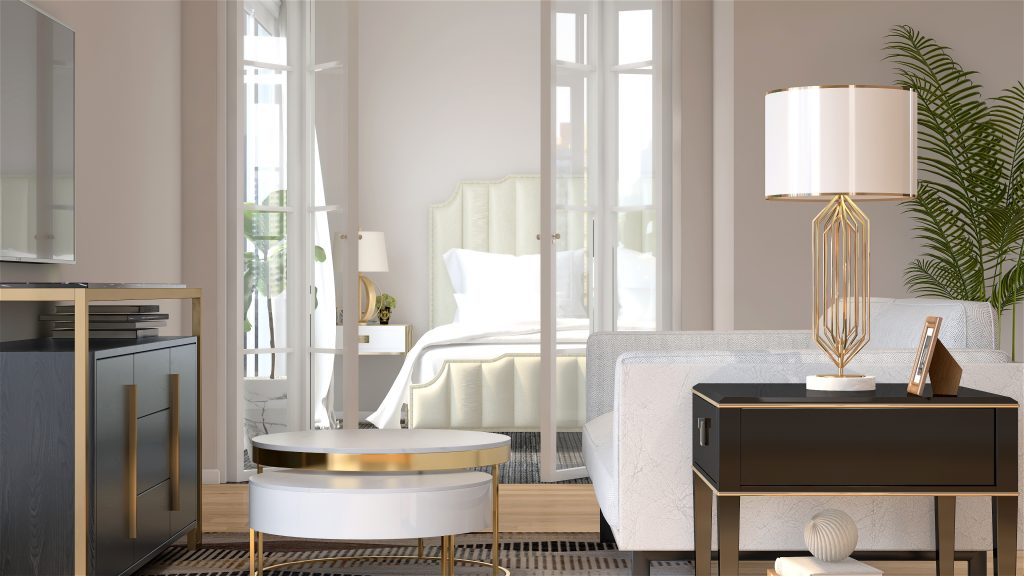
4: Furniture Selection for a Luxurious Master Suite Design
The Statement Bed: The Heart of Your Suite
The bed is undoubtedly the centrepiece of any master suite, and choosing the right one is paramount to achieving a luxurious design. Invest in a high-quality, statement bed that radiates both comfort and style. Consider an upholstered bed frame in a rich velvet or linen fabric for a touch of elegance. A four-poster bed or a canopy bed can create a dramatic and romantic focal point, adding a sense of grandeur to your master suite design. Make sure the bed size is appropriate for the room’s scale, and choose a mattress and bedding that prioritise comfort and promote restful sleep.
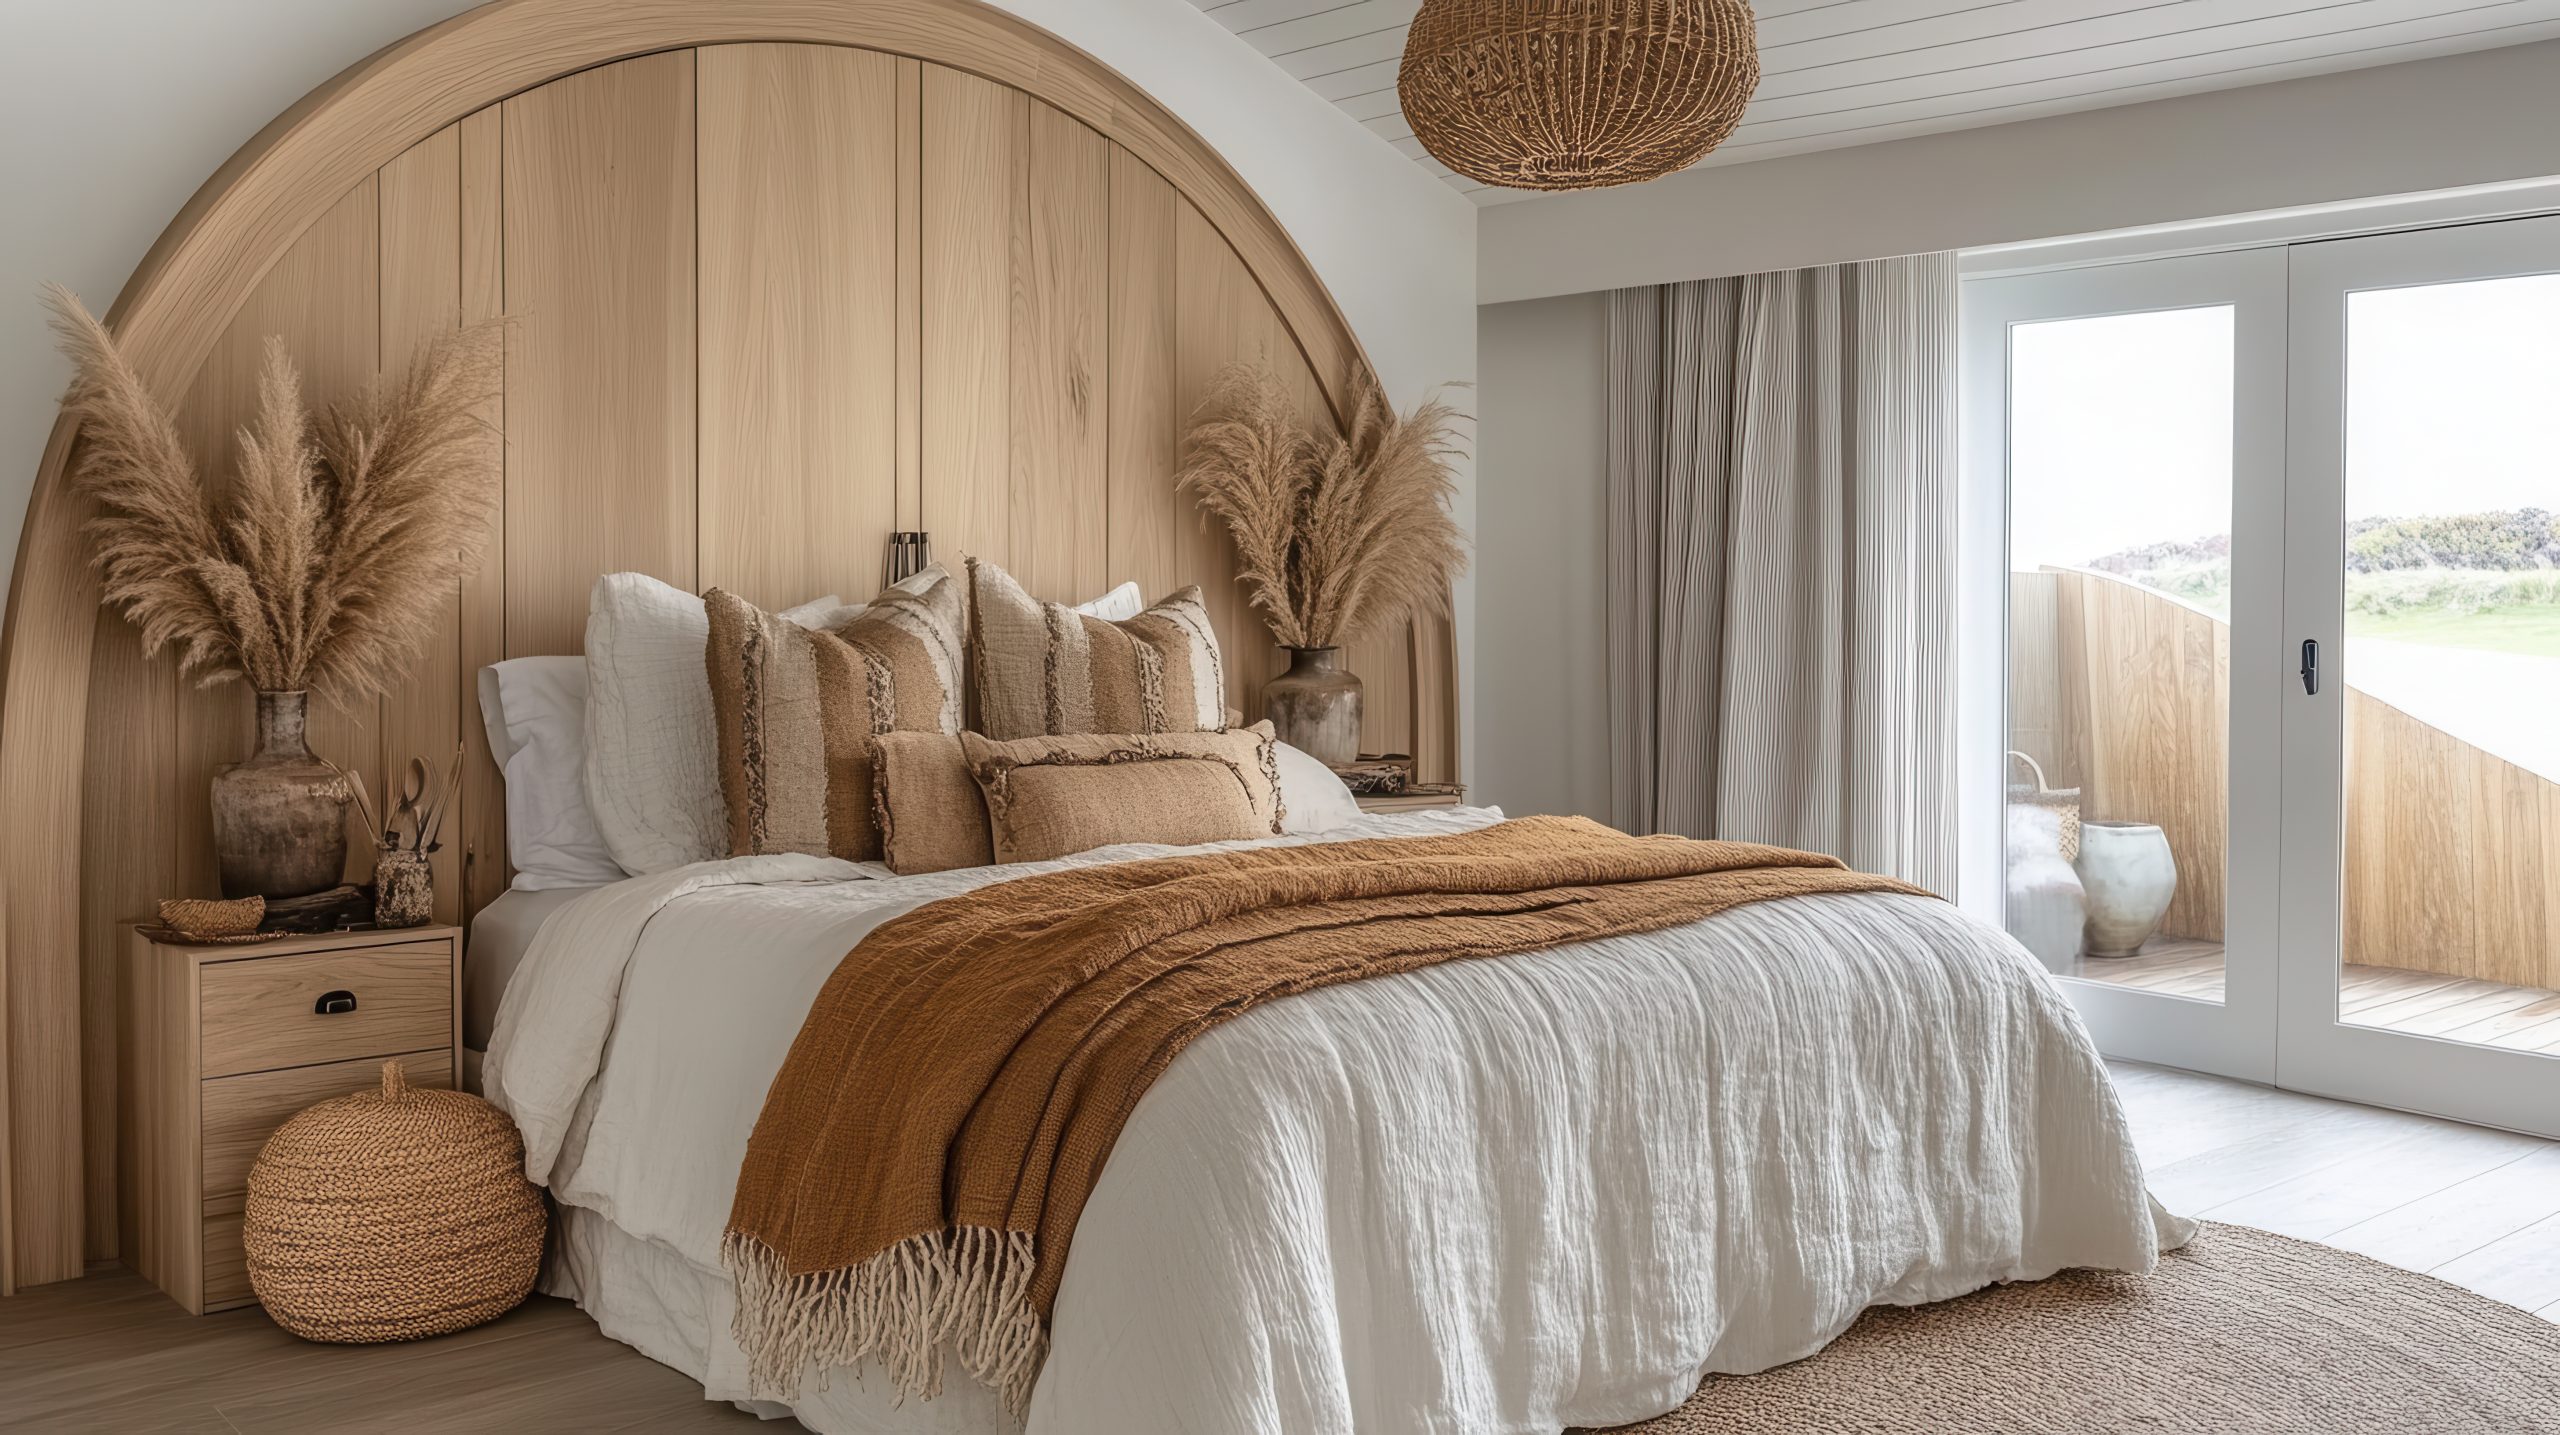
Creating a Relaxing Seating Area
Incorporating a dedicated seating area within your master suite design can transform it into a true retreat. This provides a comfortable space to unwind, read, or enjoy a morning cup of coffee. Consider adding a plush chaise lounge, a pair of elegant armchairs, or a small loveseat. Choose furniture that complements the overall design aesthetic of your master suite and provides ample comfort. A small table and a floor lamp can complete the seating area, creating a cozy and inviting space within your master suite design.
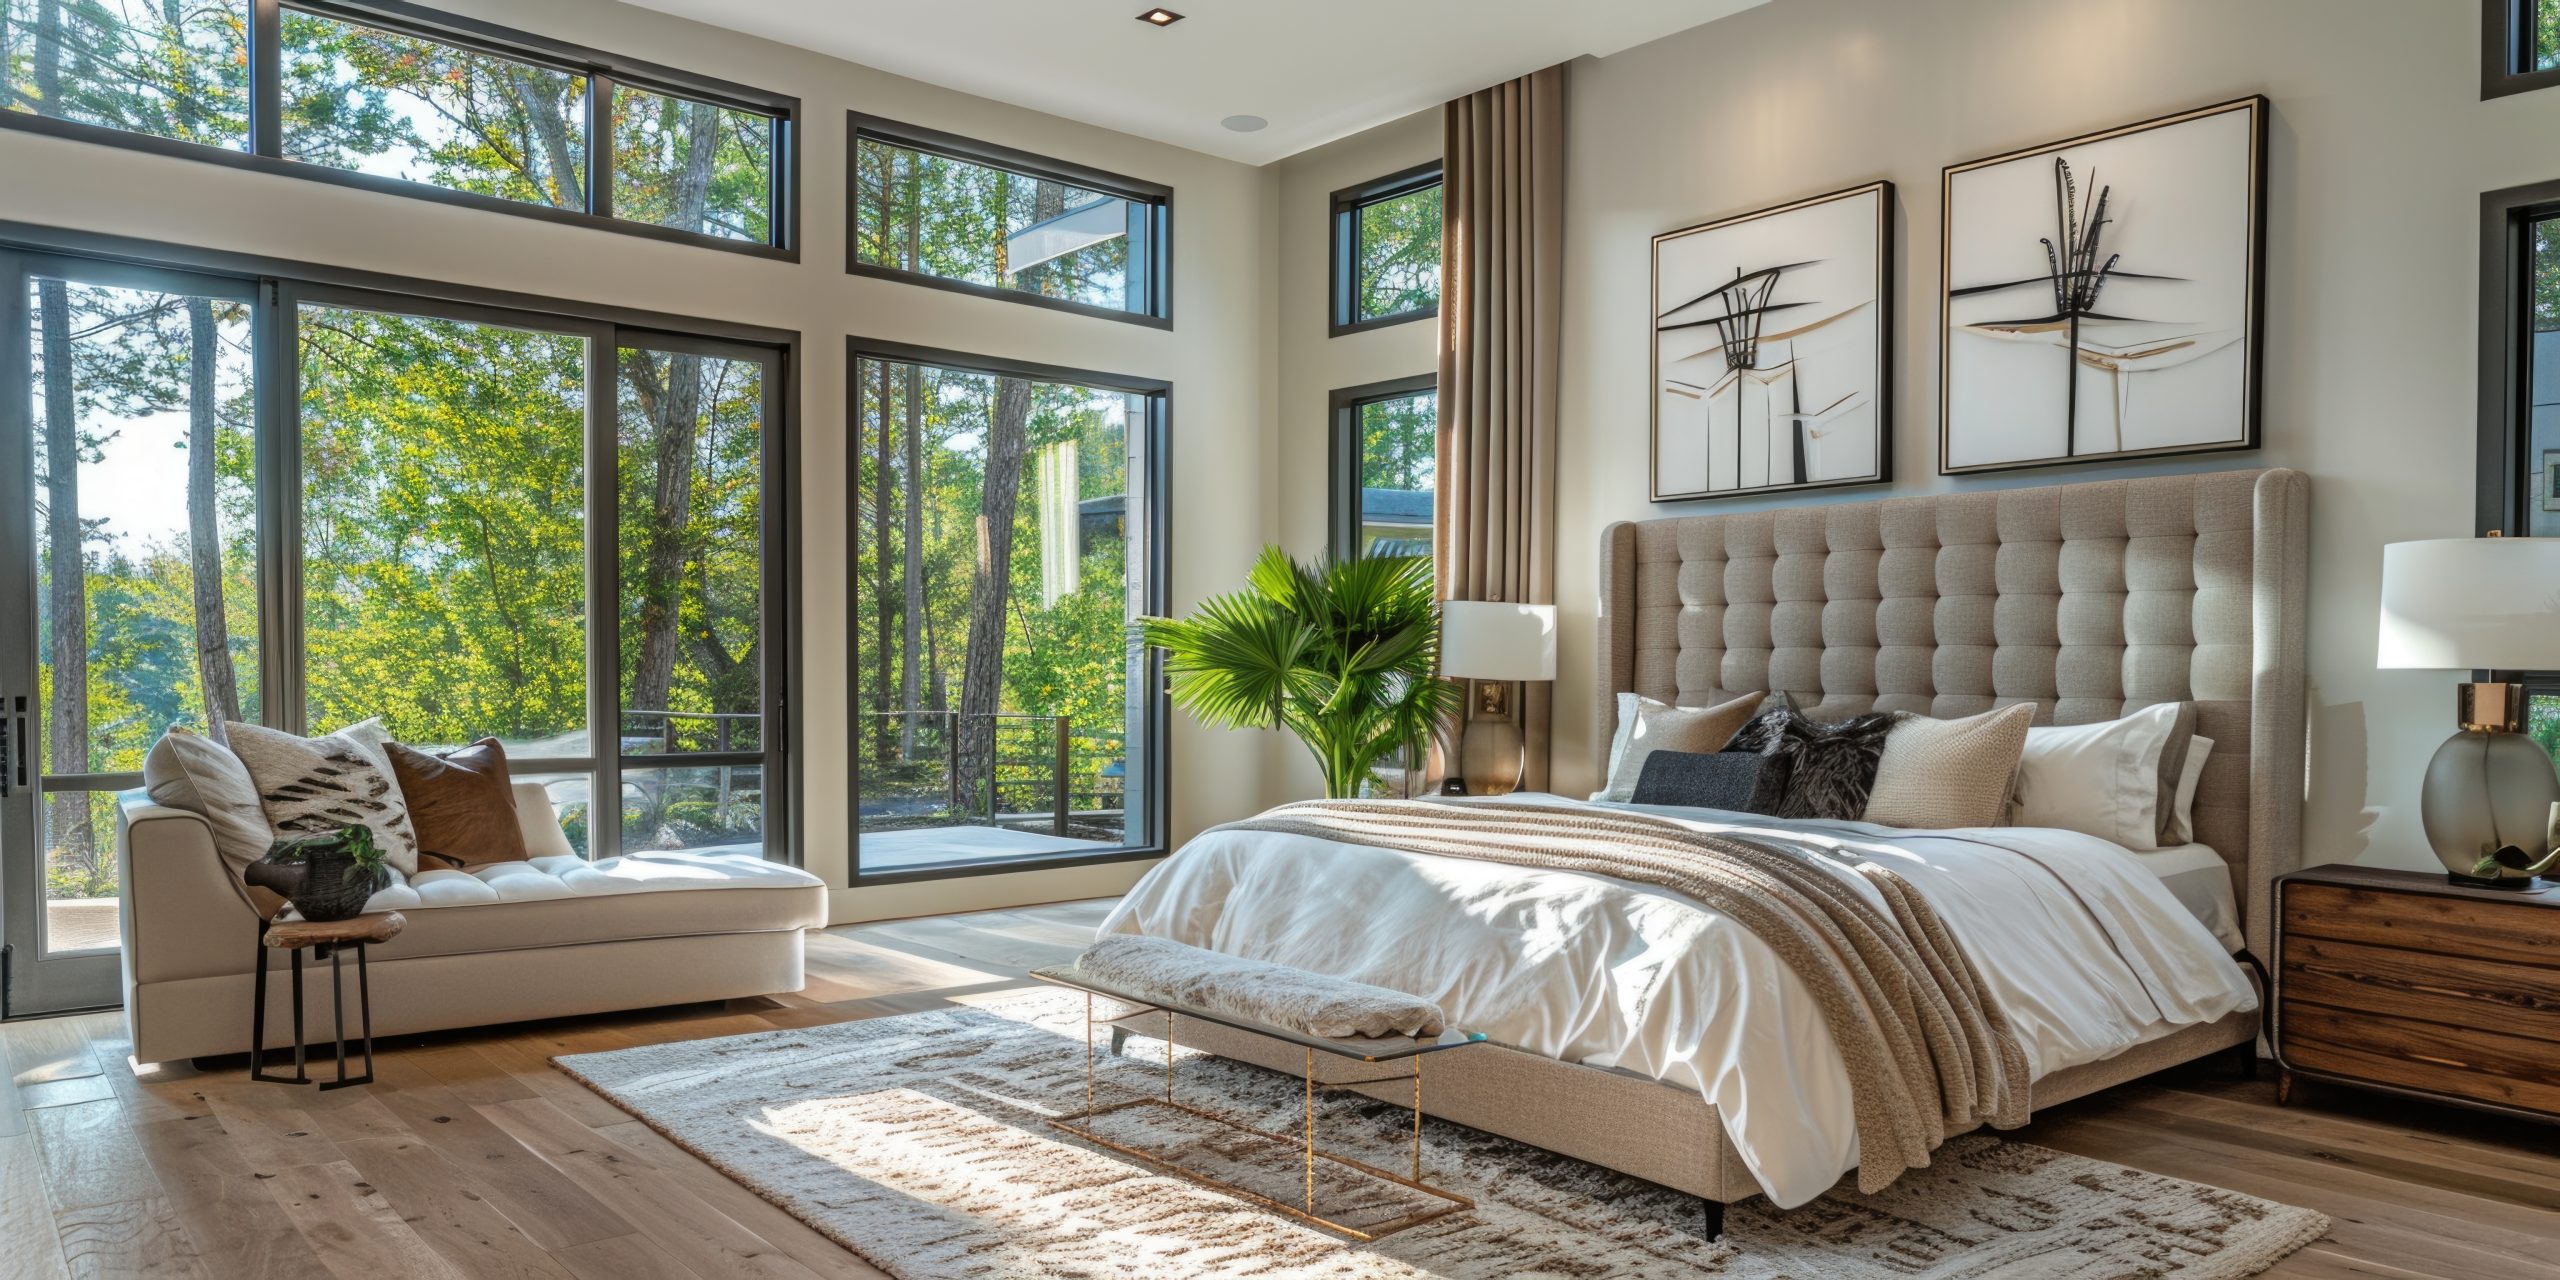
5: Lighting Design: Setting the Mood
Layered Lighting for a Luxurious Ambiance
Lighting plays a crucial role in creating the desired atmosphere in your master suite design. Implement a layered lighting approach to achieve both functionality and ambience.
- Ambient lighting provides overall illumination for the room and can be achieved through recessed lighting, a central chandelier, or wall sconces.
- Task lighting is essential for specific activities like reading or applying makeup and can be provided by bedside lamps or vanity lights.
- Accent lighting adds a touch of drama and highlights specific features within the room, such as artwork or architectural details.
Consider using dimmer switches to control the intensity of the lighting and create different moods throughout the day. A well-executed lighting plan is essential for enhancing the luxurious feel of your master suite design.
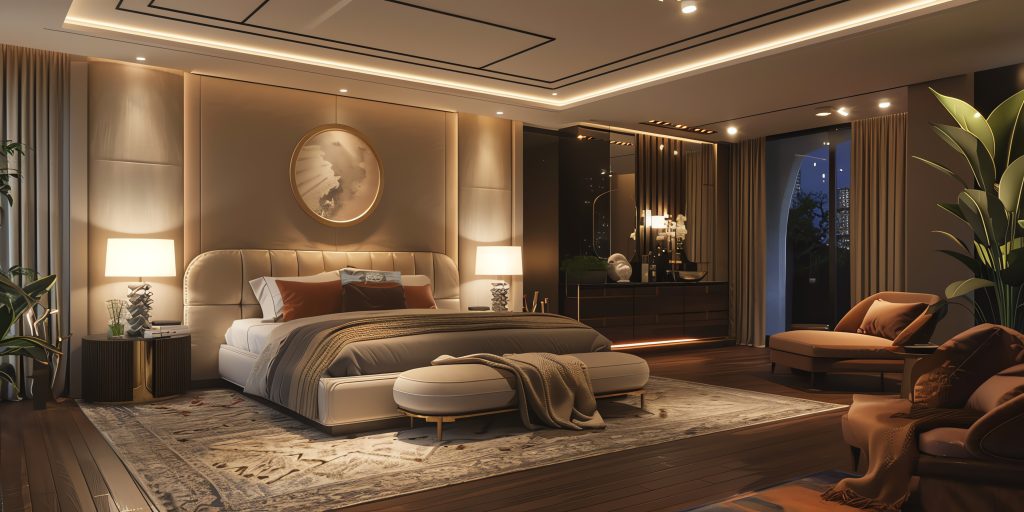
Section 6: The Finishing Touches: Accessories and Bathroom Integration
Luxurious Bedding and Linens: The Ultimate Indulgence
Investing in high-quality bedding and linens is a crucial step in creating a truly luxurious master suite design. Opt for soft, high-thread-count sheets made from Egyptian cotton, linen, or silk. A plush duvet and a selection of decorative pillows add layers of comfort and texture. Choose bedding that complements your chosen colour palette and adds a touch of elegance to your master suite design.
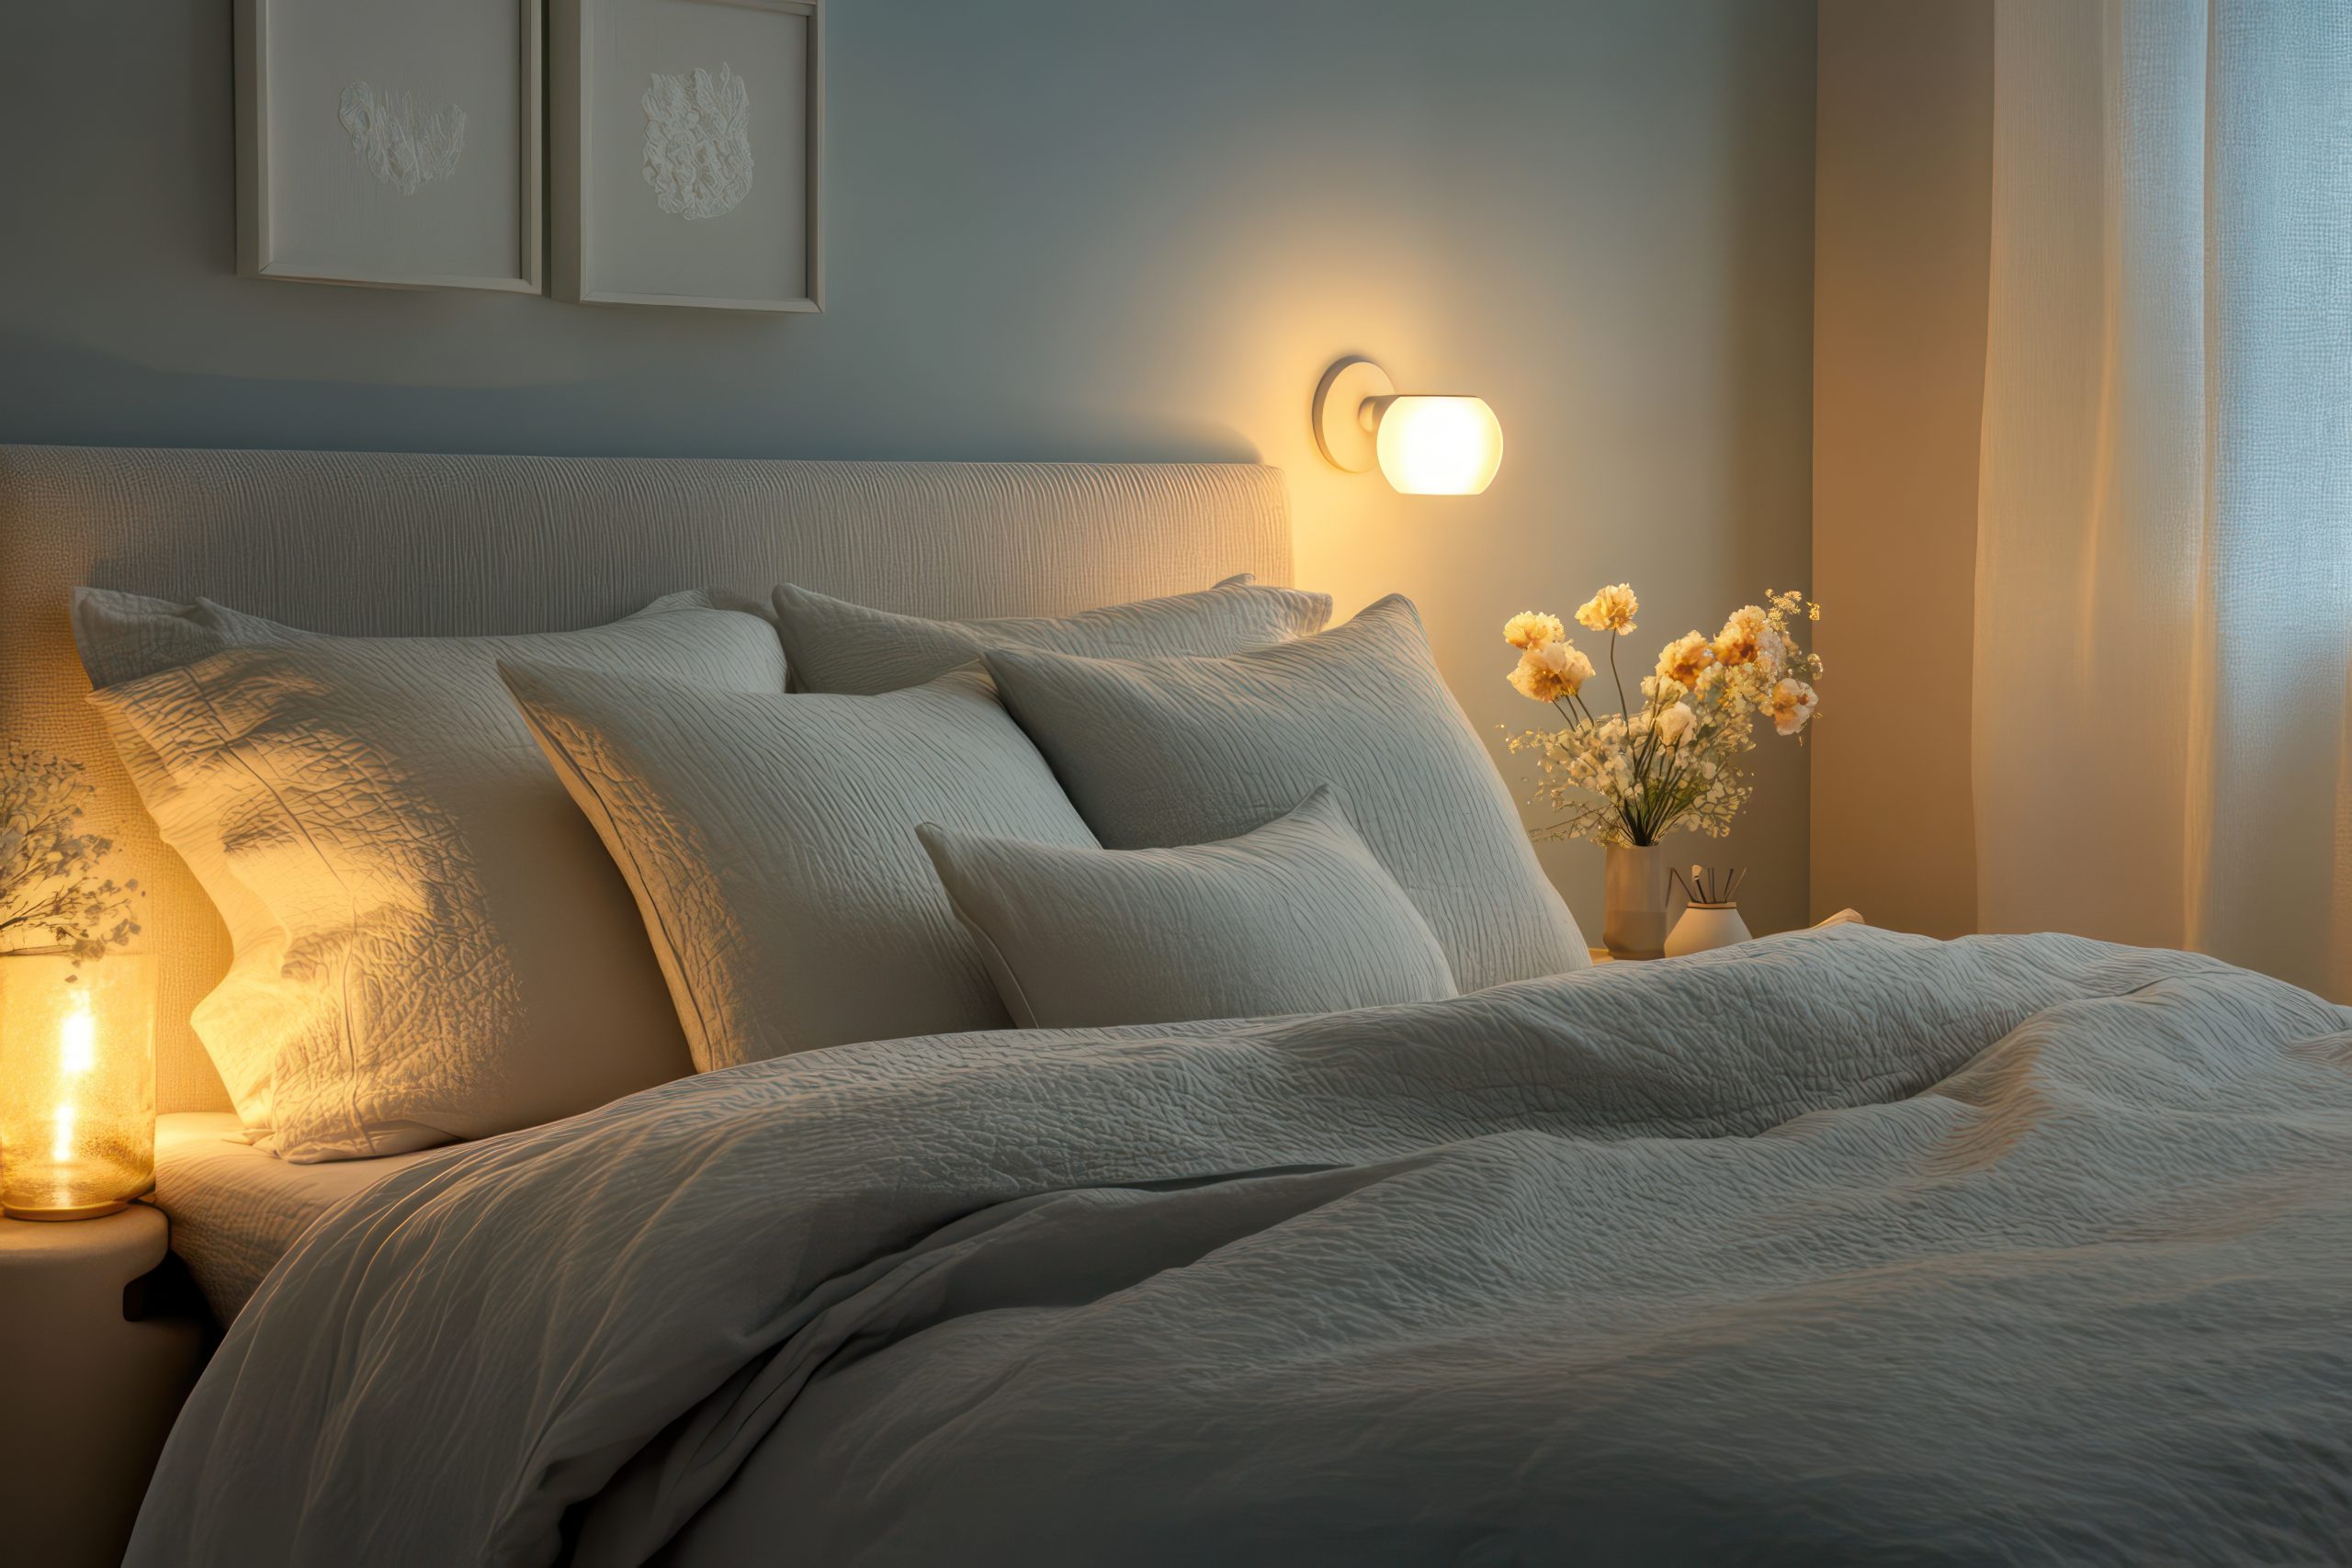
Accessorising with Elegance and Personality
Accessories are the finishing touches that complete your master suite design and infuse it with your personal style. Incorporate artwork, decorative objects, and personal mementos to create a space that feels curated and reflects your individuality. Consider adding a statement mirror, a collection of framed photographs, or a vase of fresh flowers. Choose accessories that complement the overall design aesthetic and add a touch of personality to your master suite design.
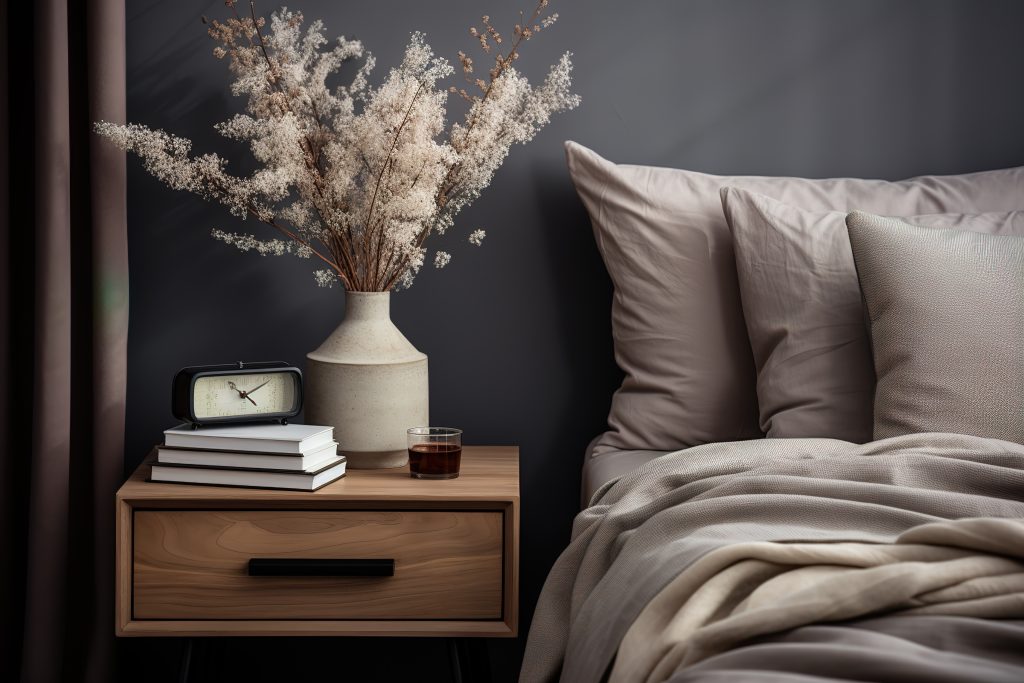
Extending Luxury to the Master Bathroom
Creating a seamless transition from your master suite to the master bathroom is key to achieving a cohesive and luxurious design. Extend the same design principles and colour palette to the bathroom to create a spa-like retreat. Consider incorporating luxurious features like a freestanding soaking tub, a rainfall showerhead, and high-end fixtures. Heated floors, plush towels, and elegant bathrobes can further enhance the luxurious experience within your master suite design.
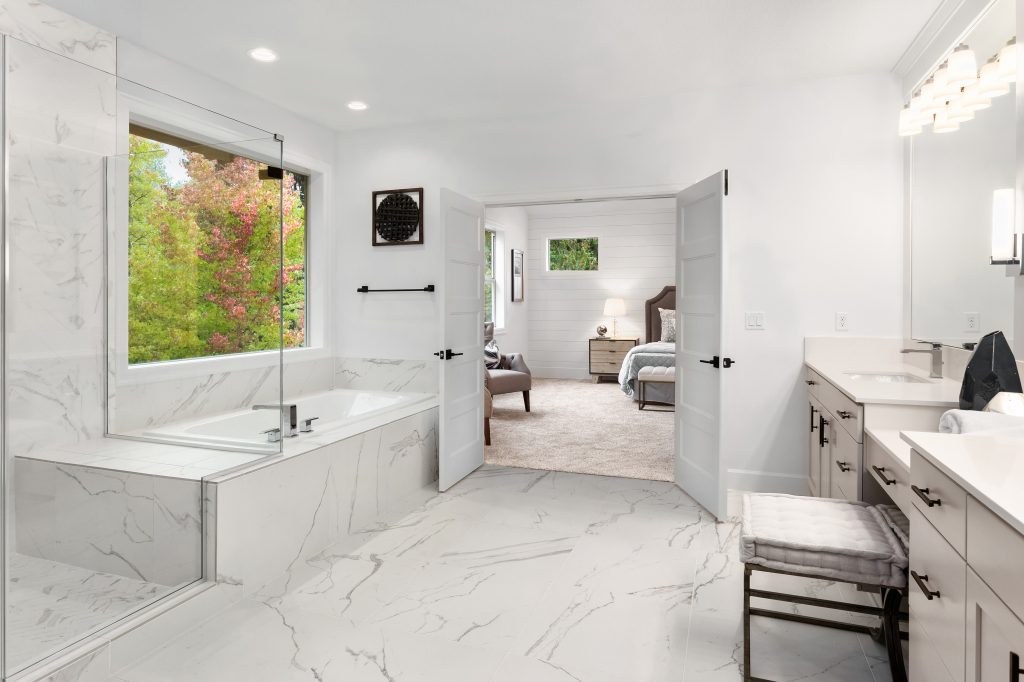
Creating a luxurious master suite design is more than just expensive furnishings; it’s about creating a personalised, comfortable, and indulgent space. By carefully considering the elements discussed in this post – from planning and colour palettes to materials, furniture, lighting, and accessories – you can transform your master suite into a true sanctuary.


